
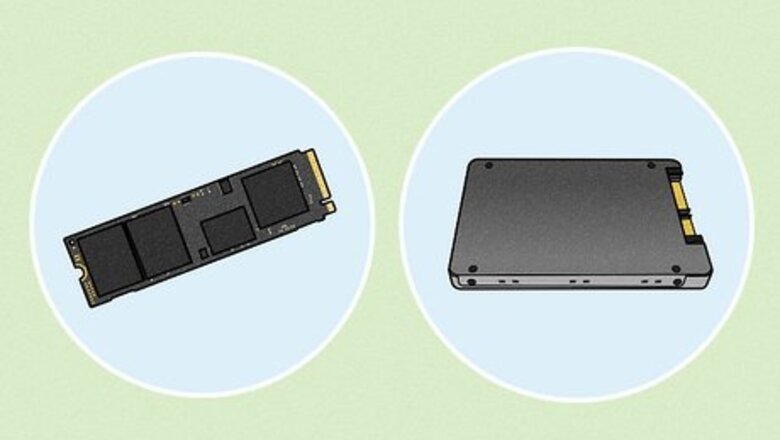
- Make sure your new SSD is at least as large as your hard drive. You'll need an enclosure, dock, or an adapter to connect it to your computer.
- On Windows, you will need cloning software like Macrium Reflect Free to clone your hard drive.
- On Mac, boot into Recovery Mode and select Disk Utility. Connect your SSD and format it in APFS format. Select the SSD and click "Restore". Select your hard drive to restore from.
Clone Hard Drive on Windows

Purchase and install new SSD for transfer. You'll need an SSD with as much hard drive space as your current hard drive. If your old hard drive has 500 GB of storage space, you will need an SSD with at least 500 GB. Also, be sure to find an SSD that fits your computer. Inspect your computer's specifications and determine whether or not your motherboard requires an M.2 drive, a U.2 drive, a 2.5in SATA, or an SSD add-in card. To install your SSD on your laptop, you will likely need to consult your computer's user manual and handle the SSD with care. Also, make sure that you can connect a new hard drive to your laptop. On some laptop models, the hard drive is soldered in, making it difficult or impossible to replace. If you get an SSD that is smaller than your current hard drive, you may need to free up some hard drive space on your computer before cloning your current hard drive. All the data on your current hard drive will need to fit on the SSD.

Update Windows. Before cloning your hard drive, you want to make sure you are using the most up-to-date version of Windows. This might be a good time to run a malware scan as well, ensuring you are cloning a healthy and clean drive. Also, disconnect any other external devices, such as USB flash drives or external displays.
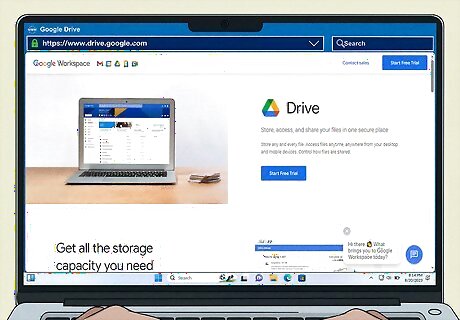
Back up your current hard drive. Before you clone your hard drive, it's a good idea to back it up first. That way you won't lose all your data if something goes wrong. You can back up your data to an external hard drive or cloud storage like Google Drive or OneDrive.

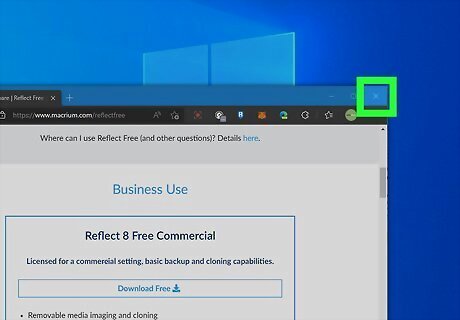
Download and install Macrium Reflect Free. The current version of Macrium Reflect is not free, but you can still get older versions that are free. You can download the free version from https://www.majorgeeks.com/files/details/macrium_reflect_free_edition.html If requested to enter an e-mail for registration, uncheck the box at the top to decide not to register the project. Then click Next.
Close all windows on your computer. Before launching Macrium Reflect, close all windows on your computer first.
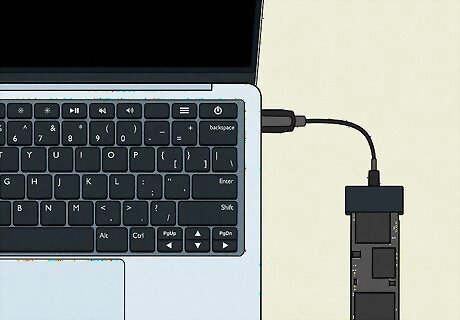
Connect the SSD you want to clone to. If it is not installed inside your computer, you will need to connect it using a hard drive enclosure, dock, or a USB adapter. Once the hard drive is inserted into the device, you'll need to connect it to a free USB port on your computer.
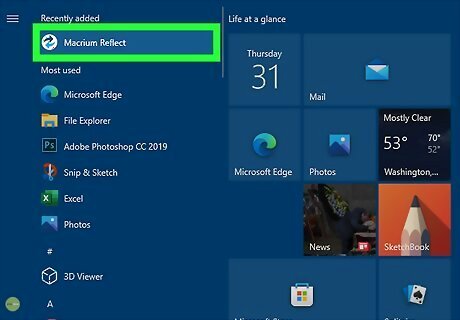
Open your cloning software. Open Macrium Reflect Free. If prompted to enter a license key or personal info, click "Next" to skip this step.
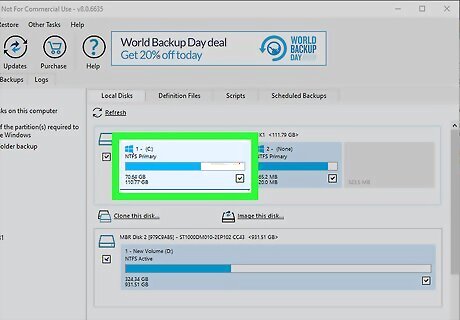
Select the drive you want to clone. Click the box that contains the hard drive you want to clone. It should be labeled "OS (C:)," "Windows (C:)," or something similar.
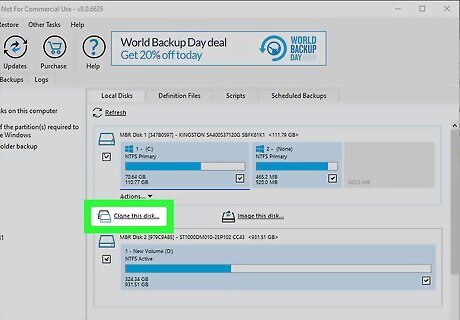
Click Clone This Disk. It will appear below the list of drives when you select the drive you want to clone. This will open a pop-up window where you will complete the cloning process.
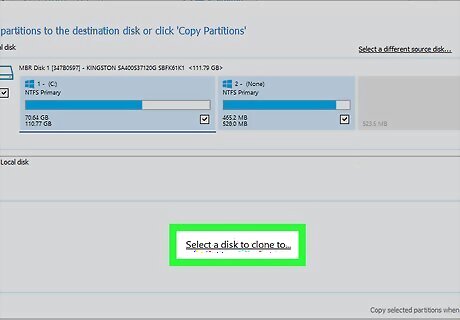
Click Select a Disk to Clone to in the pop-up window. You should have already installed your SSD by now, so the software should be able to detect it. If you are not using an SSD, you may clone to an external drive as well. If your SSD already contains data, you may need to clear up space. Select each partition you want to delete and click "Delete Existing Partition."

Drag each of your hard drive's partitions to the "Destination" field. Manually drag each of your hard drive's partitions to the Destination field to clone your hard drive to your SSD. You want to leave as little space on the targeted SSD as possible. Macrium Reflect allows you to scale the size of each partition accordingly, so be sure to make them smaller or larger as needed. These partitions are necessary as you cannot simply just copy Windows from a hard drive to an SSD, as portions are stored in various areas of your drive.

Click "Next" to continue. Once you have assigned all of your hard drive's partitions to the SSD, click Next to begin the cloning process. Once you continue, you may either choose to "Schedule This Clone" at a later point, or click "Next" to begin the process immediately.
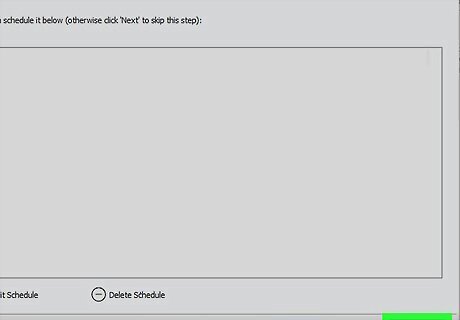
Click Finish in the final page. Macrium Reflect's final page will summarize the cloning you are about to undertake. Verify all relevant info and click Finish to initiate cloning. The software may also ask if you want to save these backup settings for future cloning processes. Click "OK" if you would like to do so.
Clone Hard Drive on Mac
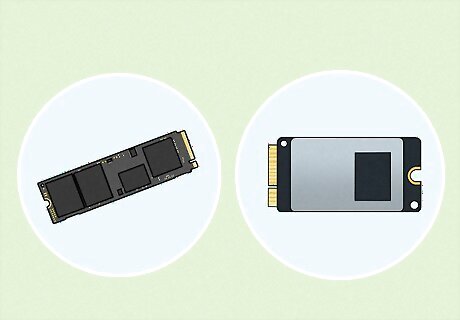
Purchase new SSD for transfer. You'll need an SSD with as much hard drive space as your current hard drive. If your old hard drive has 500 GB of storage space, you will need an SSD with at least 500 GB. Also, be sure to find an SSD that fits your computer. Inspect your computer's specifications and determine whether or not your motherboard requires an M.2 drive, a U.2 drive, a 2.5in SATA, or an SSD add-in card. If you get an SSD that is smaller than your current hard drive, you may need to free up some hard drive space on your computer before cloning your current hard drive. All the data on your current hard drive will need to fit on the SSD.
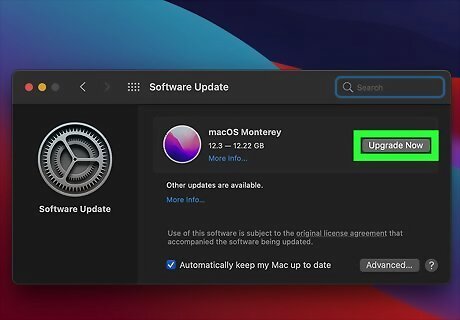
Update macOS. Before cloning your hard drive, you want to make sure your Mac has the latest updates.
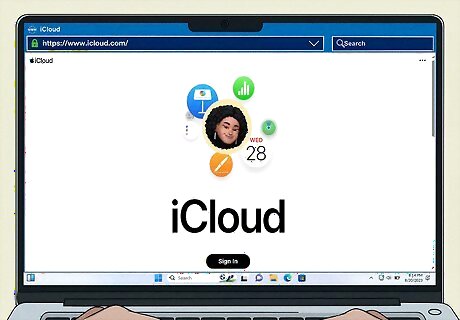
Back up your current hard drive. Before you clone your hard drive, it's a good idea to back it up first. That way you won't lose all your data if something goes wrong. You can back up your data to an external hard drive, or you can use cloud storage, like Google Drive or iCloud.
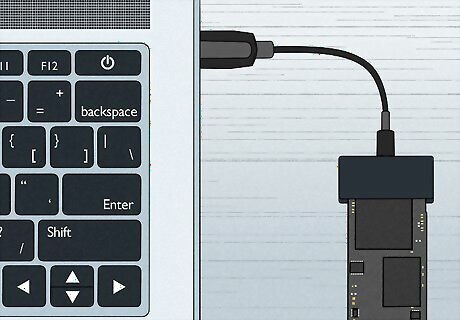
Connect your SSD as an external drive. If it is not installed inside your computer, you will need to connect it using a hard drive enclosure, dock, or a USB adapter. Once the hard drive is inserted into the device, you'll need to connect it to a free USB port on your computer. disconnect any other external devices, such as USB flash drives or displays. If you have previously backed up your hard drive to the Time Machine, you can skip to installing your SSD and use your Mac's Migration Assistant to restore the most recent hard drive backup.
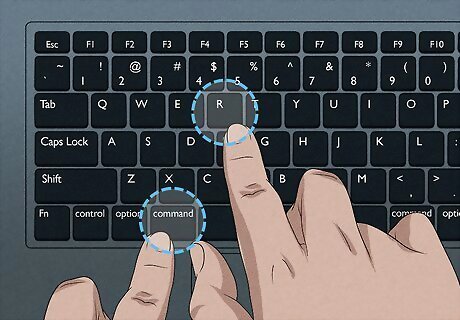
Boot into Recovery Mode. You can access Disk Utility in Recovery Mode. The steps to boot into Recovery Mode differ if you are using an Apple Silicon (M1) or Intel-based Mac. Most Macs produced after 2021 are Apple Silicon Macs. Use one of the following steps to boot your Mac into Recovery Mode. Apple Silicon Macs: Power your Mac off. Press and hold the Power button. Continue to hold the Power button until the Options button appears. Click Options followed by Continue. Enter your macOS administrative password. Intel-Based Mac: Restart your Mac. Immediately press and hold Command + R and continue to hold them until you see the start-up screen.
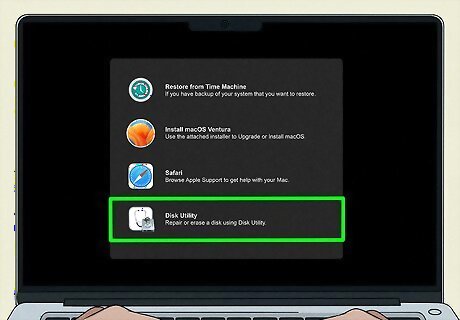
Select Disk Utility. Once you are in Recovery Mode, click Disk Utility at the bottom of the screen. Then click Continue.

Select your new SSD volume. It's on the left-hand side of the Disk Utility program. If your SSD is externally connected properly, it should display here in Disk Utility. Highlight it to pull up the necessary options to continue with cloning. If you don't see your new SSD listed to the left, click View in the upper-left corner and click Show All Devices.
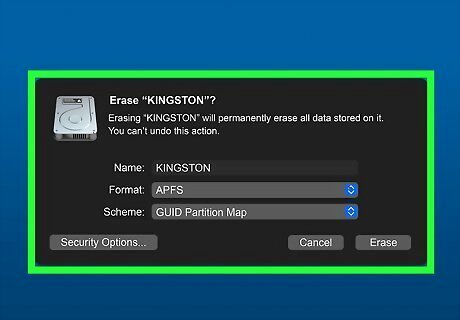
Format your new hard drive. You will need to format your new SSD and select a file system that works with macOS. This process may take several minutes. Use the following steps to do so: Select your SSD in the menu bar to the left. Click Erase at the top. Give your new hard drive any name you want. Select "APFS" as the format. Select "GUID Partition Map" as the scheme. Click Erase.
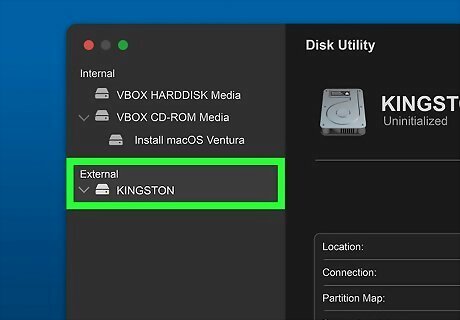
Select the container disk for your new SSD drive. It will be in the menu bar to the left under the new SSD volume. If you don't see this option, click the bracket icon next to the hard drive to expand the options below it.

Click Restore. It's in the menu bar at the top of the page.
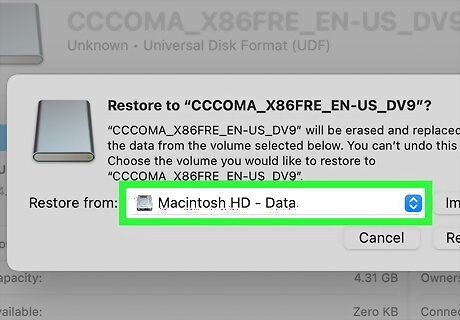
Select your current hard drive to restore from. Use the drop-down menu in the center of the screen to select your current internal hard drive. It is normally selected by default.

Click Restore. It's in the lower-right corner of the pop-up. This will start cloning your internal hard drive to your SSD. This process may take a while. If you are using a Macbook, make sure it is plugged in during the cloning process. You don't want it to run out of battery and shut down before the cloning process is completed.


Comments
0 comment