views
On iPhone and iPad
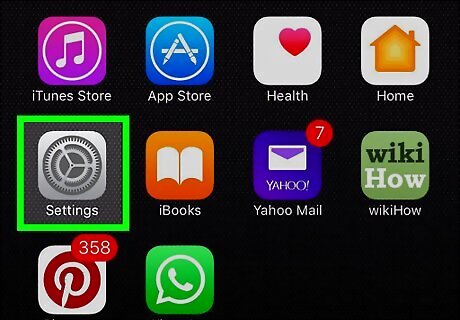
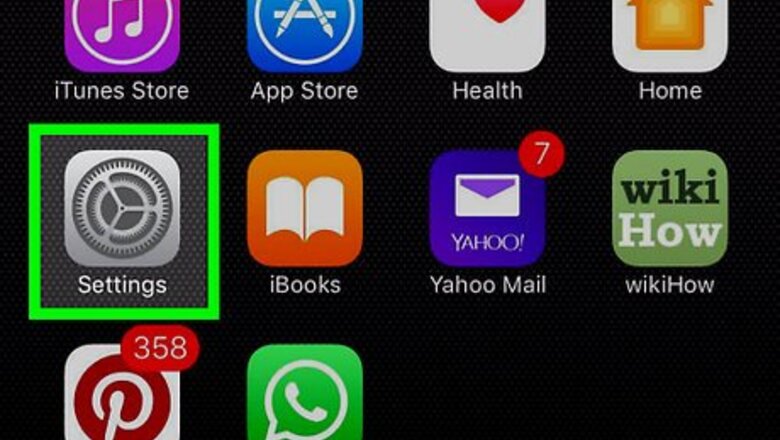
Open Settings iPhone Settings App Icon. You'll likely find it on the Home Screen. These steps will also work on an iPod touch.
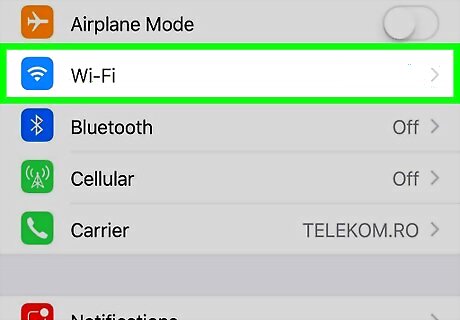
Tap Wi-Fi. It's near the top of the Settings page.
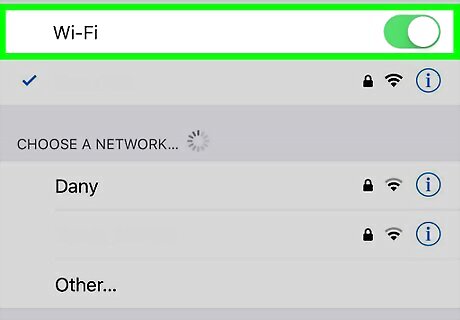
Slide the Wi-Fi switch "ON" iPhone Switch On Icon. Your iPhone or iPad will scan for available wireless networks. If the switch next to Wi-Fi is already green, skip this step.
Tap a network name. The wireless networks that appear under the "MY NETWORKS" header are those you've connected to in the past. Other available networks appear under the "OTHER NETWORKS" header a little bit further down the screen. If you're already connected to a wireless network, its name will appear with a blue checkmark near the top of the list. You can switch to a different network by tapping any of the other network names. If no password is required, you'll connect automatically after tapping the network's name.
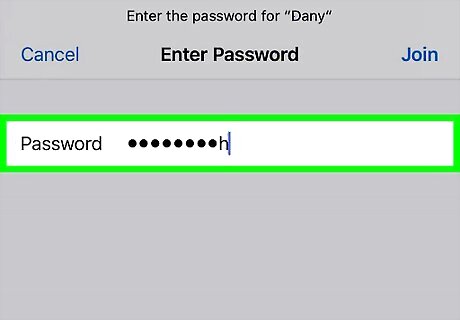
Enter the network's password if prompted. If you tapped a network that has a padlock next to its name, you'll be prompted to enter the password for that network. If you're connecting to a Wi-Fi network that has WPS enabled, press the "WPS" button on the wireless router—the password will automatically fill in the blank on your iPhone or iPad and connect you to the internet.
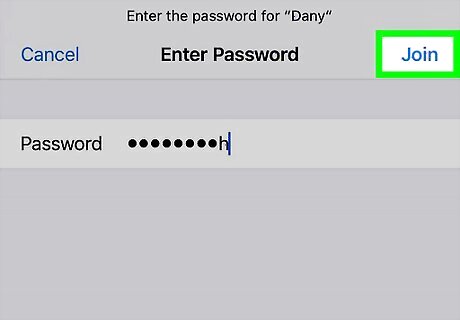
Tap Join. It's in the top-right corner of the screen. Once the password is accepted, you'll be connected to that wireless access point.
On Android
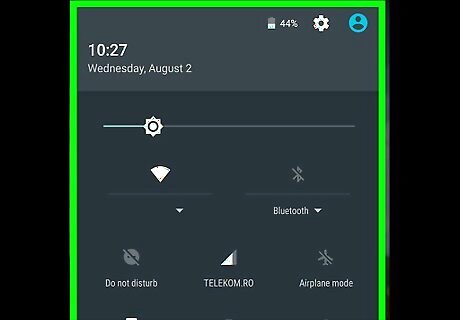
Swipe down from the top of your Android's home screen. This opens your notifications and Quick Settings. Because there are so many models of Android phones and tablets, your settings may look slightly from what you see here.
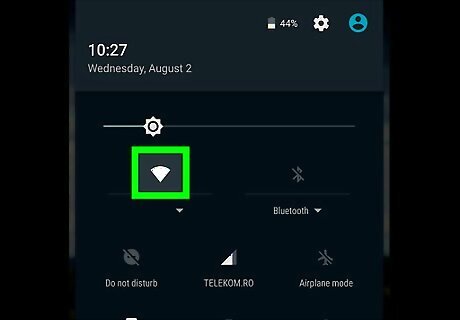
Tap and hold the Wi-Fi icon Android 7 Wifi. It usually looks like a cone that's either solid or made of curved lines. This will take you to your Android's Wi-Fi settings. If you see a list of wireless networks, just skip to the next step.
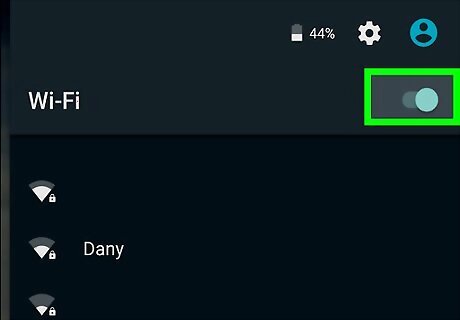
Slide the "Wi-Fi" switch to "ON" Android 7 System Switch On. If Wi-Fi was not already on, this will enable the feature and start searching for networks to join. If you're already connected to a Wi-Fi network, it will appear at the top of the list, often under a header that says "Current Network" or something similar. If you want to connect to a different network, just move to the next step. If you don't see a slider, you may need to tap Use Wi-Fi instead.
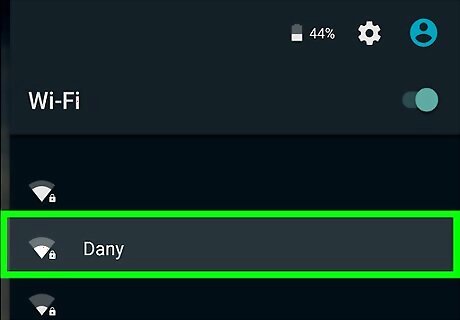
Tap a network name. Networks that require passwords display padlocks next to their names, while open networks do not have an identifying icon. If the network has no password, you'll connect automatically after tapping the network's name.
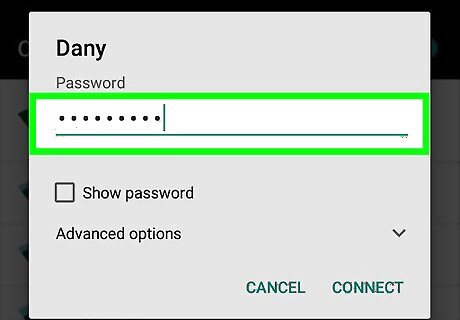
Enter the network's password if prompted. If you tapped a network that has a padlock next to its name, you'll be prompted to enter the password for that network. If you're connecting to a Wi-Fi network that has WPS enabled, press the "WPS" button on the wireless router—the password will automatically fill in the blank on your Android and connect you to the internet.
Tap Connect. It's usually right below the login information. As long as the password you entered is correct, your Android will connect to the network.
Using KaiOS
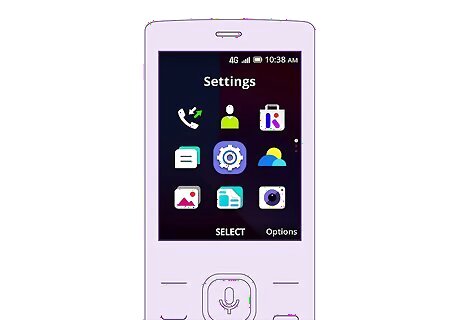
Open Settings and select Wi-Fi.
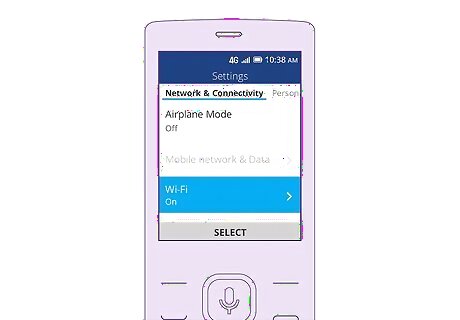
Tap to turn Wi-Fi on. Your phone will scan for wireless networks to join.
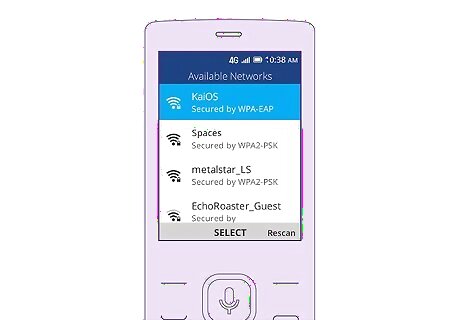
Tap a network name. If the network you select does not require a password, you will be connected immediately. If a password is required, you'll be prompted to enter it.
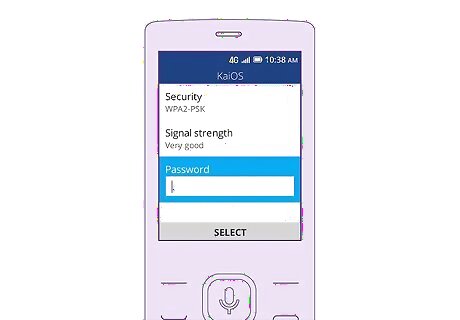
Enter your wireless network password if prompted. Once the password is accepted, you will be connected to the network. A wireless network symbol (which looks like a cone made of several curved lines Mac Wifi) will appear at the top of the screen as long as the connection is successful. To test your wireless connection, open your browser and try visiting a website.
Using Windows

Click the network icon Windows Wifi. It's located in the lower-right corner of the taskbar to the left of the time on Windows 10. If you are not connected to a network, the icon will look like an outline of a globe with a small "warning" circle at its bottom-right corner. If you don't see either of these icons, click the upward-pointing arrow ^ to the left of the time to display more icons. If you're using Windows 8, hover your mouse in the upper-right corner of the screen and click Settings. On Windows 7, the Wi-Fi icon looks like a series of bars.
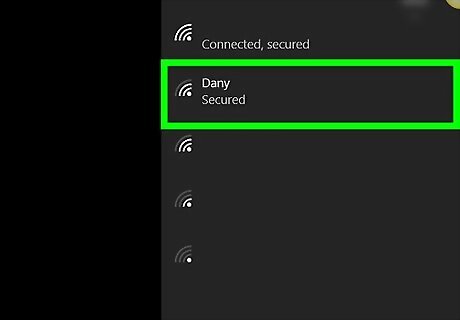
Click a network's name. A list of available networks will appear. Networks that require a password to join will say "Secured" below their names.
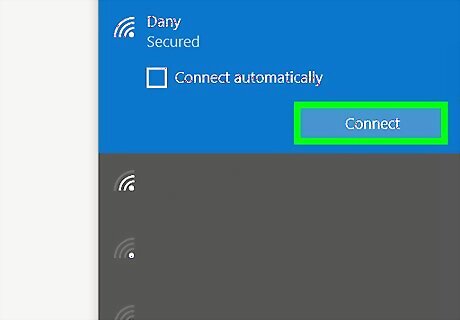
Click Connect next to the network you want to join. It's in the bottom-right corner of the network's name. You can check the "Connect automatically" box here as well to have your PC connect to this network whenever it's in range. If the network has no password, you'll connect automatically after clicking Connect.
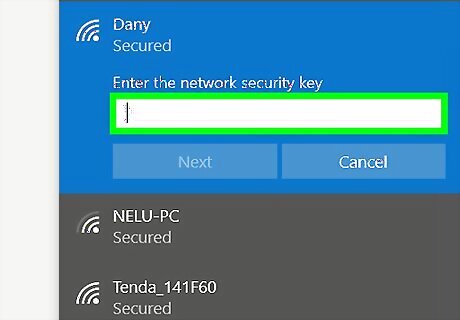
Enter the network's password if prompted. If you selected a secured network, you'll have to enter the password for that network to connect. If you're connecting to a Wi-Fi network that has WPS enabled, press the "WPS" button on the wireless router—the password will automatically fill in the blank on your PC and connect you to the internet.
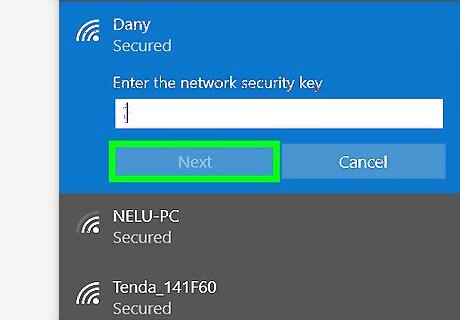
Click Next. It's in the bottom-left corner of the network window. Doing so will prompt your PC to connect to the network if the password you entered is correct.
Using macOS
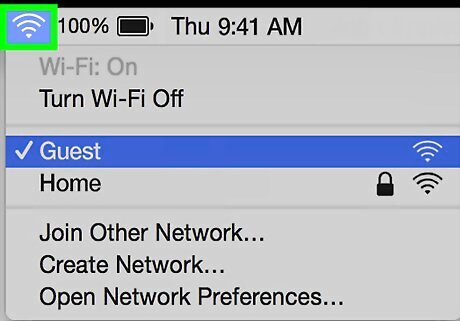
Click the Wi-Fi icon Mac Wifi. It's in the top-right of the menu bar at the top of the screen. If your computer is not connected to a wireless network, the icon will look like a hollow cone. If you're already connected to a Wi-Fi network, its name will appear at the top of the list with a checkmark beside it.
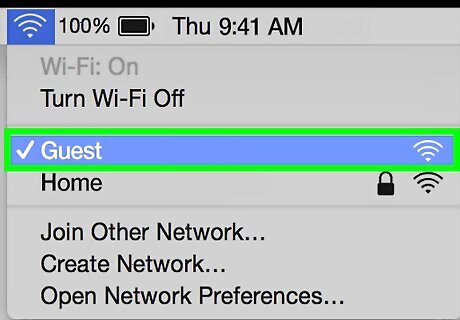
Click a network name. If the network doesn't require a password, your Mac will connect automatically. If a password is required, you'll be prompted to enter it now.
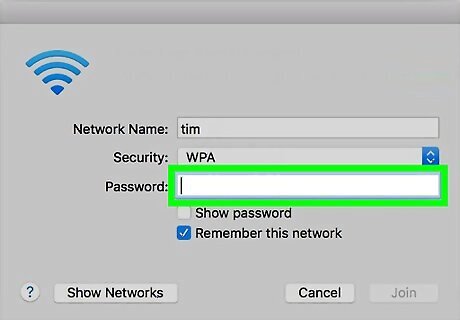
Enter the network's password if prompted.
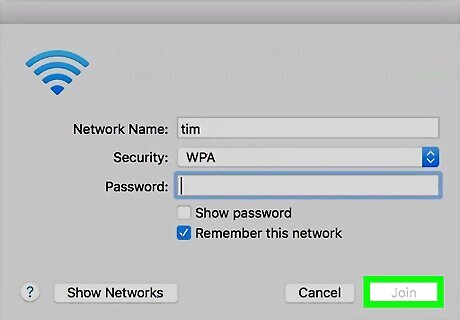
Click Join. It's at the bottom of the pop-up window. As long as the password is correct, your Mac will connect to the network.


Comments
0 comment