views
Before You Begin
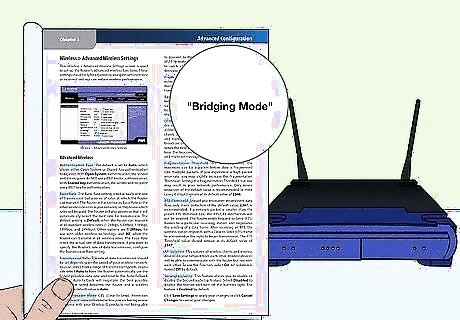
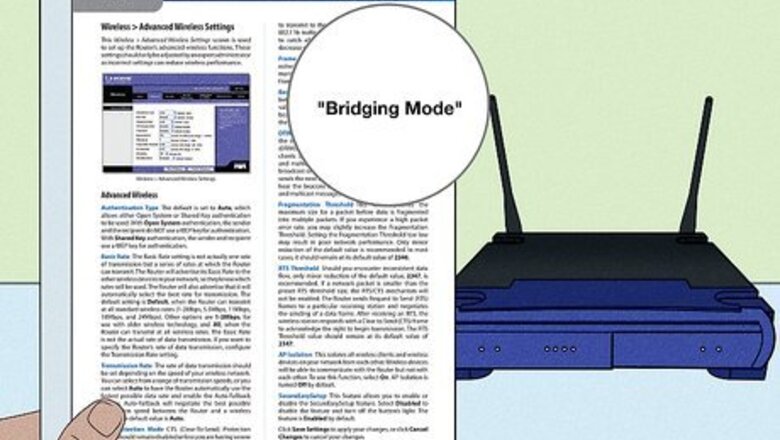
Make sure your second router supports WDS bridging or has "bridge mode." Bridging is a feature that lets two wireless routers work together to expand the range of a wireless network. If the router you want to add to your network (the one that's not connected directly to the internet) doesn't support bridging, you won't be able to use it to extend your Wi-Fi network. Look for "bridging mode," "WDS," or "repeater function" in your router's documentation to see if it's supported.
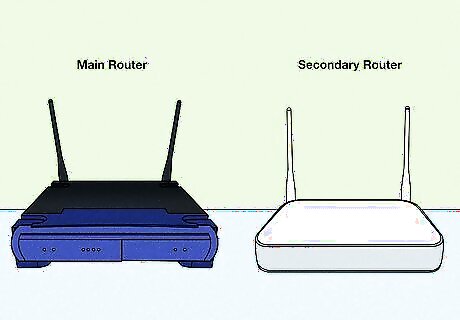
Determine which router will be the main router. The main router is the one that you'll be connecting directly to the internet. If you have a combination modem and router from your internet provider, that has to be your main router.
Get a long enough ethernet cable to connect your two routers. You'll usually need to run an ethernet cable between your two routers, even if you're bridging to create a new wireless access point. Some wireless routers support bridging wirelessly, but this is usually just when both routers are the same model and/or manufacturer. The ethernet cable you use to connect your two routers should not exceed 320 ft. A longer cable could seriously impact network quality.
Setting Up the First Router
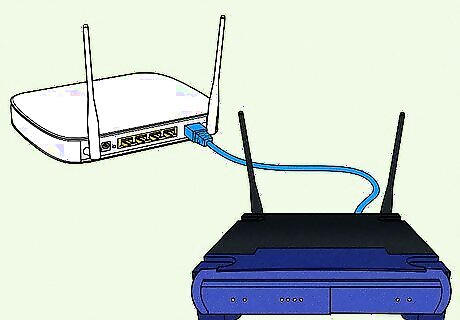
Connect your main router to the internet. The main router is the one that comes from your internet provider (if applicable), or the one that plugs directly into your modem. To connect your router to the internet: If the router and modem are combined in one device: Connect the device to the internet port on the wall using the network or coaxial cable that came with it, and turn it on. If the modem and the router are separate devices: Connect the modem to the internet port on the wall using the network or coaxial jack that came with it. Then, insert an ethernet cable into your router's WAN (or INTERNET) port, and connect the other end to the modem.
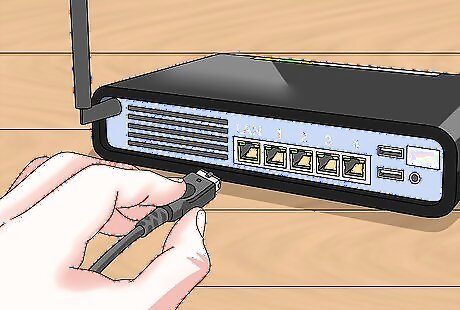
Connect your computer to the main router with an ethernet cable. It's best to use an ethernet cable during setup, even if your primary router has Wi-Fi. The main router is the one that comes from your internet provider (if applicable), or the one that plugs directly into your modem. One end of the ethernet cable should connect to one of the LAN ports on your router (they'll typically be labeled as such, or with numbers), and the other connects to the Ethernet port on your computer.

Go to your router's admin website. You can do this by opening a web browser, such as Edge or Safari, and entering the router's IP address into the address bar as if it were a regular website. The IP address is usually 10.0.0.1 or 192.168.1.1, but it varies by router. Here's how to find the right IP address: Windows: Open the Windows Start menu and click the Settings gear. Click Network & Internet. In the right panel, click View hardware and connection properties. Find the IP address next to "Default Gateway." macOS: Click the Apple menu and select System Preferences. Click the Network icon. Click your Ethernet connection in the left panel. Click the Advanced button at the bottom. Click the TCP/IP tab and find the IP address next to "Router."
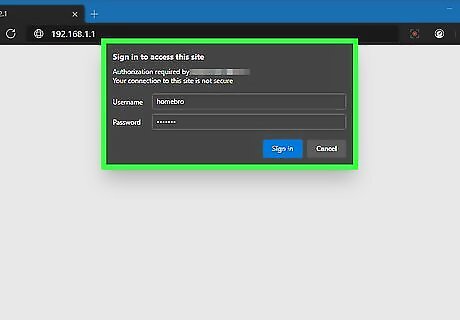
Log in as an administrator. If you're not sure of the admin username and/or password for your router, check your documentation, or look for a sticker on the router itself. You can also search the internet for your router model and "default administrator password."
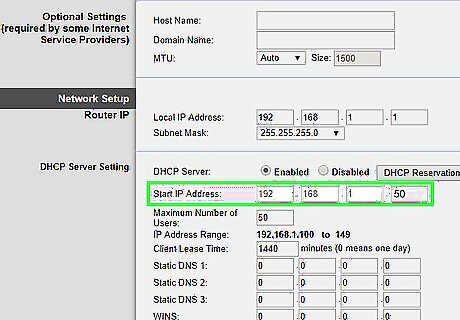
Turn on DHCP. DHCP is the protocol that assigns IP addresses to devices that join your Wi-Fi network. For example, if your router's IP address is 192.168.1.1, it will typically assign IP addresses at random from a range of addresses beginning with 192.168.1.2 and ending with 192.168.1.254. Find the DHCP settings in your router (which may be in a section called LAN setup or similar) and then turn on DHCP if it's off.

Write down the Wi-Fi details. You'll need to set some details in your secondary router to meet what you see in this router. This will allow you to log into the either router wirelessly using the same Wi-Fi password, as well as allows the secondary router to connect wirelessly to the first router (if supported by your secondary router). Locate the Wireless or Wi-Fi Security area of your router's admin website. Write down the SSID (may also be called Network Name) and password. Write down the value of "Security mode," "Network mode," or "Encryption mode." Write down the frequency, such as 5 GHz or 2.4 GHz. Go to the LAN or Network section of the router and write down the Internet (IPV4) IP address and subnet mask. If you have a TP-Link or Linksys router, you can skip this, but for many other routers, you'll need to write down the MAC address so you can enter it into the secondary router.
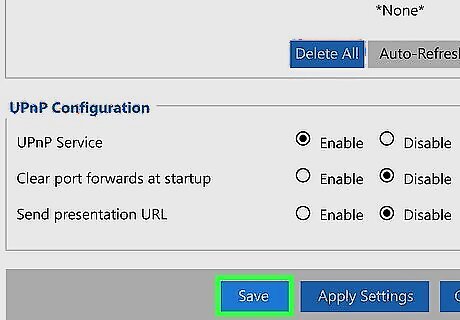
Save your changes and disconnect. If you haven't made any changes, no need to save anything. But if you have, click the Save option and then unplug the ethernet cable from your computer. You now have everything you need to set up your new router. It's a good idea to also turn off your main router for a while so that your computer doesn't accidentally connect to it via Wi-Fi when you're trying to set up your secondary (bridging) router.
Setting Up Bridging on the Second Router
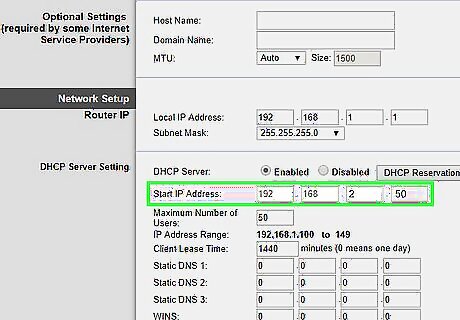
Connect the second router to your computer. Once you've disconnected from the main router, you'll want to connect the router that will be acting as a bridge to your computer so you can configure it. Here's how: Using the same ethernet cable, plug one end of the cable into your computer's ethernet port and the other end into one of the LAN or numbered ports on the second router. Plug in the router and turn it on.
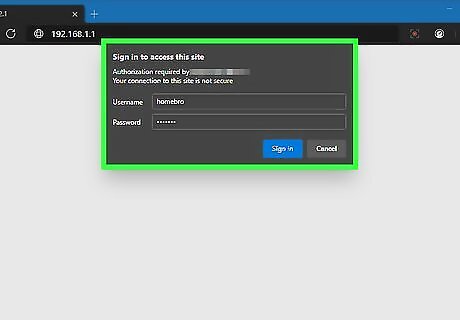
Log in to this router's admin website. This is the same process as with logging in to your main router's website—find the IP address (which might be the same) and then sign in with the username and default password.
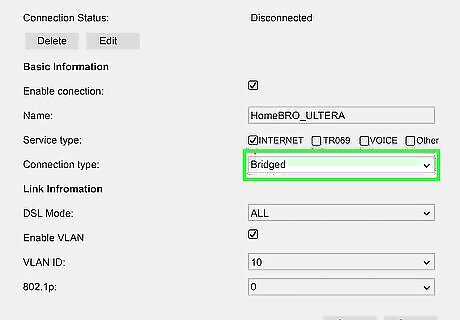
Enable Bridging Mode on this router. The steps and terminology vary by router model, but you'll usually need to navigate to a section called "Connection type" or "Network Mode" and choose Bridge Mode, Bridged, WDS, or Repeater from a menu. Check your documentation to find the exact location. On TP Link models, you'll need to go to Advanced > System Tools > System Parameters and click Enable WDS Bridging. On Netgear routers, go to Advanced > Advanced Setup > Router/AP/Bridge/Repeating Mode and select Enable Wireless Repeating Function. Then, choose Wireless Repeater.
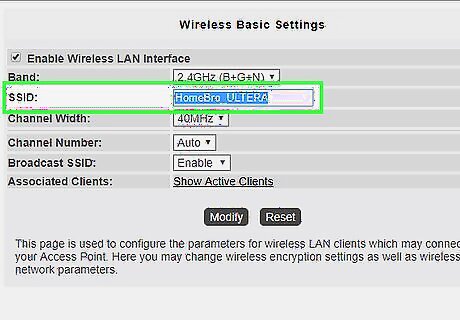
Configure bridging mode. Once you've turned on bridging mode, there are some details you'll need to provide the router so it knows how to communicate with your main router. The steps are going to be a little different on all models. On TP-Link models, you can click Survey, select the main router's SSID, and click Choose. Then, enter the main router's Wi-Fi password (if requested) and click Save to automatically gather the details from that router. On most other routers, you'll need to specify the default gateway, which is that IP address you used to log in to your main router. You'll usually also have to enter the Subnet Mask, which should match the main router. If prompted to enter an IP address, enter any address on the same range as the main router. For example, if the main router's IP address is 192.168.0.1 and the subnet mask is 255.255.255.0, you can make this router's IP address anything between 192.168.0.2 and 192.168.0.254. If supported by your routers, you may be able to connect the secondary router to the first router wirelessly. You'll have better results with an ethernet cable, but if a wireless connection is possible, you'll need to enter your other router's details into the Bridge Mode settings. Enter the original router's SSID (network name), password, security mode, channel, and Wi-Fi network frequency (e.g., 5 GHz). On most routers, turning on bridging mode will automatically disable the DHCP server on the secondary router. This is a good thing. If the DHCP server does not turn off when you enable bridging mode, locate your DHCP settings on the secondary router and disable DHCP.
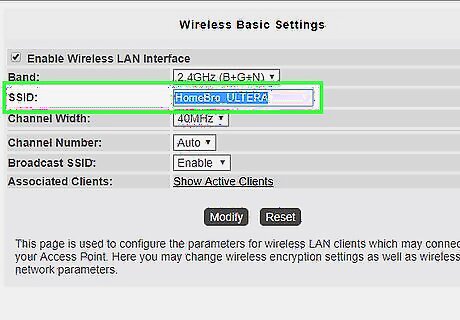
Update the Wi-Fi settings on the secondary router. If you plan to allow devices to connect to the secondary router via Wi-Fi, you will want the SSID to be a little different than the SSID of your primary router. You can make the SSID of the secondary router similar to the original router, but with a descriptor. Set the Wi-Fi password and security mode to match the primary router. For example, if your router is called Netgear2021, you can call this secondary router something like Netgear2021-Upstairs if it's upstairs.
Getting Online
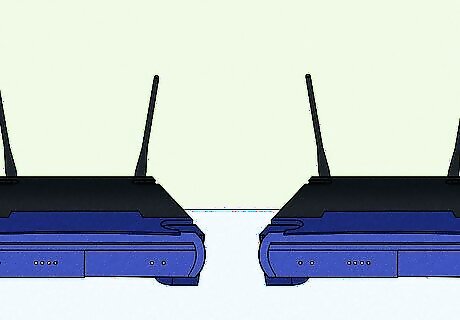
Place your routers. Now that everything is configured, you can place your routers wherever you need. Remember, you'll want to use an Ethernet cable that's no longer than 320 feet to connect the routers together (unless your routers support WDS). If you're using a compatible Wi-Fi router that supports wireless bridging, minimize physical obstructions, such as brick walls and metal frames or siding for best results. Make sure the primary router is connected to the modem (if separate). One end of the Ethernet cable should be connected to the primary router's Internet or WAN port, and the other end into the modem or wall jack. You can run Ethernet cable through the wall if you need to reach another room.
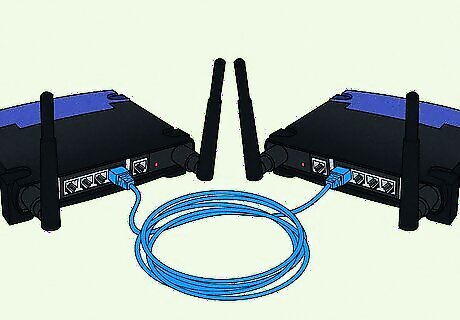
Connect the two routers together. Plug one end of the Ethernet cable to one of your primary router's LAN (Ethernet) ports, and the other into to any available LAN port on secondary router.
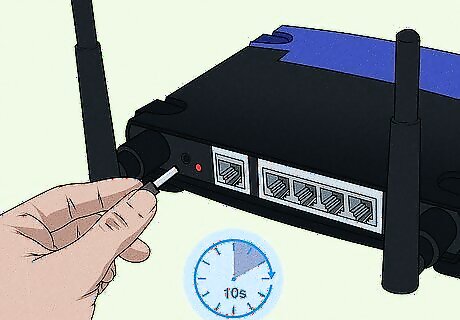
Restart both routers once connected. You can do this by unplugging each router's power cable and plugging it back in a few seconds later. After a minute or so, the routers will come back up. Both will now be accessible and connected to the internet. If you need to connect to the secondary router's admin website, you can do so by entering its new IP address into your web browser's address bar. The previous IP address will now only work for the primary router.


Comments
0 comment