views
Cutting and Folding the Links
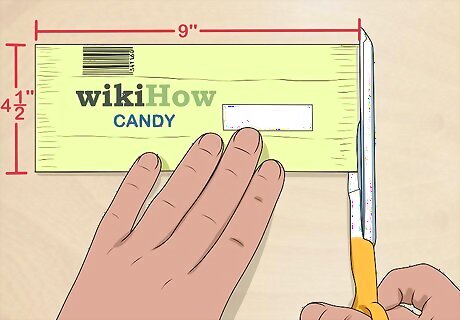
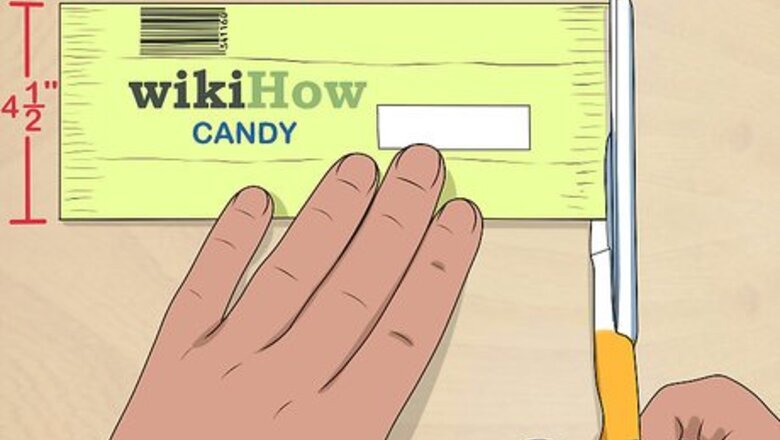
Cut your candy bar wrappers into 4½ by 9-inch (11.43 by 22.86-centimeter) strips. You will need at least 140 strips, plus extra. Try to use different wrappers from different types of candy. This will make your bag look more interesting and colorful! For smaller bags, cut your wrappers into 2 by 5-inch (5.08 by 12.7-centimeter) strips. You will need at least 120 strips, plus extra.
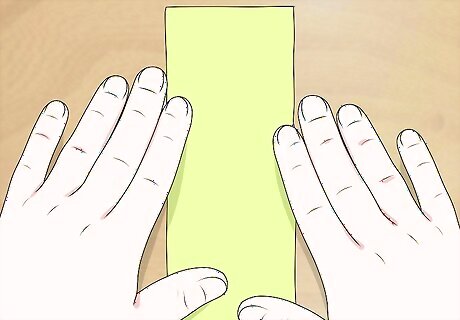
Place your first strip down in front of you. Angle it horizontally, with the long edge facing you. Make sure that the blank side is facing up, and the patterned side is facing down, right against the table.
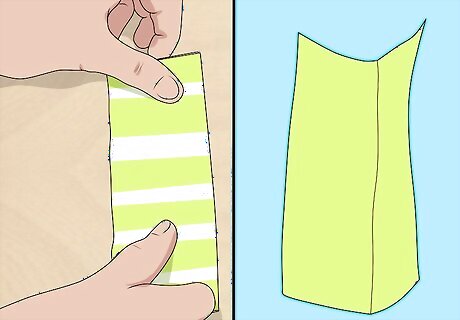
Fold the strip in half lengthwise to make a crease, then unfold it. Bring the two long edges together, and run your fingernail along the crease. Unfold the paper, making sure that the blank side is still facing up.
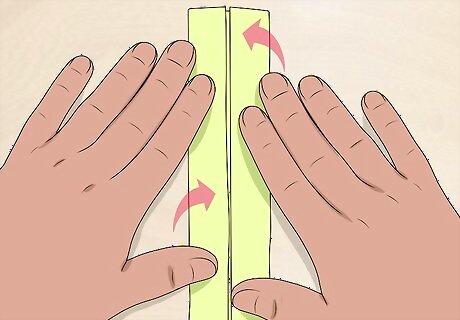
Fold the long edges towards the center, using the crease as a guide. Take the top, long edge, and fold it towards the crease. Run your fingernail along the folded edge to sharpen it. Repeat this step with the bottom edge.
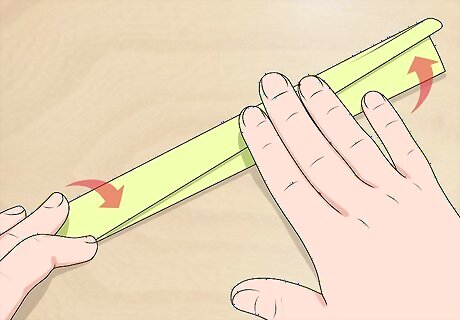
Fold the strip in half lengthwise along the first crease that you made. Your strip should now be a fourth of its original width. The two long top and bottom edges should be sandwiched inside it.
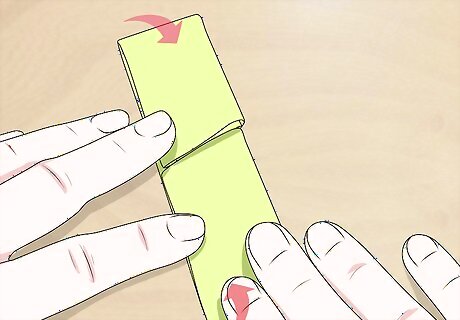
Fold the left and right narrow edges towards the middle. If you want to be precise, fold the strip in half widthwise to make a crease first, then unfold it. Bring the narrow left and right edges towards the crease, then run your fingernail along the folds to sharpen them.
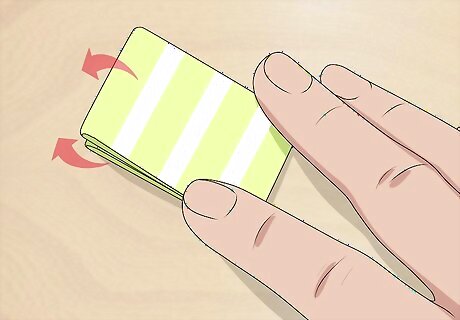
Fold your strip in half widthwise. Your two narrow edges should now be sandwiched inside it.
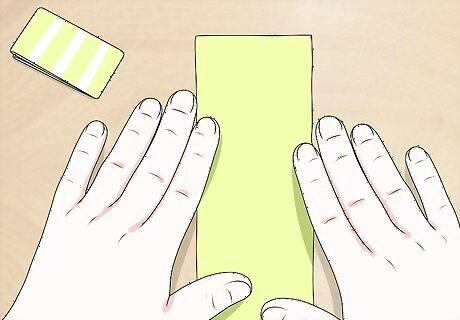
Set the folded packet aside, then fold the rest of your strips in a similar fashion. To keep the links from coming apart, place a heavy book on top of them.
Joining the Links
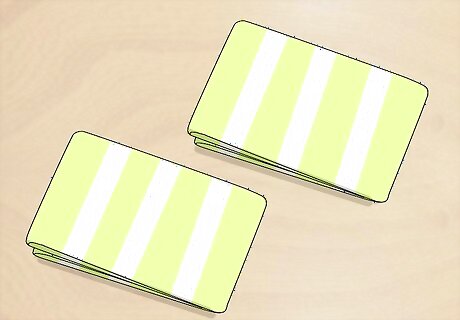
Take two of your folded links out from under the book. Keep the rest tucked away for now.
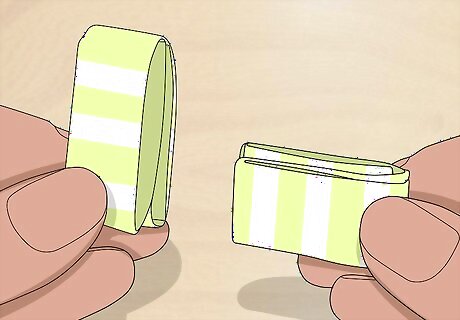
Get the links into position. Hold the first link vertically, with the open edges facing down. Hold the second link horizontally, with the open edges facing the first one. The flat side of both links should be facing you (not the folded parts).
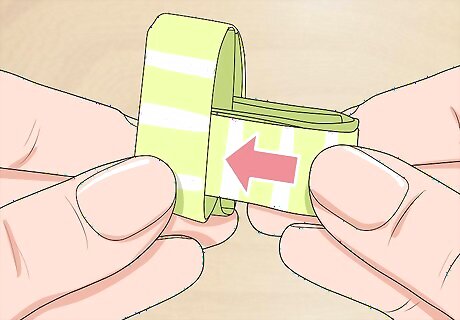
Slid the links together. Hold the first link steady, with your forefinger on top, and your thumb on bottom. This keeps the link open. Slide the "prongs" of the second link into the "slots" of the first link. Both links have two prongs. These prongs also have slots in them.
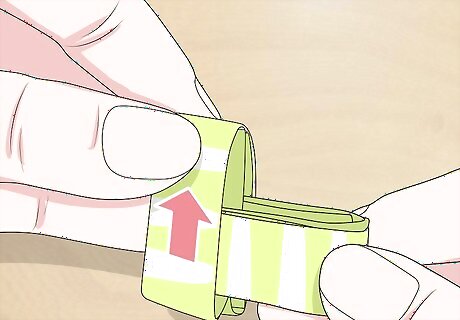
Tug the second link to tighten it. You will end up with a bulky V or L shape.

Continue attaching the links in a similar manner until you have a strip of 28 joined links. Turn your joined links so that the prongs of the second link are facing down. Take a third folded strip out, and hold it horizontally. Insert the prongs into the slots of the second link. Keep doing this until you have a long strip composed of 28 links. If you are making a smaller bag with smaller strips, stop when you have 24 links.
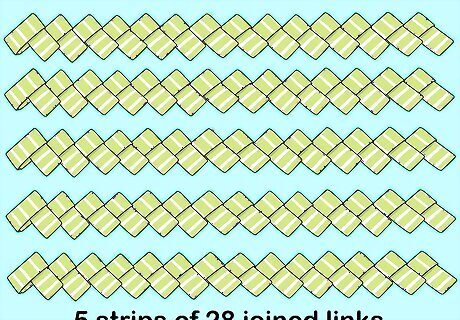
Set your strip aside, and repeat this section 4 more times. You will end up with a total of 5 strips, each made up of 28 or 24 links.
Making the Body
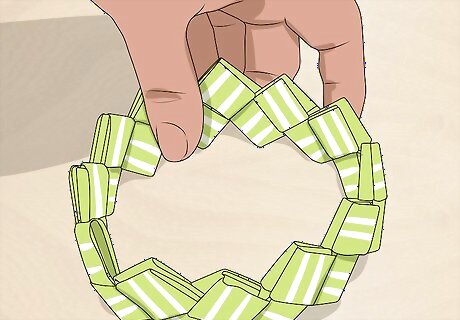
Join the ends of your first strip together to make a ring. Take your first strip, and unfold the prongs on the last link. Keep the first link folded. Bring the folded link towards the unfolded one, and place it between the two unfolded prongs. Fold the prongs back inward, sliding them through the slots. Make sure that you slide the front prong through the front slot, and the back prong through the back slot.
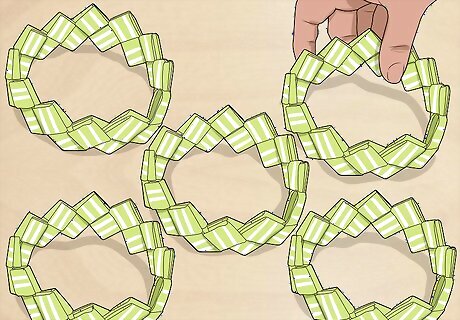
Continue joining the other 4 strips in a similar fashion. When you are done, you will have a total of 5 rings. They should look a little like crowns.
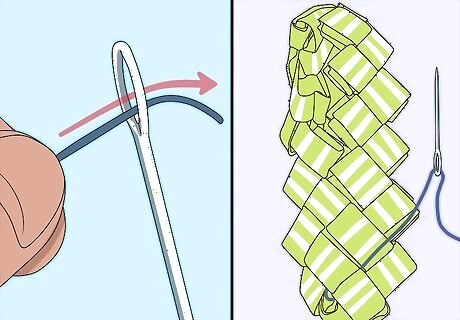
Thread your needle, the tie the tread to one of the links inside the ring. Take a long needle, preferably one with a blunt tip, such as a plastic yarn needle. Thread some fishing line or thread through it, then tie the end to one of the wrappers/links on your first ring. Make sure that the knot is inside the ring.
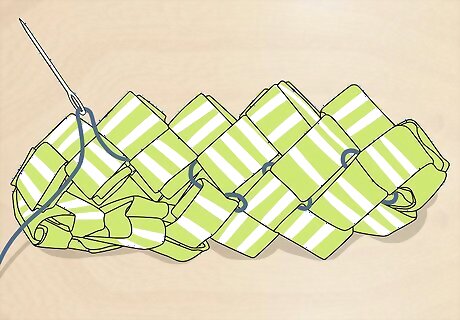
Push the needle through one of the links and out through the other end. Try to find an open path, without piercing through the paper.
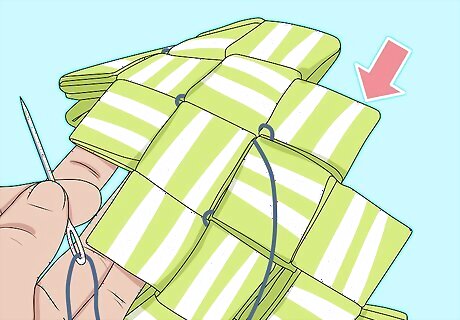
Place your second ring on top, match up the links, and join them together. Push the needle through the matching link and out through the top. Keep stacking rings and pushing the needle through the links until you have pushed the needle out through the top of the fifth ring.
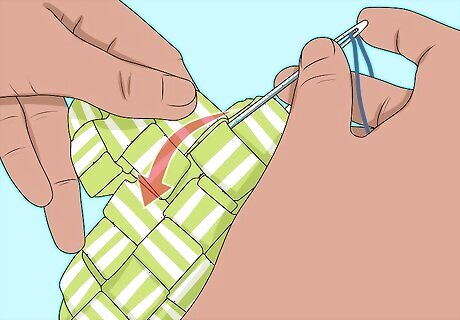
Bring the needle back down. Find the next opening on the top link, and push the needle down through it. Keep threading the needle back through the links until you reach the bottom. You'll be sewing up through the outside, then down through the inside.
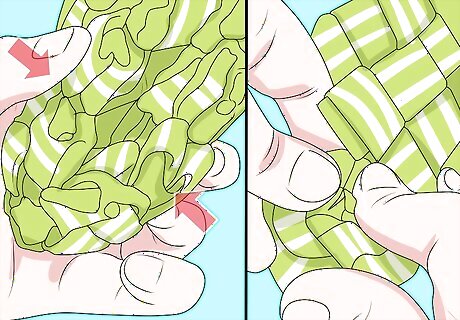
Flatten the bottom of your bag first, and tuck the corners in. Flatten the bag first, then fold the edges together, so that the pointed links fit into the notched links. There will be a link at each corner of your bag that does not match up. Tuck these links into the bag.
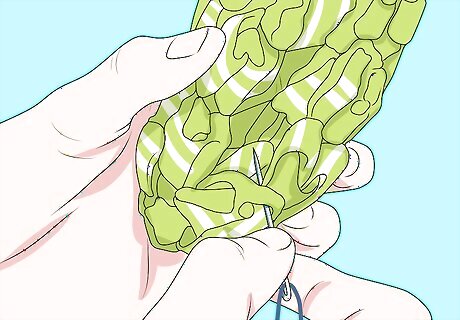
Start sewing the bottom of the bag together. Tie the end of your thread to the first link on the right. Push your needle up through the link and out the other end. Next, bring it down through the link on the left, and tug it gently. Do this step twice. Keep the corner piece tucked inside the bag.
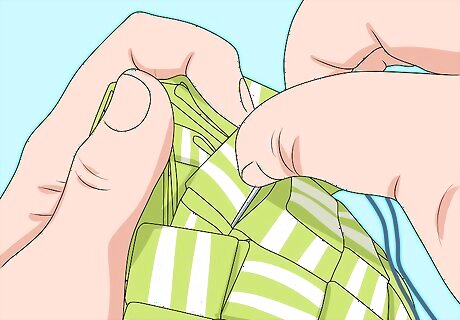
Continue sewing the bottom of your bag. Bring the needle back up through the link on the right. Push it up through the second link above it. Pull the thread taut, then push the needle back down through the second link on the left. Keep sewing across the bottom of the bag in a similar fashion until you reach the opposite end. Keep the corner piece tucked inside the bag.
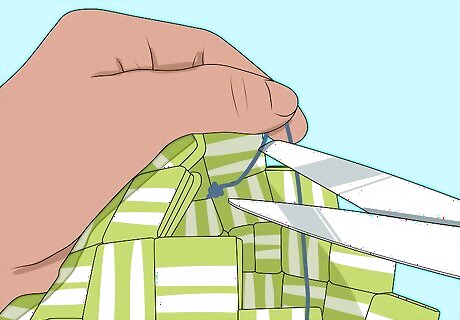
Tie the thread off and cut it. Make sure that you are tying the thread off inside the bag so that it is less visible.
Finishing the Bag
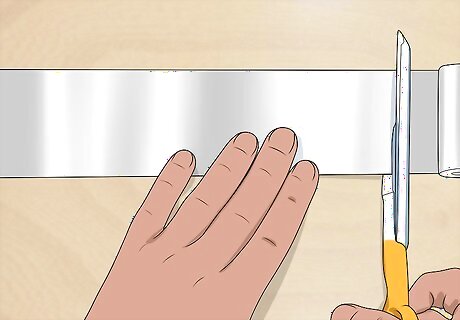
Cut some material to make a strap. Here is where you can get really creative. You can make your strap out of duct tape, more folded and linked candy wrappers, ribbon, fabric, or nylon backpack strapping. Choose your material, add about 4 inches (10.16 centimeters), then cut it accordingly. You can make one long, shoulder strap, or two short handles. To make a fabric strap: Decide how wide you want your strap to be, then cut your fabric 4 times as wide. Fold the fabric in half lengthwise, with the wrong sides together, and press it with an iron. Fold the raw side edges inside so that they nestle against the fold. Press the strap with an iron again. Topstitch along the double-folded edge using a sewing machine. Sew as close to the folded edge as possible.
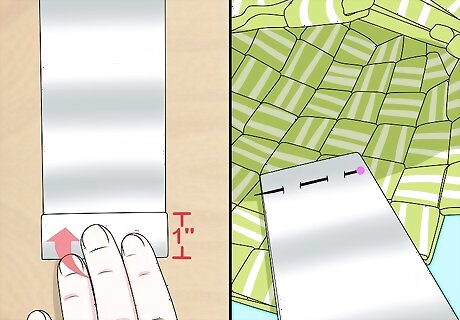
Fold the ends of the straps in by 1 inch (2.54 centimeters), then pin them to the top, inside edge of the bag. Plan on having about 1 inch (2.54 centimeters) of the strap inside the bag. Also, make sure that the folded part of your strap is against the bag so that you can't see it. Folding the ends of your straps in hides the raw edges and gives you a cleaner finish. Keeping 1 inch (2.54 centimeters) of the strap inside the bag adds strength and stability. If you are making a shoulder strap, pin the ends to the folded side edges of the bag. If you are making handles, pin them to the flat sides of the bag inside.
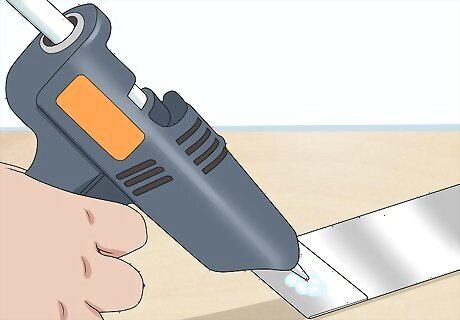
Secure the straps. The easiest way to do this would be to simply hot glue them in. You can also sew them in by hand or by using a sewing machine. If you plan on using a sewing machine, sew across the side and bottom edges of your strap, first, then along the top edge of your bag. For extra stability, sew an X into the middle of your strap where it connects to the bag. Remove the sewing pins when you are done.
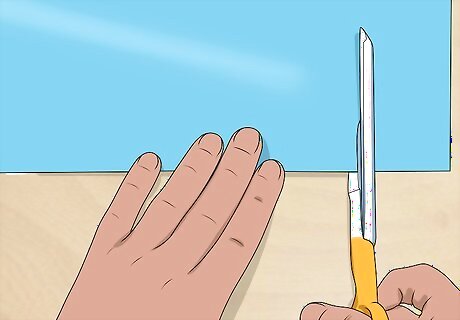
Cut some fabric for the lining, if desired. Measure the height and width of your bag, and add 1 inch (2.54 centimeters) to each measurement. Fold some fabric in half, and cut a square or rectangle out according to your measurement; the folded part of the square will be the bottom of your bag. If you do not wish to add a lining, your bag is done.
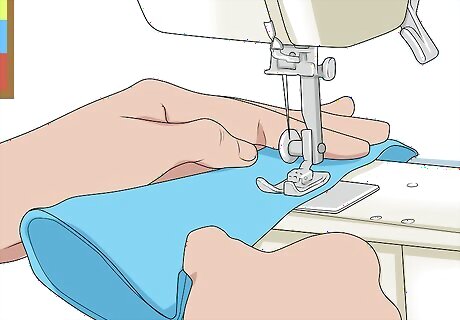
Sew your lining together. Make sure that the fabric is folded with the right sides together. Next, sew up the sides of your lining using a ½ inch (1.27 centimeter) seam allowance. Leave the top edge open.
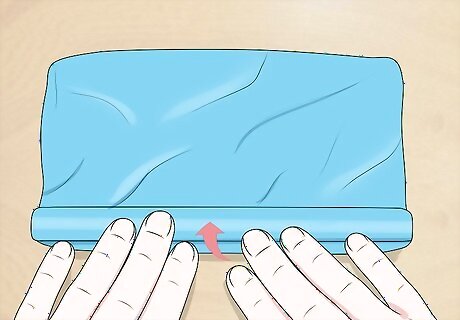
Fold the top, raw edge of your lining down by 1 inch (2.54 centimeters) all the way around. Make sure that you are folding towards the outside, where the side hems are. If you'd like, you can glue or topstitch the top hem down to keep it in place.
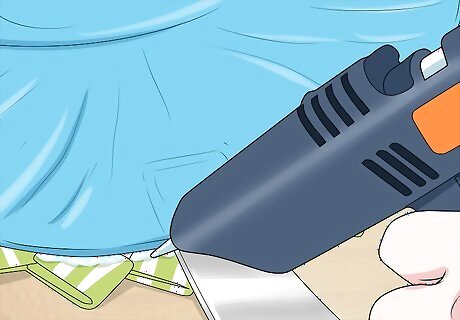
Glue the lining into the bag. Set the lining into the bag, and match up the top edges. Draw a short line of hot glue along the top edge of the bag, then immediately press the top edge of the lining into it. Keep doing this until you have glued the lining down. Hot glue sets quickly. Work 1 to 2 inches (2.54 to 5.08 centimeters) at a time.
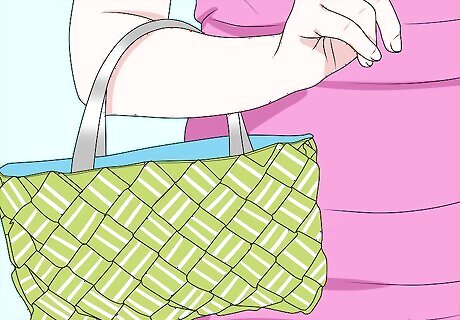
Use your bag with care. Even though this bag is sturdy, it is still fragile and can break if you are not careful. Avoid getting it wet, and do not keep anything too heavy inside of it.


Comments
0 comment