views
Designing Your Original Character
Think of a name. Come up with a name for your original character that says something about who your pony is. Draw inspiration from the names of characters on My Little Pony: Friendship is Magic (TV show), or come up with your own ideas for a name. If you're not sure how to think of a name, try coming up with a name similar to Fluttershy, one of the main characters on the show. Her name combines the physical characteristic of her being a pegasus (“flutter") with her personality characteristic of being timid (“shy”). You can also come up with a name that has to do with what your pony does or likes. For example, Applejack is a pony from the series who is named as such because she works on her family’s apple farm. Find name generators online if you need help creating a name for your original character.
Create a backstory. Think about where your pony comes from, what inspires them, what’s happened to them, etc. Write these details down so you have a complete picture of your original character beyond just an image. Jot down a few key facts about your pony, like its gender, favorite color, favorite food, etc. You can also write several sentences of description or even a whole story that goes into your pony’s backstory. Think about your favorite characters in TV shows, movies, books, and video games. What are their backstories? What makes you like them? Draw inspiration from these characters when coming up with your backstory. It’s a good idea to come up with a backstory before you decide on aspects of your pony’s physical characteristics, because your character’s background may help to inform what he or she looks like.
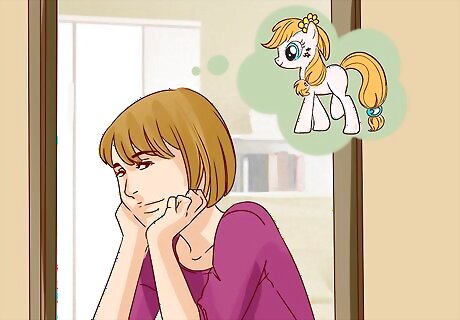
Decide on your type of pony. Choose what kind of pony you’d like to create based on the different varieties that have appeared on the TV show and in the toy lines. Pick a type of pony based on the physical characteristics and abilities associated with each type, or just because you like the look. On the TV show My Little Pony: Friendship is Magic, the common types of ponies are earth ponies, unicorns, and pegasi (as well as alicorns, which are a combination of unicorn and pegasus). In the collection of toys made by Hasbro, there have been many different types of ponies, including flutter ponies, seaponies, breezies, and crystal ponies. Note that while most people choose a pony as their original character, you can also use another animal that is not a pony for your OC. In the TV show, creatures like zebras, griffons, and changelings also appear as characters from time to time.
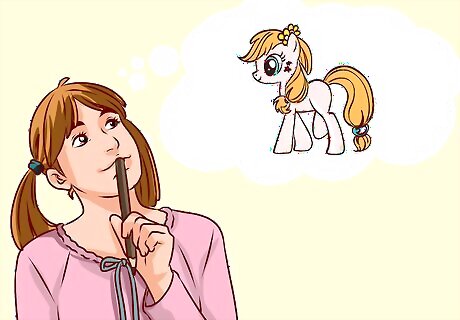
Choose your pony's colors and appearance. Decide on how you want your pony to look, including what colors to use for its body, mane and tail, and eyes. You can also make choices about the size and shape of your pony and its features. Think about the shape of your pony’s head and ears, the style of its mane and tail, how long its legs are, and other features that will help make your original character truly unique. Draw a quick sketch of your pony to help figure out what you want it to look like. Use colored pencils or markers to help you choose the colors you like best.
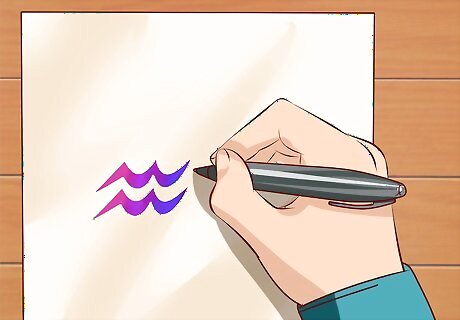
Decide on a Cutie Mark. Determine a Cutie Mark for your pony, which is the characteristic mark on the flank of all ponies who have discovered their special talent. You can make your Cutie Mark into anything you like based on your own talents or interests, or one you come up with for your character. A Cutie Mark can represent anything you like to do or are good at. Maybe you’d use a cupcake as a Cutie Mark if you love to bake, or leaves and flowers if you’re a great gardener. A Cutie Mark can also be a more abstract design if you want to represent a more abstract quality, like being a good friend or having magical powers. Try taking a quiz to determine your Cutie Mark. Or design your own and save it to your computer or print it for later use.
Drawing Your Pony
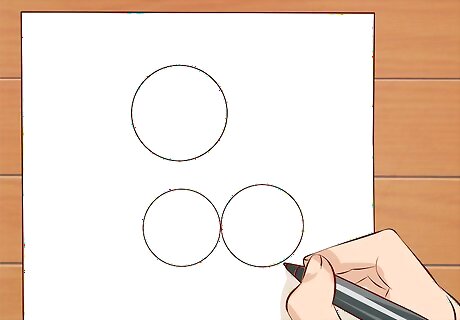
Start with basic shapes. Sketch out the basic shapes that make up a pony’s body before you add more detail to the features. Use a pencil that will draw lightly, a good eraser, and any type of drawing or printer paper. Start with three circles: one larger one for the head, and two slightly smaller ones for the body. Add a rounded triangle shape for the ear and whatever shape you’d like for the mouth and nose. Add six curved lines coming out from the circles for the body to create the legs. Connect the shapes with smooth curved lines for the neck, body, and feet. Then erase all of the lines from your initial sketched shapes that you don’t need anymore.
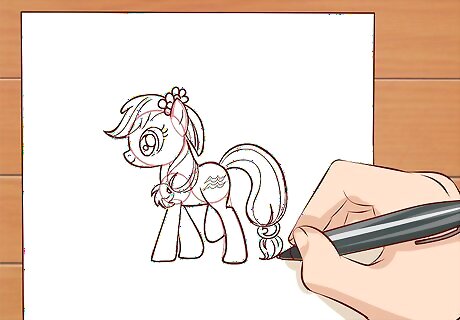
Add distinguishing details. Sketch in the details of your face, any fur on its feet, style of the mane and tail, and any other special features that your pony has. Don’t forget the Cutie Mark on its flank, right in front of the tail! Draw in a big eye in the shape of a D, a curve for a smiling mouth, and a tiny line for a nostril to complete the face. Pick a hairstyle for the mane and tail of your pony. Is it long and flowing? Curly? Multi-colored? Draw in a unicorn horn on the forehead if you’ve decided your pony will be a unicorn, or pegasus wings on its back if it is a pegasus.
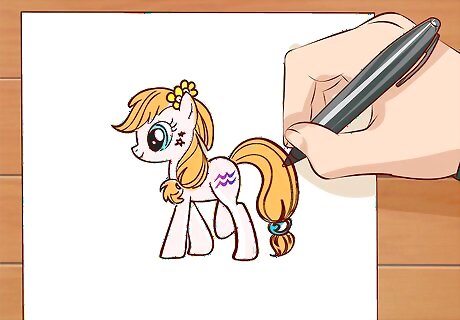
Add color to your pony. Once you’ve got the outline for your pony’s body and details, color it in with colored pencils, markers, or crayons. You can even add other embellishments like glitter or small gems to add extra flair to the body and hair of your original character. You can use your favorite colors, or any colors that make sense for the backstory of your pony. For instance, if your character loves the ocean and swimming, maybe you will use blue and green colors reminiscent of the sea. Don’t be afraid to use more than one color, especially for the hair. The character Rainbow Dash actually has a whole rainbow of colors in her mane and tail. Don’t forget to color the iris of your pony’s eye!
Making Your Pony on the Computer
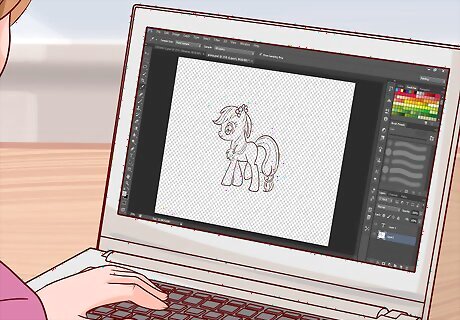
Design your pony with graphic design software. Use a computer program that allows you to draw and color in your own unique pony design. Use brush, pencil, or pen features in software like Photoshop to draw your pony freehand. Try software like the popular Adobe Photoshop for the most advanced features, or free programs like GIMP or Artweaver that let you create your own artwork in a similar fashion. You can use many of the same principles you use for drawing with pencil and paper when you use computer art programs. Use an eraser tool within the software to erase sketch lines, or utilize layers to create different versions of your design to delete or edit.
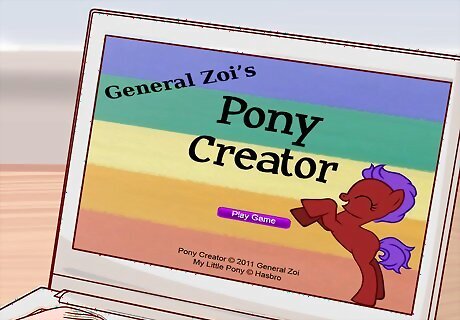
Create your pony with a pre-made program. Customize your pony using an online game or program specifically for designing My Little Pony-style characters. Choose colors, hair styles, and other distinctive markings for your pony before saving it. Try a game like General Zoi’s Pony Creator to customize a large number of features on your pony and save it to your computer. Or use the similar tool to design ponies on Pony Lumen. Create a unique Cutie Mark for use in other pony designs on Hasbro’s official site for My Little Pony.
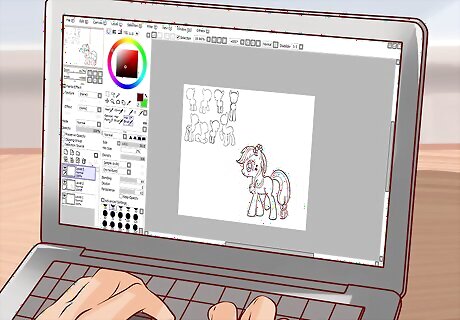
Use a template and customize it. Find pony templates online if you do not want to design your own. These will allow you to save or print the design and add your own customization with color. Try printing out a pony template and color it in with your own colored pencils, markers, crayons, or paint. Or save a template to your computer and use a photo editing program to fill it with color. Note that a template won’t allow for too much customization of things like face and body shape or hairstyle, unless you draw in your own extra details by hand.


Comments
0 comment