views
Standard Cuts
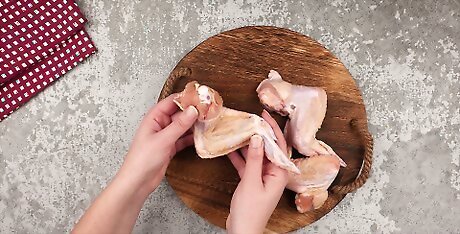
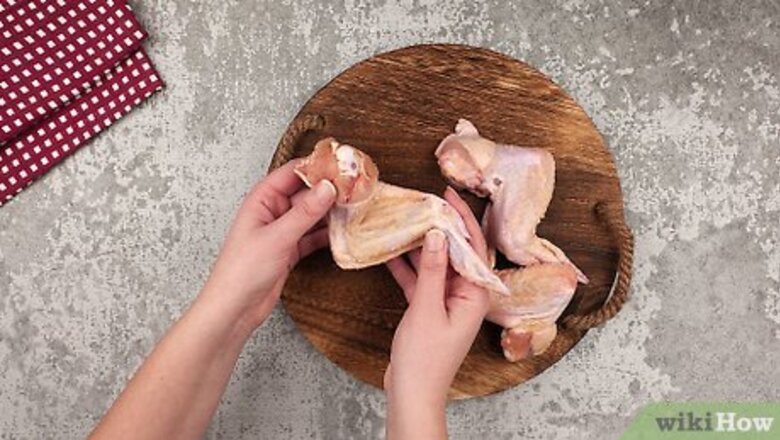
Identify both joints. A whole chicken wing has two joints connecting three sections. You should be able to visually identify both joints. The wing should bend in two places, and each bend corresponds to one joint. The rounded end previously connected to the body of the chicken is the drumette. The middle portion between both joints is the wingette (also called a "flat"), and the pointed end is the tip. Once you've visually identified both joints, use your fingers to feel for the areas that seem hollow or loose. Those are the connecting points, and those are the points at which you'll cut the wing.

Dislocate the joint between the wingette and drumette. Grab the whole wing on both ends. Bend it back at the joint between the drumette and the wingette, forcing the joint apart. You should hold the wingette and drumette in either hand so that the two portions form an upright "V" shape. Disregard the wing tip for now. Pull down on both portions until you hear a slight crack. Continue until the bone connected to the end of the drumette forces its way through the connecting skin.
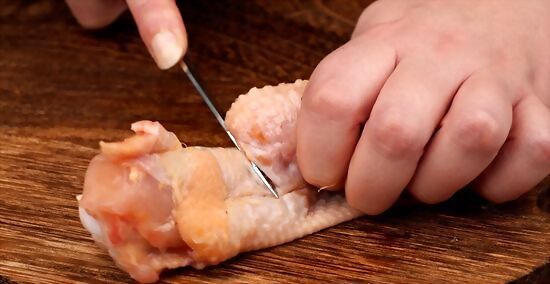
Cut through the joint. Place the chicken wing on your cutting board and position a sharp knife directly between the exposed joint. Press down and through the joint to cleanly separate both pieces. You'll need to use a straight, downward force to cut through the joint, but you may need to use a sawing motion to cut through the connecting skin. Alternatively, you can cut through the exposed joint using sharp, clean kitchen scissors.

Dislocate the joint between the wingette and tip. Hold the connected wingette and tip in your hands. Wiggle or bend back the wing tip until you force the joint apart. This part of the process is usually easier than the first part since this joint is less firm. Hold the wingette ready while using your other hand to wiggle the tip. Do this until you can hear or feel the joint pop, then continue bending the joint back until you can reveal two bones. The smaller of the two bones is connected to the wing tip.
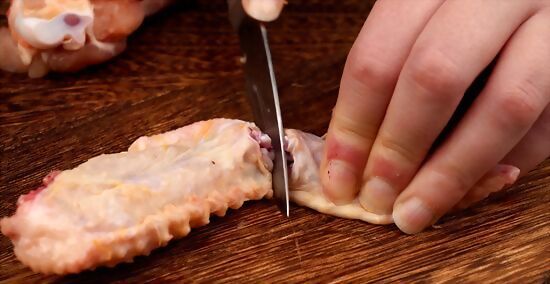
Cut through the joint. Return the wing to the cutting board and use a sharp knife to cut straight through the wingette and the tip, cleanly separating both pieces. The two pieces should separate easily with a knife. If desired, however, you can separate these portions using kitchen scissors instead.
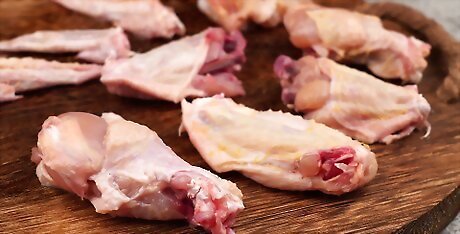
Use the separated pieces. Use the wingette and drumette in recipes calling for chicken wing pieces. Discard the wing tips. The wing tips have little to no meat, making them unfit for use in normal recipes. If you don't wish to completely discard them, you could save the tips and use them for use in chicken stock later.
French Cuts
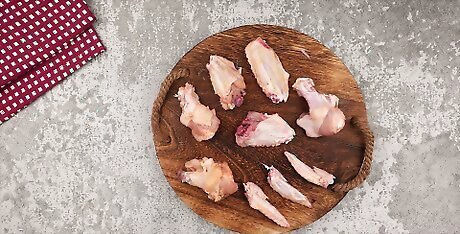
Separate the three pieces as usual. Before "Frenching" the chicken wings, you'll need to separate each whole wing into its three separate pieces following the standard method. Discard the wing tip as usual. You can make French cuts using both the drumettes and wingettes. French cuts separate the meat and skin from a portion of the bone. The meat sits on one end of the wing piece and the exposed bone presents itself as a neat "handle" for easy gripping.
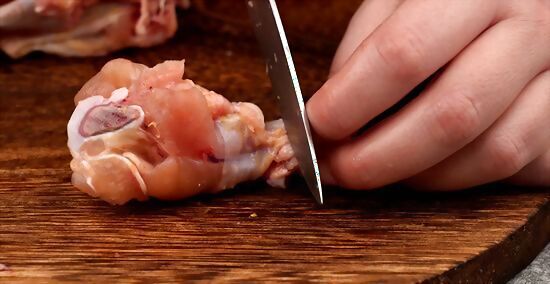
Saw through the skin of the drumette. Use a sharp knife to saw through the skin at the thin bottom of the drumette. Work around the entire bottom, stopping once the skin seems completely disconnected there. Firmly pinch the exposed bone between your fingers with one hand while cutting the skin with the other hand. Use a gently sawing motion to separate the skin. Allow the blade to do the work instead of forcing the knife through with force. The goal is to separate the skin without marring or sawing into the bone itself.
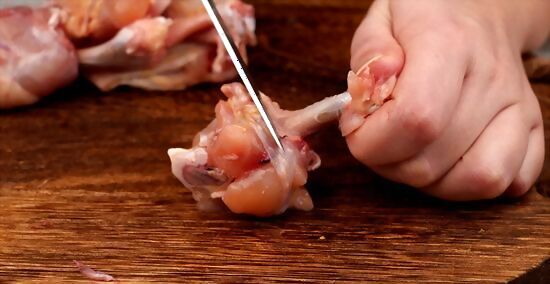
Push the meat down to one end. Use the side of the knife blade to push the meat down from the thin end of the bone and further onto the thick end of the bone. You might be able to use your hands to do this, but if it feels too slippery or too tough, use the knife. Press the blade of the knife down so that the sharp edge lightly touches the side of the bone. Push up on the meat, rotating the drumette as needed to scrape up all sides. Note that you may need to cut through several sinews while doing this.
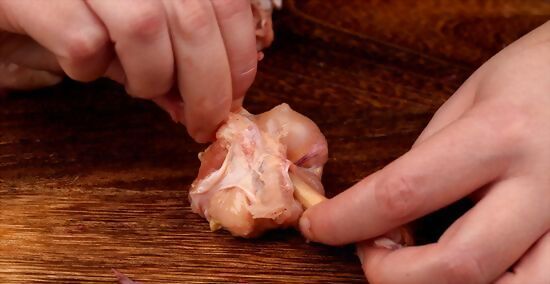
Secure the meat. Once the meat forms a tight knob at the end of the bone, use your fingers to pull it inside-out. This isn't strictly necessary, but securing the meat in this manner should prevent it from slipping back down along the length of the bone as it cooks.
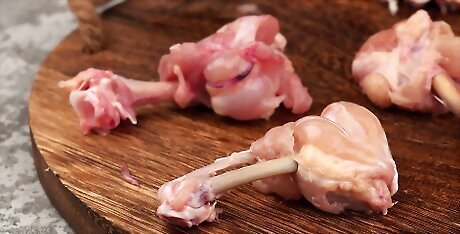
Repeat with the wingette. Grab the exposed bone at the end of the wingette and push the meat onto the opposite end. Fold the meat inside-out over that end to secure it, if desired. Since the wingette is the middle section of the whole wing, you shouldn't need to separate the skin from the bone as you did with the drumette. Force the meat from the narrow end of the wingette, exposing more of the bone there and creating a fat knob on the thicker end. You can fold the knob of meat inside-out to help secure it, but doing so may not be necessary.


Comments
0 comment