
Evening Out the Cut Edges
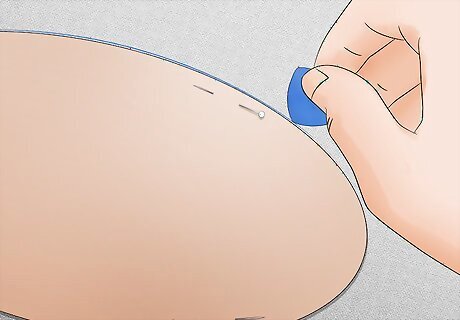
Cut the selvage off. The selvage edge is the densely-woven strip along the top and bottom edges of the fabric. In some cases, it may have a clean, finished edge. In other cases, it may look frayed. You will typically find it on both the top and bottom edges of the fabric. On many printed cottons, the selvage edges are left white and unprinted.
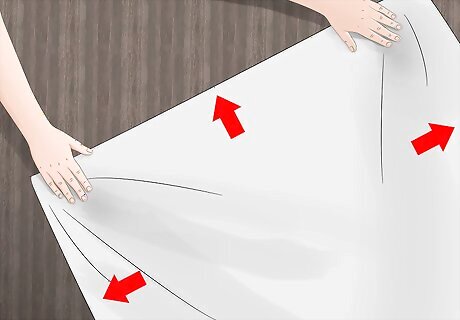
Square the fabric to restore the original shape. Pull on the top-left and bottom-right corners, then pull on the top-right and bottom-left corners. Depending on the size of the fabric, you may need to get someone to help you. This is especially important if you are working with stretchy, woven cotton.
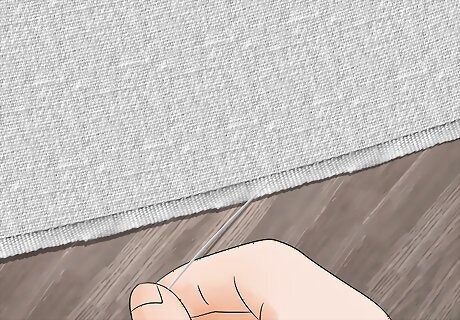
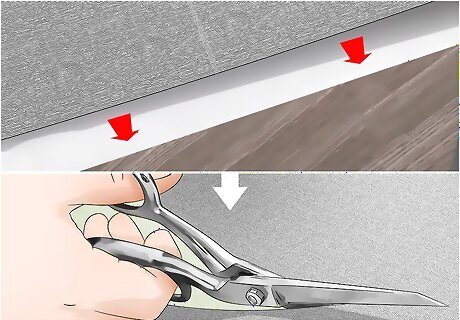
Pull a thread out of each cut edge if you are working with woven fabrics. Find a thread along your selvage edge, about 1 inch (2.5 cm) from the left cut edge, and pull it out. Repeat this step for the right cut edge. When you are done, you'll have a thin line on each side of your fabric, from selvage to selvage. This is best for woven fabrics, like cottons and linens. It will not work on densely-woven, knitted, or stretchy fabrics, including faux furs and velvet. If the fabric was cut unevenly, your thread may not hit the opposite selvage edge. If that happens, pull another thread out further away from the last one. Don't worry if the thread breaks. Just find the broken end and continue pulling.
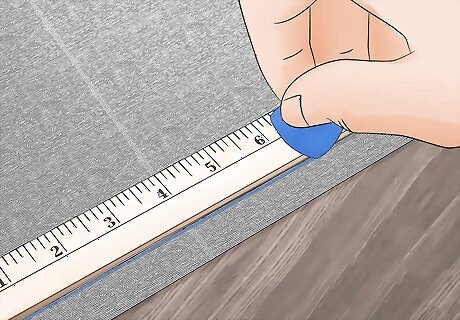
Draw a line along each cut edge if you are working with knit fabric. Align the ends of a long ruler with the top and bottom selvage edges. A square would be even better. Use a dressmaker's chalk or pen to draw a line along the ruler/square. This is useful for knit and stretchy fabrics, such as jersey. It's also a good technique to use on fake furs and other densely-woven fabrics, such as velvet. A square is a type of measuring device. It is shaped like a half-triangle, with a horizontal, vertical, and diagonal ruler.
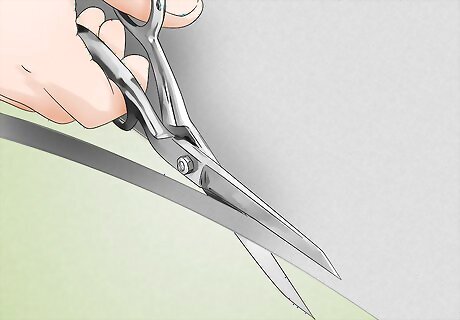
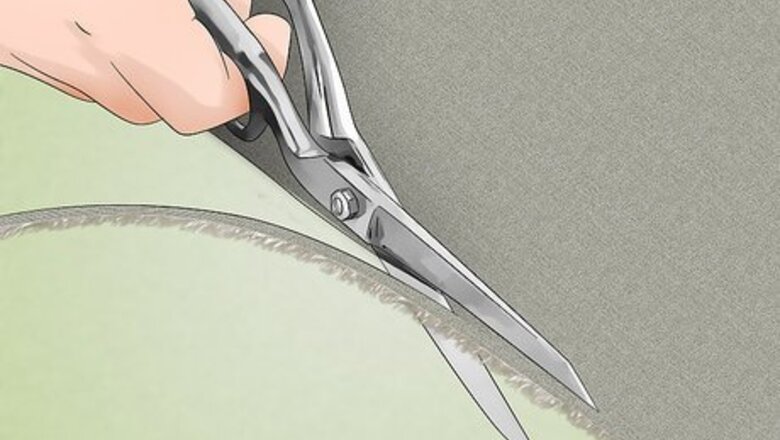
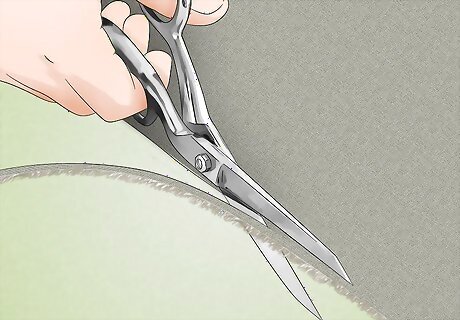
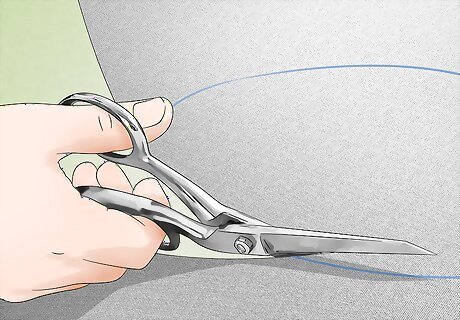
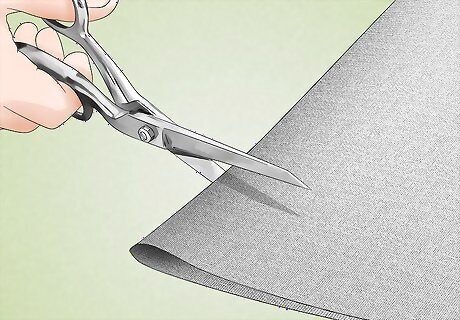
Cut along the thin line with a sharp pair of fabric scissors. You should do this whether you pulled a thread out or drew the line. A pair of fabric scissors will work the best if you pulled the thread out. A rotary cutter will work better if you drew the line on. Use fabric weights to hold the fabric in place while you cut it, especially if you're using a thin fabric like silk.
Cutting the Pattern and Fabric
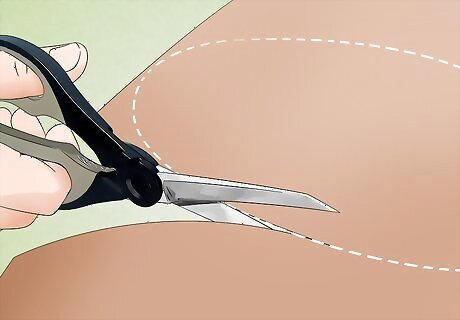
Cut the pattern out using regular scissors. Do not use your fabric scissors to do this. Even though pattern paper is very thin and delicate, it can still ruin your scissors. Make the extra effort, find another pair of scissors, and use them to cut the pattern out. If the pattern is badly creased, iron it flat using a dry iron. This way, you won't distort the pattern when cutting it.
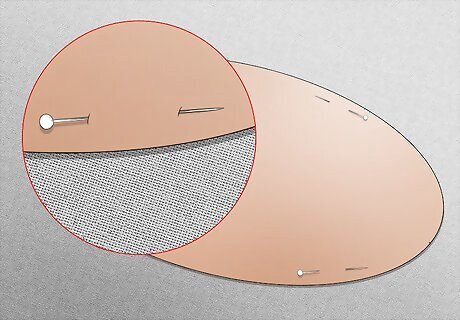
Pin the pattern to the fabric according to the instructions. Spread the fabric out on a flat surface and smooth out all of the wrinkles. Pin the pattern to the fabric according to the layout printed inside the instructions. Pay attention to the grain lines on the pattern. These appear as long arrows. They need to be parallel to the grain/selvage edge of your fabric. If there is no pinning layout, use your best judgment to arrange the pieces. If your pattern has a straight edge and the word "FOLD" printed alongside it, align it with the folded edge of your fabric.
Trace around the pattern paper, then remove the pattern. Use colored tailor's chalk if the fabric is light, and white tailor's chalk if the fabric is dark. You can also use a tailor's pen if the fabric is light. Once you have traced all of the pattern pieces, unpin them and set them aside. Be sure to trace all of the darts and notches as well. Tracing the pattern means that you'll be cutting right along the fabric and won't have to worry about accidentally cutting the paper and ruining your scissors.
Cut along the lines you traced using fabric scissors. Use one hand to hold the fabric steady, and the other hand to cut the fabric. Make sure that the fabric scissors are sharp. If they don't cut through the fabric easily, or if they leave behind a ragged edge, they are too dull and need to be sharpened.
Cutting Specific Types of Fabric
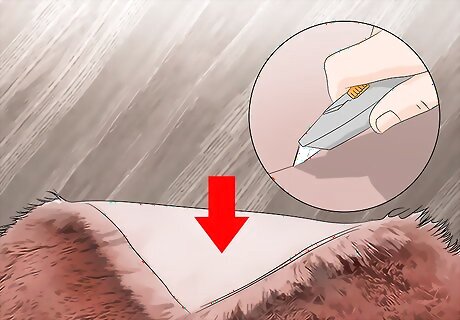
Cut faux fur from the back. If you cut faux fur from the front, you risk cutting into the fur itself and shortening it. Flip your faux fur over, and trace your pattern onto the back/wrong side. Cut along the lines that you drew using a box cutter or fabric scissors. If you are using fabric scissors, make sure that you glide the bottom blade through the fibers. You want to cut through the backing of the fur, not the fur itself.
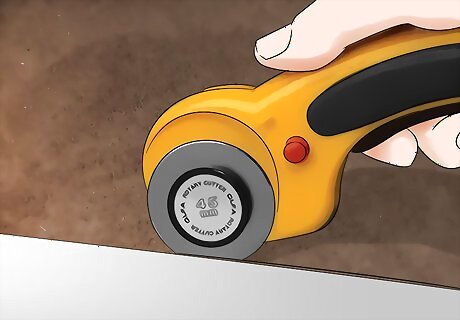
Use a rotary cutter to cut leather, pleather, and faux leather. Set your leather down on a cutting mat with the right side facing up. Set the pattern on top and trace around it; do not pin the pattern, or you will leave behind permanent holes. Cut along the lines that you drew using a rotary cutter. You can find rotary cutters alongside the fabric scissors in a fabric store and a craft store. If the pattern keeps slipping, use paper clips or clothespins to secure it to the edges.
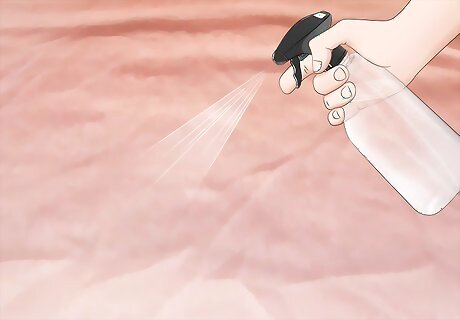
Dampen slippery fabrics before cutting them. Mist slippery fabric, like chiffon, with water. Let it soak through, then set your pattern on top and pin it in place. Cut around the pattern, taking care to avoid the paper, then remove the pins. Don't use a dress maker's pen on the wet fabric, or it will bleed. You can try using a dressmaker's chalk on the wet fabric, especially if it can be used wet, like a watercolor pencil.
Place tissue behind delicate fabric, but be aware that it can dull your scissors. Placing tissue paper behind the fabric will make cutting it easier. Do this if you are having trouble cutting the fabric. Sharpen your scissors afterwards.
Take care to align prints, plaids, and stripes when cutting patterns. When cutting solid-colored fabrics, you will often fold the fabric in half first to save time. When it comes to prints, however, you want to cut out your first set of pieces first, then use them to match the prints for the second set. You will need to be more fabric than the pattern calls for when working with prints, especially stripes. Keep the direction of the prints in mind. If your fabric has palm trees on it, make sure that they are right-side-up!
Washing, Drying, and Ironing the Fabric

Copy the washing, drying, and ironing instructions at the store. When you buy fabric off the bolt in a store, take a look at one of the side edges of the bolt. If you see any instructions on how to wash, dry, and iron the fabric, write them down. If you don't have anything to write with, snap a picture with your phone or camera instead. If you forgot to record the washing, drying, and ironing instructions, look the fabric type (i.e.: cotton, chiffon, wool, etc.) online.
Buy more fabric than you need if it has a pattern on it. This includes prints, stripes, and plaids. It is especially important if you will be sewing a garment. When you sew a garment, you will have to match up the patterns on the seams. This means that you will end up using more fabric than the pattern calls for. Anywhere from a ⁄4 to ⁄2 inch (0.64 to 1.27 cm) extra would be a safe bet. You can disregard this step if you are cutting fabric for an item without seams, such as curtains.
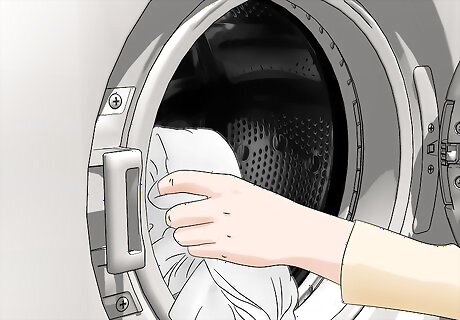
Wash and dry the fabric according to the instructions on the bolt. Fabric tends to shrink after it is washed. You need to do this before you start cutting or sewing the fabric. If you don't, your finished piece will shrink considerably the first time you wash it. Keep in mind that some fabrics need to be dry cleaned. In this case, take it to an experienced dry cleaner. You don't need to pre-wash muslin if you are using it for fitting or drafting. You don't need to pre-wash fabric that's already been preshrunk. The bolt should say whether or not the fabric has been preshrunk. Take the fabric out of the washer/dryer right after it's done washing/drying. This will reduce wrinkles.
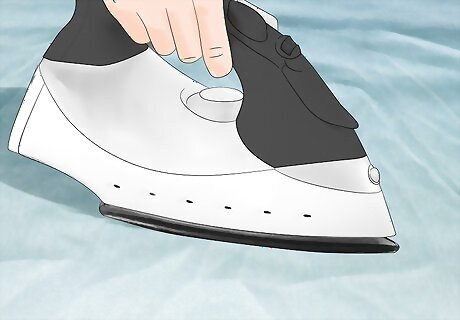
Press the fabric with an iron, if needed. Some fabrics don't wrinkle at all, so you may be able to skip this step. If you got the fabric dry cleaned, then it should already be pressed for you. If your fabric has wrinkles in it, however, you will need to iron them out. Remember to use the iron setting recommended on the bolt.


Comments
0 comment