
- Make sure your images are high quality so they print clearly on the poster.
- Consider how your poster will look when printed, and make your text and images large enough to see.
- If you want to print a poster bigger than 11x17, you'll likely have to get the poster printed at a print shop.
Collect your materials. If you plan on using images, graphs, charts, or other assets on your poster, collect them before you begin. Make sure to keep your poster's final size in mind when collecting assets. Make your own graphs or charts using PowerPoint. These assets can be resized while you're in the program so they print clearly on the poster. Collect images that are at least 150 dpi. You can check the DPI (dots per inch) of your image various ways, such as in the File Explorer or Paint.

Open a new PowerPoint document. You can create PowerPoint posters up to 56" long and/or wide. If your poster dimensions are longer than 56" on any side, you'll have to use a different program to create your poster, such as Adobe Photoshop or InDesign.
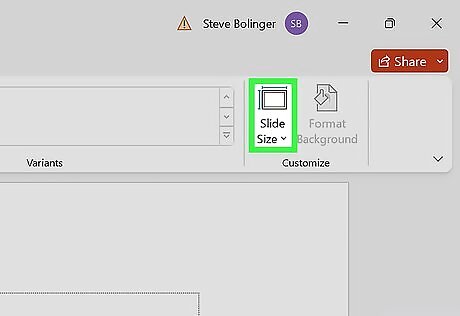
Click Design > Slide Size. A window will pop up, allowing you to adjust your slide size.

Enter your poster dimensions and click OK. In this window, you can also select landscape or portrait orientation for your poster. Remember that you cannot make your poster larger than 56" on any one side. If you're planning to print at home, keep your poster size to 11"x17" or less. If your printer can print larger-format documents, size your poster accordingly. Otherwise, you'll need to get your poster printed at a print shop.

Design your poster. You can add text, images, other assets, and a background to your poster if you want to. Here are some design tips: Draw out your design before you make it. If you have an idea for your poster's design, sketch it out so you have an idea of where to start once you open up PowerPoint. Insert images directly into PowerPoint. Don't use copy and paste, as this may not import the highest-quality image. Make sure your text is big enough to read. Depending on your poster size, start with a headline font that is 100pt and a body font between 24 and 48pt. Make sure to select fonts that are easy to read, such as serif or sans-serif fonts. Remember contrast. Don't put dark text on a dark image or light text on a light image. If you selected a background with many different colors, consider adding a solid-colored box behind your text to make it legible. Arrange your content from top to bottom. Most people will read a poster from top to bottom, so put your initial or most important points near the top of the poster.
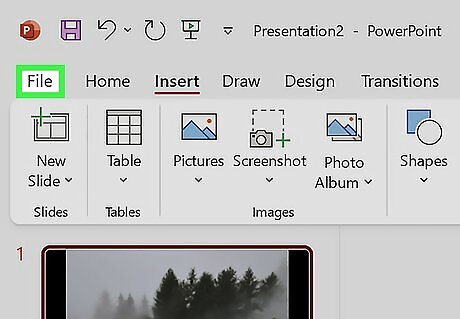
Click File > Export. You will want to export your file as a PDF, which is the best file type for printing.
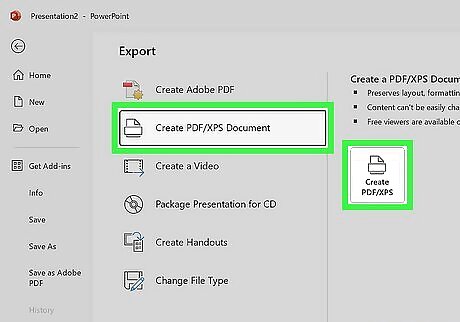
Click Create PDF/XPS document. Type in a name for your file and save it.
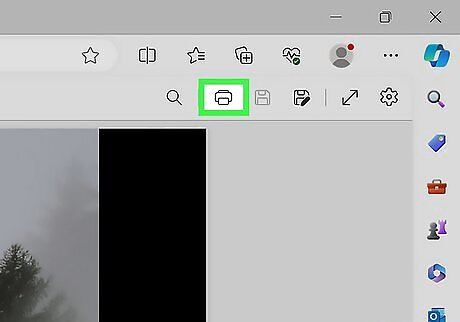
Print your poster. If you need to print a large document that is bigger than an at-home printer can create, you will want to go to a print shop. You can usually bring your file on a thumb drive, or some print shops will allow you to email the file over for printing. Even if you're printing a small poster, you will have to go to a specialized print shop if you need your poster printed on a unique material like vinyl. At-home printers can usually print up to 11"x17" size paper and can generally handle paper thickness up to a sturdy cardstock. Some common paper sizes for at-home printers include 8.5"x11" (letter), 8.5"x14" (legal), and 11"x17". If you can't or don't want to go to a print shop, you can print large posters at home using the Rasterbator tool. Simply go to Rasterbator.net and follow the on-screen instructions to upload your poster file and split it into smaller pieces you can print at home. After printing, trim the margins from the papers and join them with tape or by gluing them to the poster board. While this won't create a professional-quality poster for a school or work project, it works when creating a rough draft or just making a poster for your wall at home.


Comments
0 comment