views
Cartoon Penguin
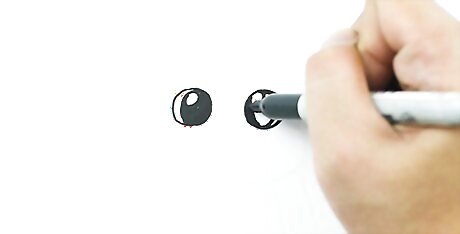
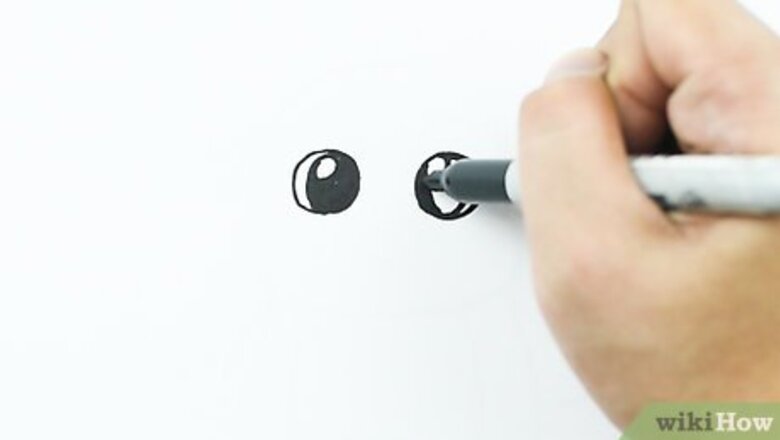
Draw 2 circles with a smaller circle in each one to make the eyes. Fill in the smaller circles so they look like pupils, but leave a small white circle in each one for the highlights. Leaving a little highlight in each eye will make them look more real. It doesn’t matter where in the pupil you make the highlight, but try to keep it the same in each eye.
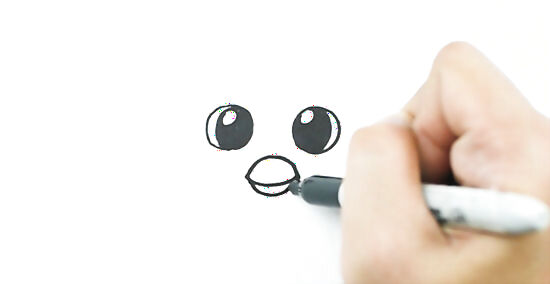
Sketch the beak underneath the eyes. To draw your cartoon penguin’s beak, start by drawing an upside down half circle just below the eyes, centered between them. Then, connect the ends of the half circle by drawing a line from one end to the other. Finally, draw a smaller half circle under that line to make the bottom of the beak. Don’t be afraid to experiment with the shape of your cartoon penguin’s beak, but try to make it smaller than the eyes so it doesn’t look too big.
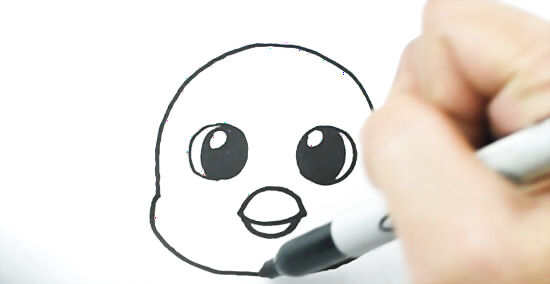
Draw the head around the eyes and the beak. First, draw a curved line that runs from the outer edge of one eye, up and over both eyes, and down to the outer edge of the opposite eye. Then, from that point, draw a wider curved line that runs down under the beak and back up to your starting point. By making the bottom curved line wider, you’ll give your cartoon penguin cute, chubby cheeks!
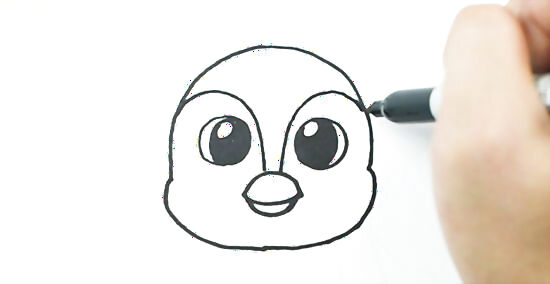
Add a curved line over each eye to outline it. These lines will add some dimension to your cartoon penguin’s face. Starting at the outline of the head near the top of one of the eyes, draw a curved line that runs above the eye and then down to the top of the beak. When you’re finished, repeat with the other eye.
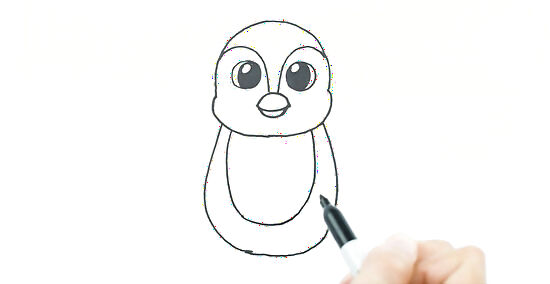
Sketch a large oval with a smaller oval inside of it for the body. Draw the ovals so they’re extending down off of your cartoon penguin’s head. The top of the ovals should be partially covered by your penguin’s chin. Aim to make the body around twice as tall as the head, but don’t worry about it being precise.
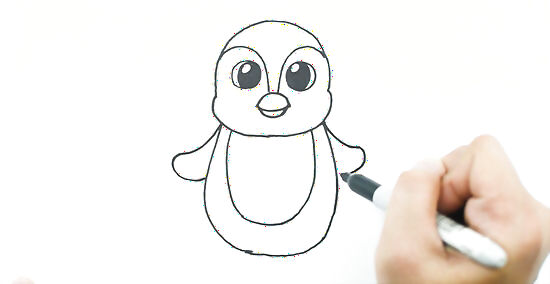
Draw a wing on each side of the body. To draw the wings, start by drawing at one of the points where your cartoon penguin’s head meets its body. Then, draw a downward sloping line that slightly curves upward. Finally, round out the tip of the line and draw a curved line coming back toward your penguin’s body. When you’re finished, repeat on the other side. The size of your cartoon penguin’s wings don’t need to be exact, but try not to make them too long or they might look more like arms.
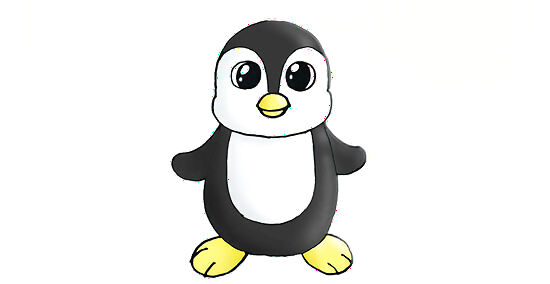
Make 2 small, angled ovals at the bottom of the body for the feet. Starting at the bottom of your cartoon penguin’s body on one side, draw an oval that extends off its body at a downward angle. Then, repeat on the other side going in the opposite direction to make the other foot. You can also draw 2 parallel lines inside of each oval to give your cartoon penguin toes!
Emperor Penguin
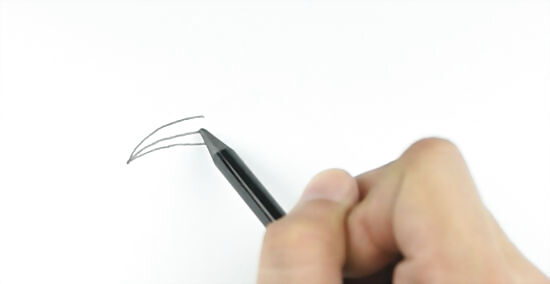
Draw a horizontal “V” shape to make the beak. Sketch a horizontal line going through the middle of the “V” shape to break the beak up into 2 sections. Make the ends of the lines curve downward, especially the bottom line since that will connect to your penguin’s body. The horizontal line cutting through the middle of the beak should be longer than the top and bottom lines in the “V” shape.
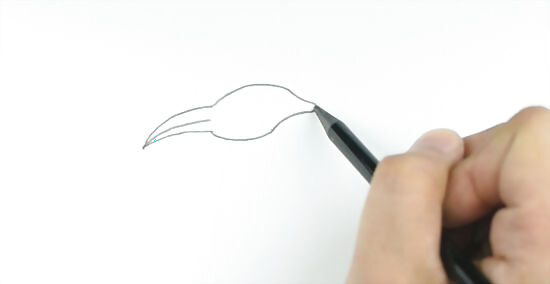
Sketch the outline of the head extending off the beak. Starting at the end of the top section of the beak, draw a horizontal curved line to make the top of your penguin’s head. Then, draw a vertical line that slopes downward, and connect the end of that line to the end of the bottom section of your penguin’s beak. Don’t make your penguin’s head too big since you’ll want it to be relatively small compared to the rest of its body.
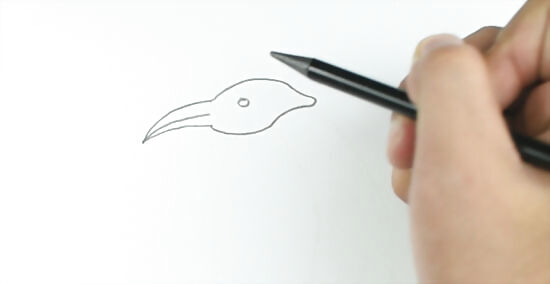
Draw a small circle inside of the head for the eye. You only need to draw one eye on your penguin since it’s turned to its side. Make the eye small and center it in the head so it looks realistic.
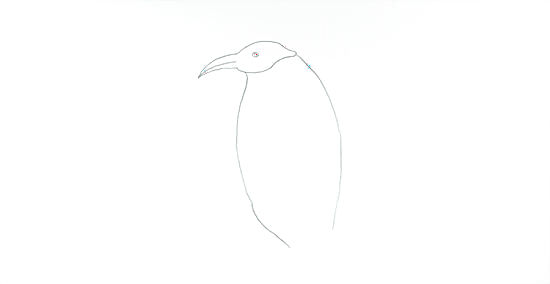
Make a long, vertical oval for the body. Draw the oval so it’s extending down off of the head. As you’re drawing the oval, make the front side nearly straight until it curves in at the bottom, and make the back side curve more outward so it almost looks like your penguin is hunching over. To save yourself the trouble of having to erase lines later, leave a small gap at the bottom back side of the oval so you can add your penguin’s legs and tail.
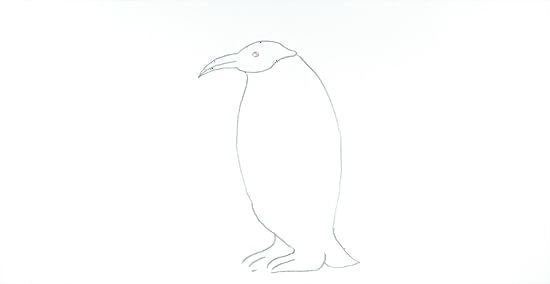
Draw 2 legs and a tail at the bottom of the oval. The legs should extend down off the oval, and each should have a narrow, flat foot at the end. To make the tail, start at the back side of your penguin and draw a short line that curves outward. Then, from that point, draw a straight line to the back of your penguin’s foot. Your penguin’s tail should be pointed at the end and flat on the bottom like the feet.
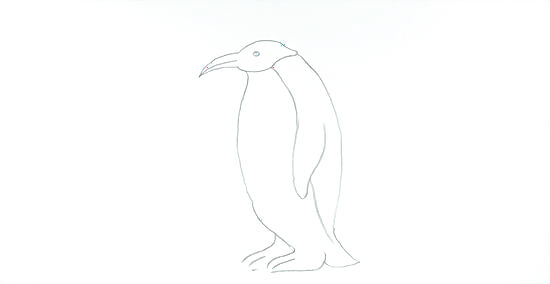
Add a wing on the side of the body. Since your penguin is turned to its side, you’ll only need to draw one of its wings. To make the wing, start at the point at the bottom of the head. Then, draw a downward sloping line a third of the way down your penguin’s body. Next, draw a vertical oblong shape extending down off of this line that comes to a rounded point near the top of the tail. Leave a gap near the top of the wing so it looks like it’s connected to the rest of the body.
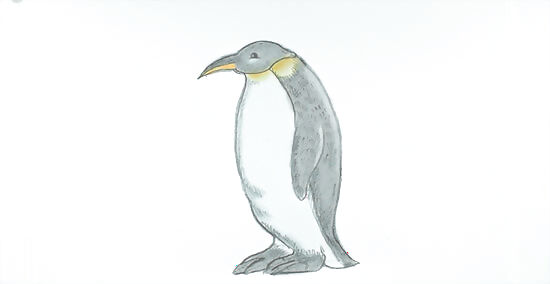
Shade in your drawing to make it more realistic. To shade in your penguin, start by shading in the head and beak, making the top section of the beak darker than the bottom section. Then, color in the back side of your penguin, including the tail and feet. You can also do some light shading on the front side and the legs, but leave most of that space white.





Comments
0 comment