
Planning and Preparing
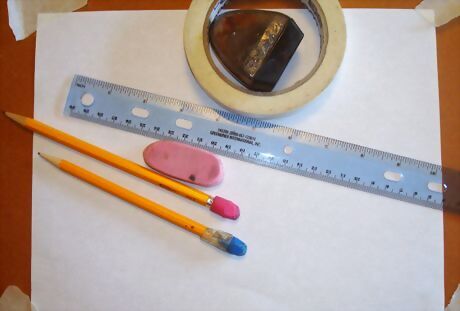
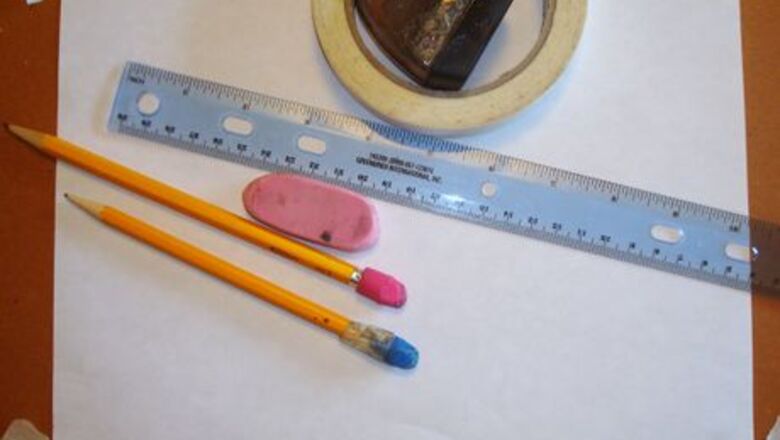
Assemble your drawing supplies. Find a sheet of plain drawing or a 9” X 12” piece of computer paper for your initial drawing. You will need a 12” ruler, a sharp pencil, an eraser, an uncluttered work space and/or a support board of plexiglass, stiff cardboard or foam core board, larger than your paper.
Place your paper horizontally and tape it down in the corners. Be sure it is aligned exactly with the edges of your support board or table. Plan to keep the paper in this horizontal position while working on your drawing. Going off-angle will cause confusion as you work.

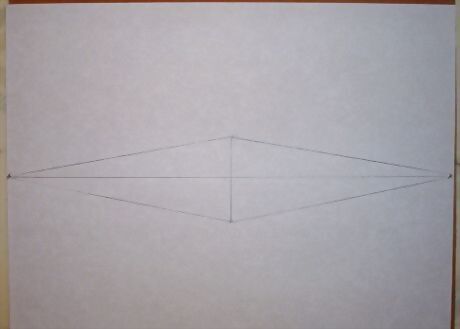
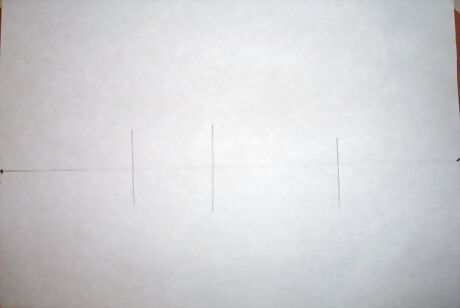
Draw a line, with your ruler, on your paper, from side to side. This is your "horizon line," also known as the eye level. Make it dark enough to see, but not so dark that you can’t eventually erase parts of it. The horizon line is where the sky and earth meet. It is also at your eye level.
At either end of the line, place your "vanishing points." Put them at the very ends of the horizon line. Make small Xs or dots on the line. These points on the horizon line are where things you are looking at grow so small from distance that they blur into a spot and diminish.
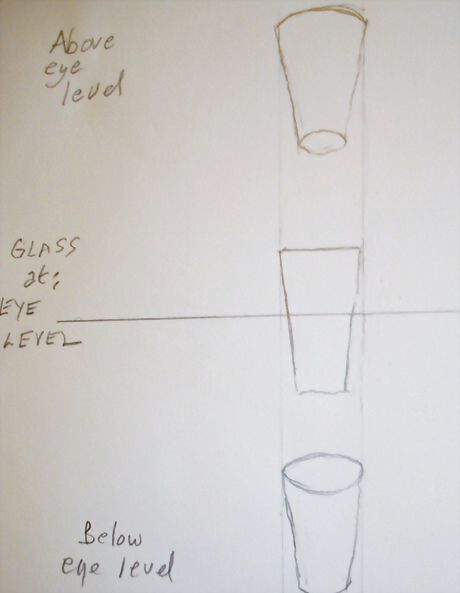
Understand the terms "above," "below" and "on" eye level. Do this by holding a glass straight out from your eyes to view it on eye level. Hold it a few inches below your eyes to see it from below eye level and a few inches above to see it from above eye level. You will work at eye level.
Drawing the House

Draw a 2-inch vertical, pencil line. Then draw this line intersecting the horizon line, with one inch on either side.
From the top and bottom of this vertical line, draw lines to the vanishing points on either side. Use your ruler for all lines from now on and keep your verticals straight. You will be referring to the paper's edges to keep lines straight, even if you aren't aware of it.
Do the two walls of your house. Draw two more vertical lines at 2 inches (5.1 cm) on the left and 3 inches on the right.
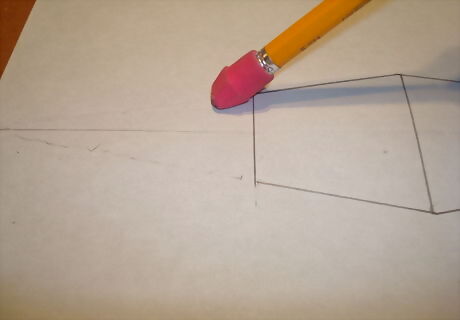
Erase your guide lines. This will give you a two sided shape, a cube or box.
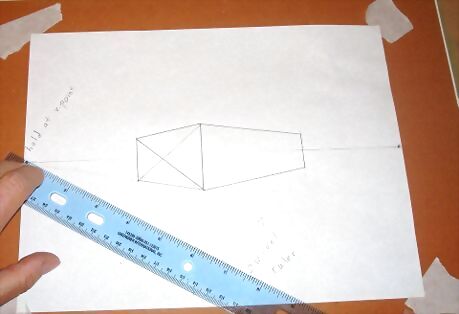
Construct your roof peak. Start by finding the center of one of your house walls. Lightly make a cross on one of the house walls by running ruled lines diagonally, cutting the rectangle into fourths.
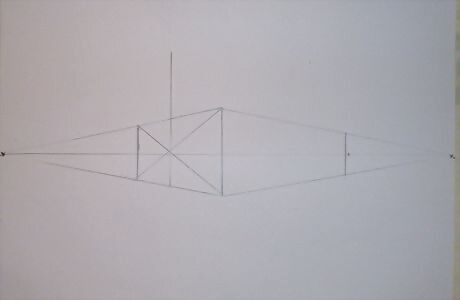
Draw a line up through the center of your X to form the roof’s triangular peak. Make this line as high as you want the peak to reach.
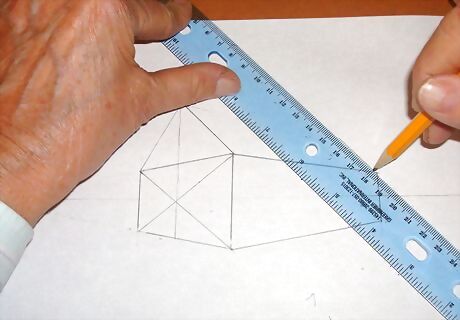
Construct the roof's peak. Draw lines downward from the peak to the house. Do the roof line at the opposite end. Hold your ruler against the angle that you've already drawn and drag the ruler across the drawing to get the correct angle for the other side. Keep it at the angle so you can mimic that angle on the far side of the roof. Draw that line.
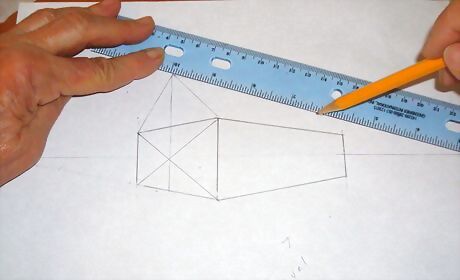
Finish the roof by doing the top. Holding the ruler at the peak, draw a line to the right vanishing point to complete the roof.
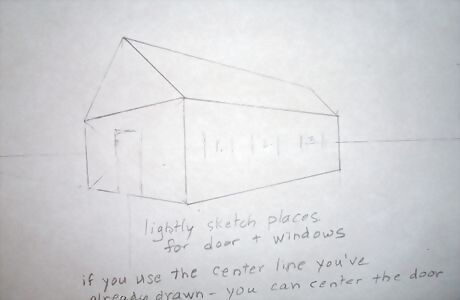
Do a door and windows. Eyeball where you want these and lightly sketch their placement. Just make the door tall enough for a person to walk comfortably through it. Add more lines to the windows and door to resemble moldings, window pane divisions, etc.
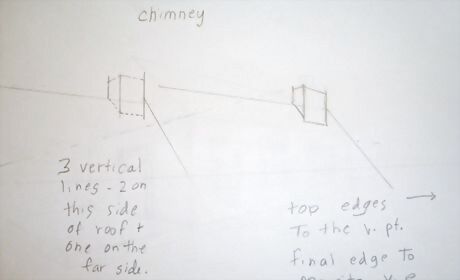
Construct the chimney from three vertical lines.

Add a patio and the foundation of the house.
Painting the Cabin
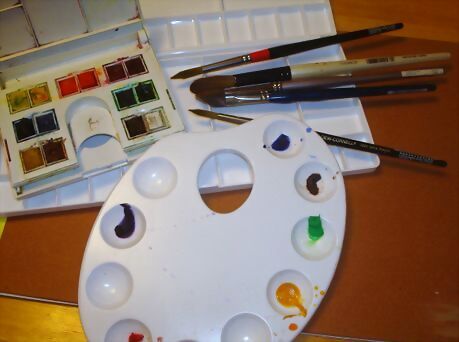
Assemble your watercolor supplies; a piece of 11’ X 14” heavy watercolor paper, paints in pans or tubes in an array of colors, and brushes. Get a large water container and tissues for mopping up drips. Immediately, activate your paints by dropping a little water on each pad or spot of color.

Use any method you wish to transfer this cabin to good paper. Trace it at the window, use graphite paper or blacken the lines on the back side of your cabin and create your own graphite for tracing. Simply place the cabin where you want it and draw again over all the lines of it. Try to avoid having it smack dab in the middle of your page, however.

Be creative doing your research. Christmas cards are a good reference.
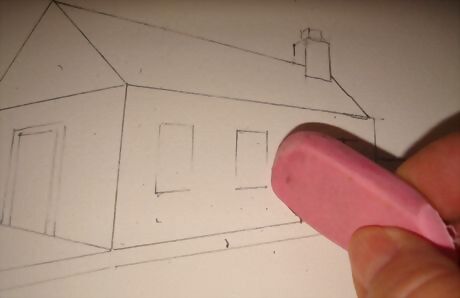
Lighten the drawing by erasing slightly.
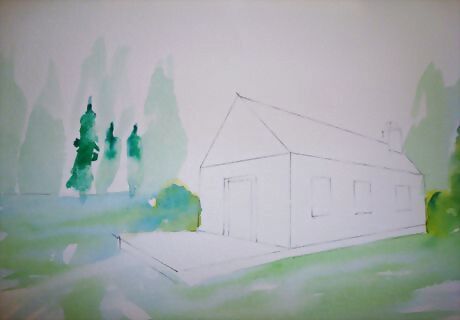
Embellish the area around your cabin. Fill in with some foliage around the base of your cabin. Add shrubs, bushes, all shapes of trees, flowers, vines, ground covers of all types.
Use pencil to draw the details on your cabin. Remember to have lines for the siding go to the vanishing points. On roof, follow the angles that are there. Finish windows and door with extra strips of wood, and show curtains.
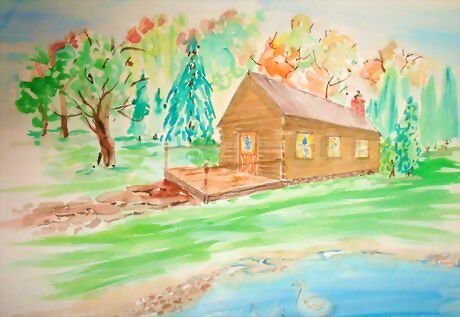
Surround your cabin with woodsy foliage. Trees will add height and diminish the cabin somewhat. Distant mountains or hills are a good way to make the cabin feel protected and snuggled into the scene.
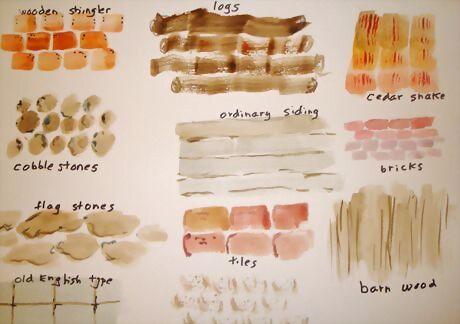
Give the cabin interest and texture. Review various types of siding. This can be anything you can imagine; roughly hewn logs, flag or cobblestones, knotty boards, cedar shake shingles, etc.
Add any other embellishments you wish. Bring the scene to life by adding suggestions of people living there. Add window boxes, awnings, fancy window panes, etc. and any other ornamentation you wish. Paint inside the windows, a suggestion of curtains, or abstract gray strokes to make it look as though life exists within the dwelling.
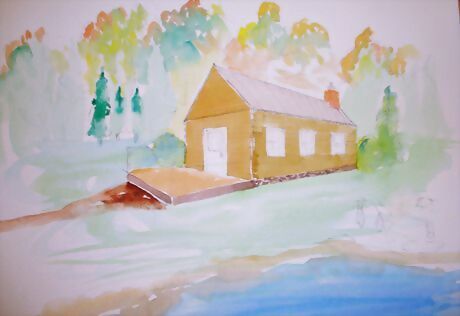
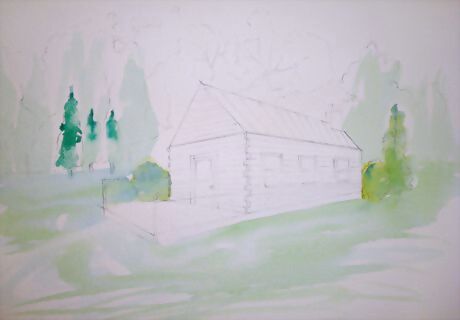
Keep working the painting all over. Soon you will have it completely "under painted." Let it dry thoroughly.
Looking at such a peaceful retreat will be relaxing. Mat and frame it to your liking and hang it in a place where you can daydream about visiting it.


Comments
0 comment