
- The best method to remove glare is to use the Clone Stamp tool in Photoshop or Photopea.
- On a phone or tablet, use the Healing tool in Snapseed to remove glare from photos.
- Content-Aware Fill can automatically fill in areas with glare and try to determine what the image should look like underneath.
Clone Stamp

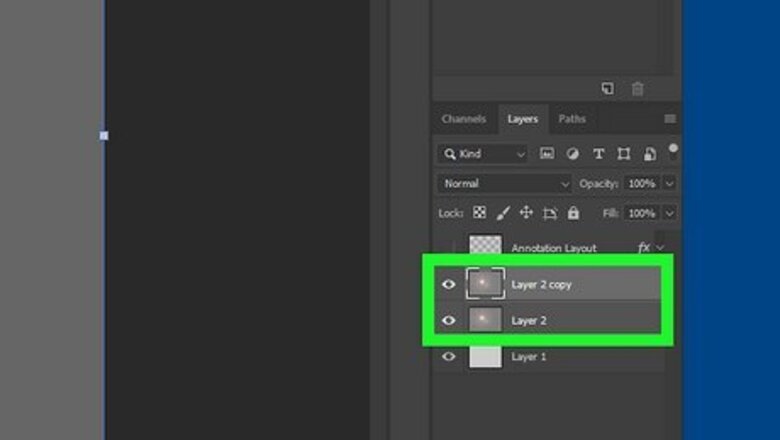
Duplicate your image layer. If you make a mistake or decide you don't like how the image looks after you edit it, you can delete the duplicated layer without reopening it. You can do this by right-clicking (cmd-clicking on a Mac) on the image layer and selecting Duplicate Layer or you can press Ctrl+J on Windows or ⌘ Cmd+J on Mac.

Select the Clone Stamp tool. It's on the sidebar and looks like a stamper, or you can simply press the S button. Adjust the brush size to be smaller than the glare to allow for precision editing.
Press and hold the Alt key on Windows or the ⌥ Option key on Mac. This will allow you to pick a new spot to use as a source to stamp over the glare.
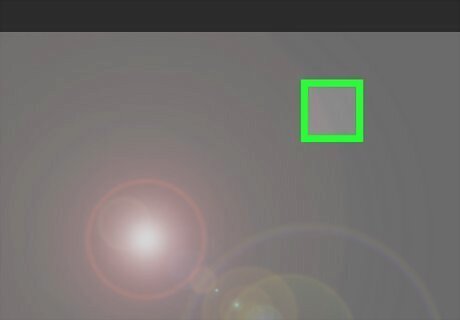
Click a spot outside the glare and let go of the key. The spot on your image that the Clone Stamp tool is sourcing from will be visible in the circle.
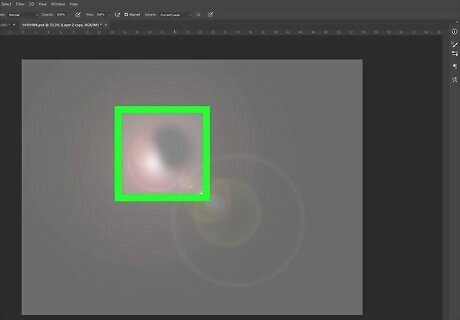
Start drawing over the glare. Focus on working in small patches, and remember to zoom in and out to check your work from different distances.

Reposition your Clone Stamp tool every so often. Simply press the Alt key on Windows or the ⌥ Option key on Mac again, click on a new area, and continue to stamp over the glare until it's covered. The Clone Stamp tool takes practice, so keep trying until you get the hang of it.
Content-Aware Fill
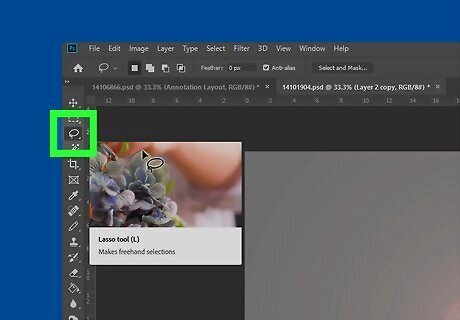
Select the lasso tool. You can either use the lasso selection or the polygonal lasso selection, depending on what shape your final selection will be.
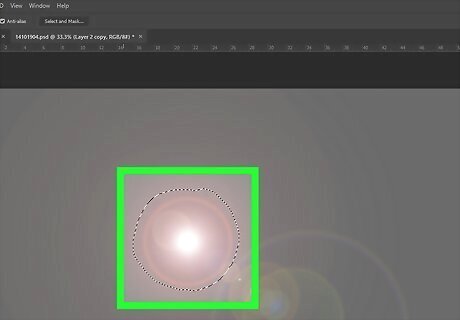
Select the glare. Make sure to contain the entirety of the glare in the selection, but don't go too far out, or you may change something you don't want to change.

Click Edit > Fill… to open the Fill menu. You can also press ⇧ Shift+F5 instead.

Select the Content-Aware fill option and confirm. Content-Aware Fill uses an algorithm to analyze the edges of your selection, and then determines how to fill the selection. If the Content-Aware Fill didn't fill your selection how you want, undo the fill and deselect your selection. In order for Content-Aware Fill to fill the selection differently, you'll have to re-select the area you want to fill.
Adjustment Layer
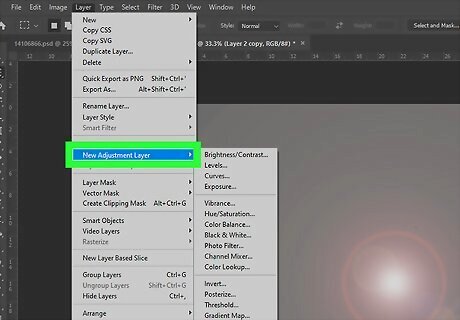
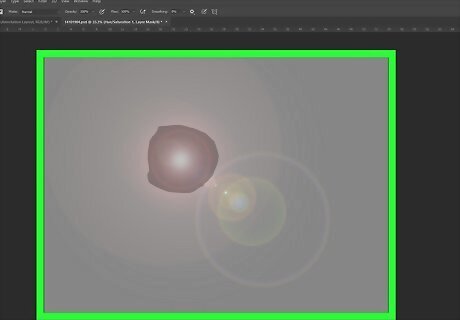
Click Layers > New Adjustment Layer…. This method aims to edit the color of glare, which is often green. It may not erase it entirely, but it can be used to make the glare less apparent, or in conjunction with another method.
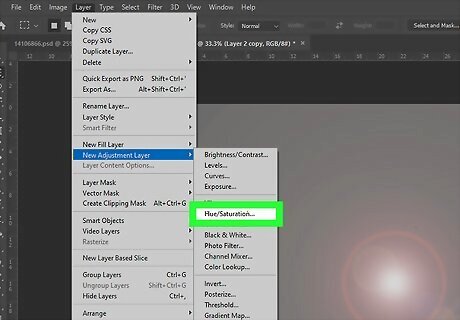
Select Hue/Saturation…. This adjustment layer will allow you to change the colors of the image based on their hue.
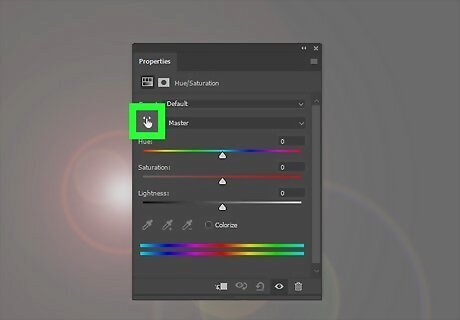
Click the hand next to the "Master" dropdown. In Photopea, you will instead click a button with a horizontal arrow with arrowheads on both ends.
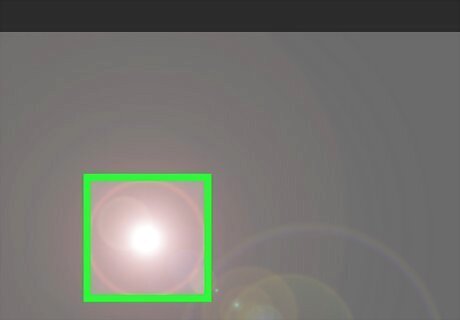
Click on the glare to select the color. The "Master" dropdown will change to match the color range of the glare.

Move the Lightness slider to the left. Adjust this slider until the glare matches the background. You also can use the other sliders to adjust the color further, if needed.
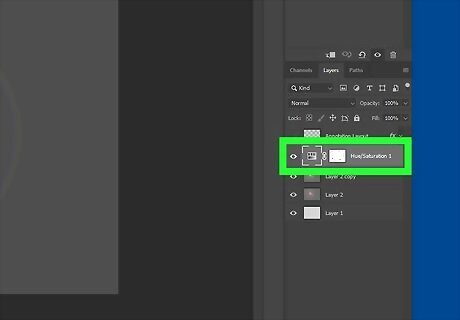
Click the mask on the adjustment layer. It's the white square between the adjustment layer icon and the layer's name.
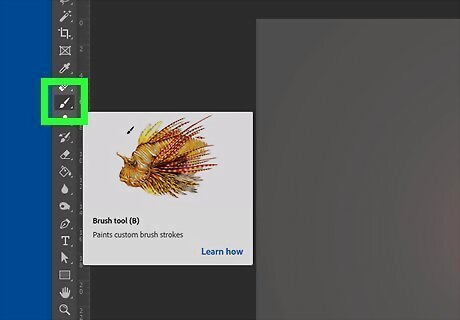
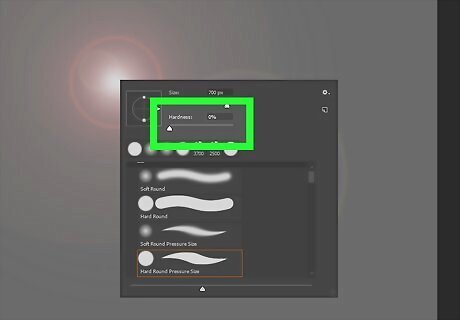
Select the brush tool and set the color to black. You should use a brush with 0% hardness and adjust the size to fit the area of the image you're drawing over.
Draw over the areas in your image that were not intended to change color. As the adjustment layer changed all the colors in your image that matched the glare color, some other colors may have changed unintentionally. Draw on the layer mask to essentially "erase" the filter from those areas.
Brush Tool

Create a new layer with the Color blending mode. You can change the layer's blending mode by clicking the dropdown above the layers, which by default is set to "Normal."
Select the brush tool and reduce the opacity to 50%. You should use a brush with 0% hardness and match the size to the glare.
Press and hold the Alt key on Windows or the ⌥ Option key on Mac. Your cursor will turn into a dropper.

Click a spot next to the glare to select the color. After selecting the spot, you can release the key on your keyboard.
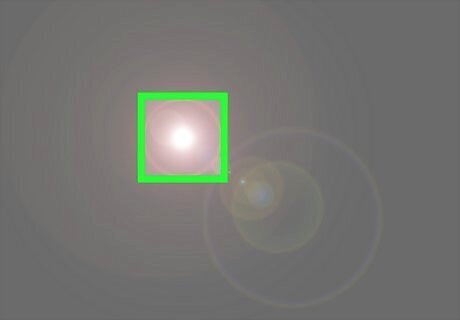
Brush over the glare. Note that since your brush is set to an opacity lower than 100%, if you stop drawing and then draw over the same spot again, it will increase the opacity of that section of the layer.
Dehaze in Camera Raw
Click Filter > Camera Raw Filter…. Camera Raw is an editing tool that gives you some options to fine-tune your photo editing. Note that Photopea has a Camera Raw filter but does not have the Dehaze function, so this method only works in Photoshop.
Adjust the Dehaze slider to reduce the glare. This method works well for photos with a hazy glare but may not work well if you're trying to reduce lens glare on glasses. Try adjusting the other sliders to see if they help further reduce the glare.
Apply the Camera Raw filter. If the haze or glare isn't fully removed, continue to the next steps. #Duplicate your image layer. You can do this by right-clicking (cmd-clicking on a Mac) on the image layer and selecting Duplicate Layer or you can press Ctrl+J on Windows or ⌘ Cmd+J on Mac.
Click the mask icon in the layers panel to add a mask to your new layer. The mask icon looks like a white rectangle with a gray circle in the middle.
Go to Adjustments > Invert. You can also press Ctrl+I on Windows or ⌘ Cmd+I on Mac.
Select the brush tool. You should select a brush with 0% hardness and resize it to fit the sections of your image with glare.
Draw over the hazy areas, ensuring you're on the layer mask. This will help reduce the hazy glare on your image even further.
Snapseed (Android & iOS)
Download Snapseed. If you don't already have Snapseed, it's a free photo editor for Apple and Android phones.
Open the app and tap to select a photo. If your phone asks you to give Snapseed permission to access your photos, grant the permission.
Tap Tools on the bottom menu. It's the middle option.
Try using the Selective tool to remove glare. Simply tap the Selective tool and tap where your glare is. You can use the + button at the bottom of the screen to add more points, up to 8. Then, drag your finger on the screen to lower or increase the brightness to neutralize the glare.
Use the Healing tool. The Healing tool works similarly to the Clone Stamp in Photoshop, but you don't need to set a starting point. Simply drag your finger over the glare to remove it, but you may need to work in small sections.
Avoiding Glare
Avoid glare in your photos so you don't have to remove it later. Try these tips to help avoid glare from bright lights or on glasses lenses. Take your photo from an angle or above to avoid extra light entering the camera lens. Try to take photos in an area with diffused light. This could be outdoors on a partly cloudy day or in a photo studio with lightboxes. If possible, avoid taking photos in direct sunlight or with harsh, bright overhead lights. If your subject isn't wearing glasses, take a photo with your subject facing the sun. The sun will be behind you and won't cause any strong glare in the background of your image. However, make sure you aren't casting extra shadows on your subject if you do this. Turn off flash. Most times, you won't need to use the flash on your camera, as the built-in flash is almost never sufficient enough to illuminate a dark area and create a natural image. Flash can cause glare on glasses if it's left on.


Comments
0 comment