

Decide whether you should enable textures. While textures may seem amazing, there are some serious drawbacks to having them. It costs in-game money to texture your items, making your builds cost thousands of dollars more. It can slow down the game, as items need to load for longer. It can also make the game unstable on lower-end devices, allowing the game to crash easily. Think about these questions: Do I own a flagship-model device? Do I have enough in-game money to afford to texture my builds? Am I alright with waiting longer for the game to load properly?

Log in to the Roblox account you wish to enable textures on. If you enable textures on a different account, your settings will not transfer to your other accounts. You can verify that you're on the right account by checking the username of the account you're logged in to.

Find “Welcome to Bloxburg”. To do this, you can head to the "Games" page on your device and search "Welcome to Bloxburg". You can also go to the "Players" page, search "Coeptus', view their creations, and click/tap on “Welcome to Bloxburg”. Searching up "Bloxburg" or "WTB" will not get you to Welcome to Bloxburg.

Join the game. Click the play button and wait for your game to load. This should only take a few seconds at most. Dismiss the "Beta Testing" popup. If, for whatever reason, you get an "Error" or "Kicked" message, rejoin.

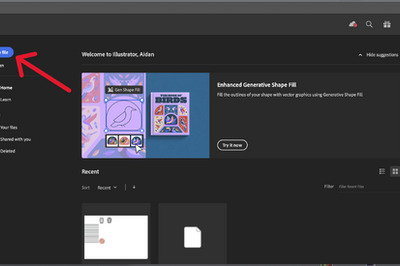
Click the "Options" button. This is at the bottom of your screen, underneath the "Store" button. This button should be light blue and rectangular. Do not click the "Play" button, although this may be your first instinct.

Scroll all the way down to the "Graphics" section. This should be at the bottom of the page, right above the "Erase Game Data" button. Do not click the "Erase Game Data" button, as you will lose all of your progress.

Change "Object Quality" from low to high. This is what will enable textures. If you want, you can also change your house render distance, tree render distance, other render distance, icon quality, weather quality, or NPC details. Ignore any pop-ups.

Leave and rejoin the game. This will add textures to the map and in build mode. You can also close and re-open Roblox. Congratulations, you can now see textures and use them in Build Mode.


Comments
0 comment