views
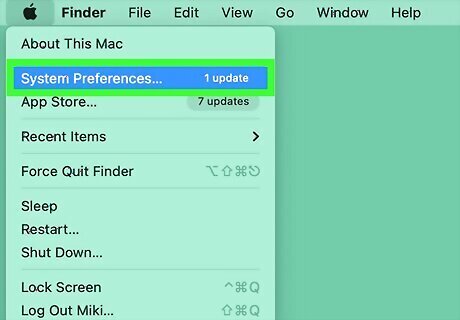
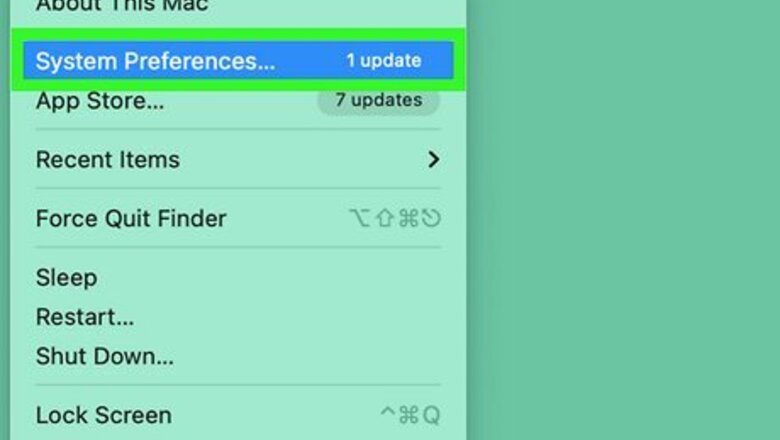
Open your Mac's System Preferences. To do this, click the System Preferences icon in your Dock or Applications folder.
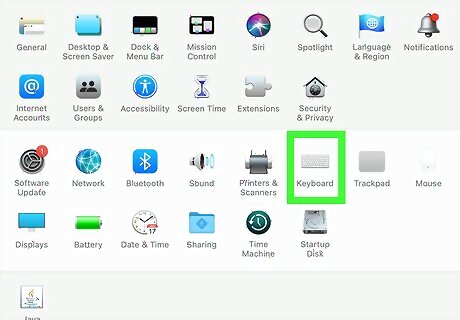
Select the Keyboard icon. If you're using an older version of the Mac software (Mountain Lion and earlier), it won't be called "Keyboard". Click on "Language & Text," instead.
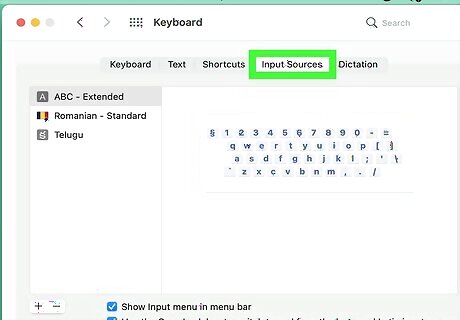
Click on the Input Sources tab.
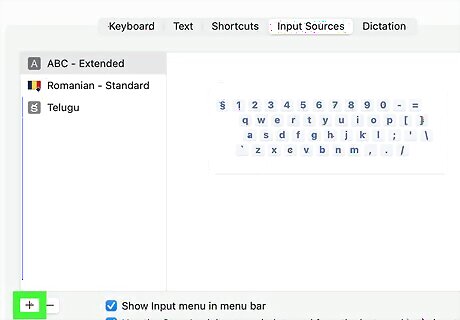
Add a language/region option if needed. If you already have an appropriate keyboard option in the list (e.g. U.S. or British), then proceed to the next step. If you don't, click + and scroll through the list to select the language you want. Then click Add. Even keyboards from the same language but different regions can have different layouts, so make sure you're using the one you're familiar with.
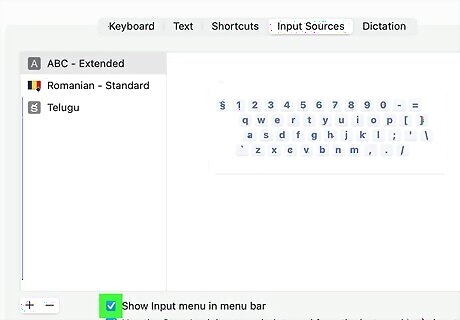
Check the Show Input menu in menu bar option towards the bottom. It may be selected automatically or already, but if it isn't, check it.
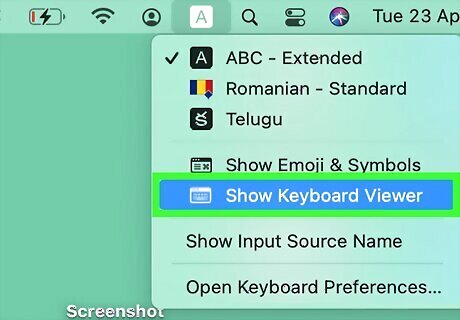
Locate the Input icon on your Mac menu bar, towards the right-hand side. It may look like a keyboard/symbol icon or it may show the flag of the language you've selected. Click on it and select Show Keyboard Viewer to view the onscreen keyboard.
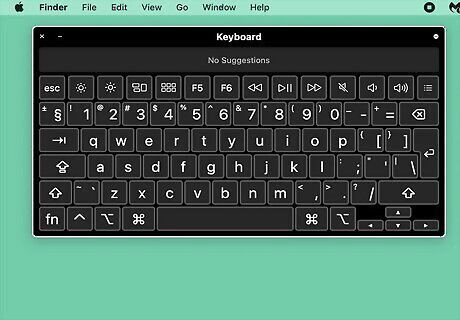
Use your cursor to select any of the onscreen keyboard keys just as you would on a regular keyboard. You can type with the virtual keyboard in any location on your screen: just click within the desired text box/area and then click on the virtual keyboard, one key at a time, to type. You can also move the virtual keyboard around as necessary to keep it out of the way. It will float on top of your other windows.


Comments
0 comment