
views
Making A Tattoo From A Sticker

Find a sticker the shape of the tattoo you want. Look for die cut stickers because they have a unique shape. This is important because you want your tattoo to take the shape of the sticker. Some common tan tattoo stickers include a heart, star, cross, a pair of lips and anything distinct enough to leave a recognizable shape. You also can make your own die cut stickers. Buy some sticker paper. Draw the shape you want on the paper, or use a stencil if you can’t draw. Then cut it out. If you have an at-home die cut machine like a Cricket, you can use that to make your own stickers as well. Follow the instructions for the machine.
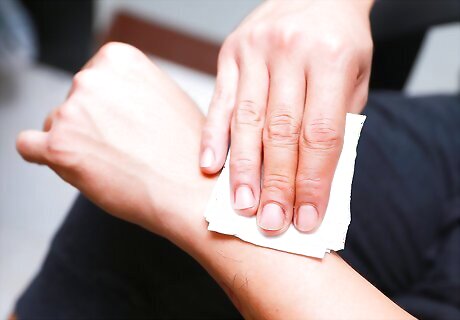
Clean and thoroughly dry the spot where you're putting the sticker. You want the area where you’re putting the sticker to be clean and dry so that the sticker adheres to the skin and lays flat. Remember that the sticker has to remain on the skin long enough for you to tan, so you want it to adhere to the skin well because it may be there for a while. You don’t want it falling off.

Place the sticker on your skin. Peel the backing off the back of the sticker. Orientate the sticker the way you want it. Whichever way you apply the sticker is how the tattoo will appear on your skin. Once you have it the way you want it, place the sticker on the skin with the sticky side down. Then, rub your finger over it, pressing firmly to smooth out bubbles.
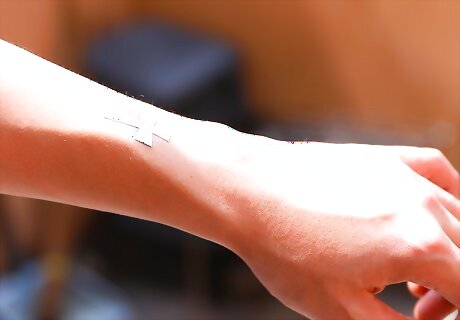
Leave the sticker on as long as possible when you're in the sun or in a tanning bed. The sun will darken all of your exposed skin except the area underneath the sticker. All of the other areas around it will get darker. So,this how your tattoo will form. The tattoo will be your naked skin beneath the sticker. A safer alternative is to use self-tanner since you get to avoid UV rays, which can lead to skin cancer and premature wrinkling. Simply apply it over and around the sticker, making sure to cover any skin that isn't covered by the sticker.
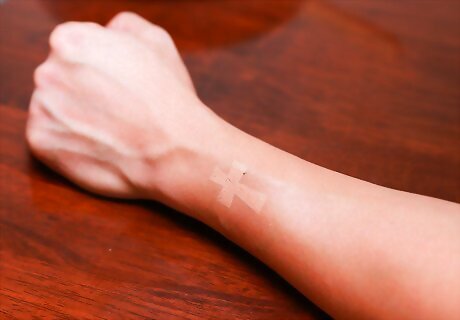
Remove the sticker. After the sticker has been on long enough for you to get a tan or darken the area around the sticker, you can remove it. If you are using the natural sunlight to get a tan, then you’ll need to stay in the sun long enough to darken your skin. Everyone tans a little differently, so the length of time will vary for everyone. If you have a darker skin tone, it may take a little longer since your darker skin provides more protection from the skin. If you’re using self-tanner, follow the application instructions on the bottle to determine how long to let the formula sit. You may need to leave the sticker on for a while after washing off the self-tanner, but it will depend on the brand of self-tanner that you’re using. Once you have removed the sticker, your natural skin tone will appear in the shape of the sticker you applied.
Making A Sunblock Tattoo
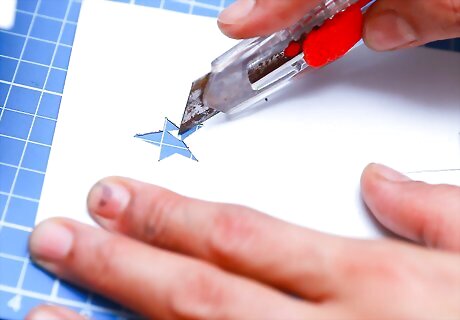
Choose a shape or design for your tattoo. Make sure that it is a design you can make with a cream substance such as sunblock. You can either draw the design directly on the skin or use a stencil. If you don’t have a stencil of the shape that you like, you can always make one. Simply draw it on a sheet of paper and then use an X-Acto knife or another kind of blade to cut out the inside of the shape.
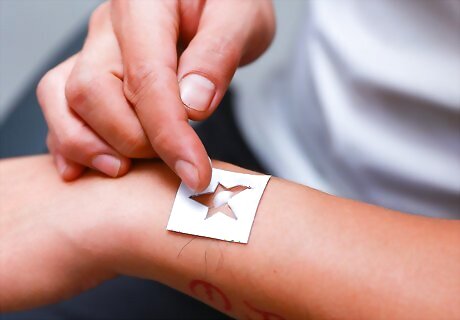
Apply the sunblock on your skin in the shape that you want. Do this before going out in the sun or lying in a tanning bed because you want it to be as pale as possible so it shows up well. If you’re feeling crafty, you can use a brush to apply the sunblock, but your fingers should work just fine. Whichever method you choose, make sure that the application of sunblock is fairly thick like a paste so that the sun can’t shine through it. You’ll probably want to apply a sunblock with a high SPF of 30 or above if it takes you a while to tan. You won't have to reapply it as often.
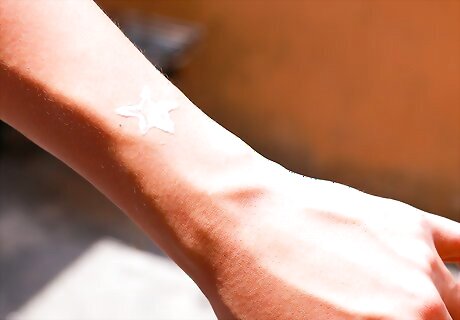
Leave the area undisturbed. Then, go out in the sun or lay in the tanning bed for however long is necessary for you to tan. Remember not to smear the sunblock. If the sunblock gets smeared, your tattoo might be ruined because the shape might change. Don't stress if it does smear. Just work quickly to fix it.
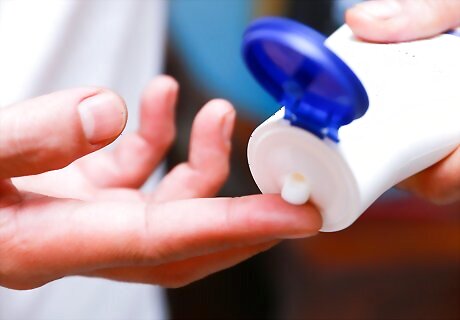
Reapply as often and as accurately as possible. Since your skin is like a sponge, it will slowly start to absorb the sunblock, and over time the sunblock will probably shift around. So, you’ll need to reapply it or touch it up until you are tan. Be careful to reapply neatly so you don’t mess up your design. Once you’ve set out in the sun long enough to tan, remove the sunblock.
Making A Tattoo With A Film Negative

Cut the negative of a black and white film that you like. Only cut out the darkened section where the image appears. After you do that, you should have a rectangle. This will be your template or stencil for your tattoo. You’ll use it in a similar way to how you use the sticker in the”sticker method,” but instead of having a shape as your tattoo, you will have an image.
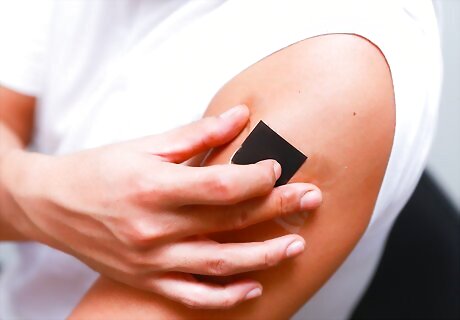
Tape the film negative to your skin with clear tape.Try not to cover the photo section of the negative. You don’t want to cover that section of the negative because the image might not transfer properly. The properties of the film are what makes the image transfer.If you cover it with tape, it may not work as well or at all. Put just enough clear tape on the edges of the negative to hold it on your skin.
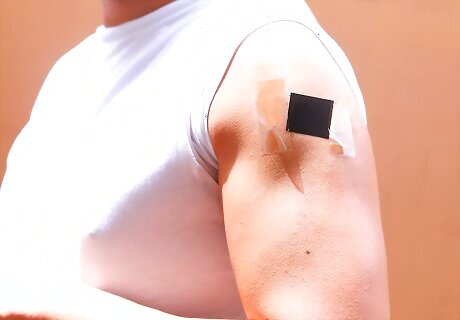
Sit out in the sun to tan as you normally would. Make sure you sit in a sunny spot so that the sun hits the negative. Let the UV rays penetrate through the negative. When you pull it off, you'll have the photograph imprinted on your skin.
Making A Tattoo With Nail Polish
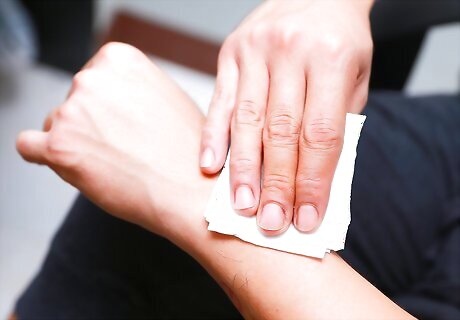
Wash and dry the area where the tattoo will go. This method is similar to the “sticker method” in that the tattoo application area should be clean. They are similar in that you need the skin to be clean and dry to get the sticker and the polish to adhere to the skin. Dry the area well before moving on to the next step.
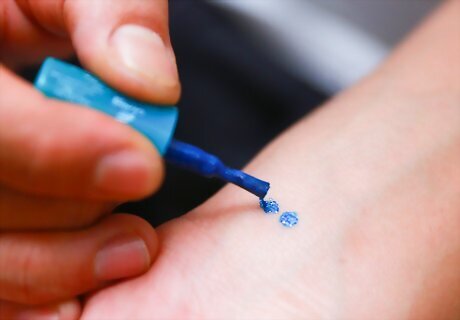
Paint a design onto the skin with nail polish. You can use a stencil if you need to, or you can make one with a sheet of paper as mentioned above in the “sticker method.” Make sure your design is neat when you apply it. Remember your tattoo will take the exact shape of the nail polish, so be exact. Don’t use a clear polish because the light will still shine through, but beware of using a polish so dark that it stains your skin. Try using an opaque shade that doesn’t stain your nails. Hopefully, it won’t stain your skin either.

Let the nail polish dry before heading out into the sunshine. You don’t want the sunlight shining through the polish and tanning the area designated for your tan tattoo. Hang out inside for a bit while the polish dries.
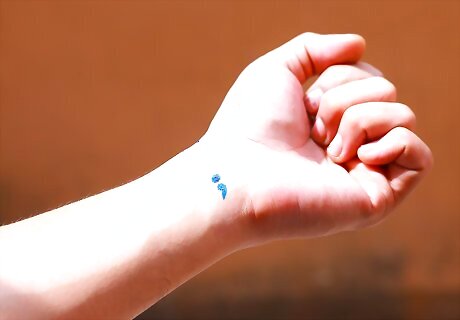
Go tan in the sun. While you are waiting for your tan tattoo to appear, go relax in the sun. Read a magazine. Sit by the pool, or sleep for 20 minutes. Don’t touch the nail polish in case it is tacky; it will smear and mess up your design. Peel the nail polish off after tanning, and your simple tattoo design will appear.


Comments
0 comment