
Note: Since X suspended the verification application process in November 2017, you can't currently apply for verification; you can, however, optimize your account for verification to encourage X to verify it.
Using General Tips
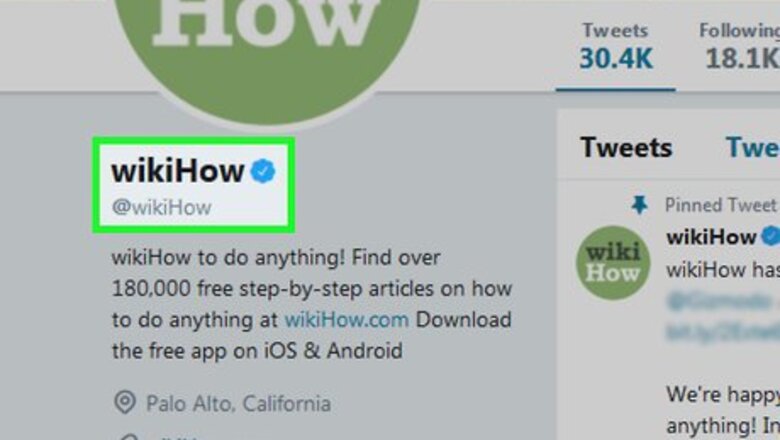
Understand who usually qualifies for verification. The most common reasons for verification—whether you submit the request yourself or get handpicked by X's verification team—include being a highly recognizable public figure (musicians, actors, athletes, artists, public officials, public or government agencies, etc.), or if your name and likeness is parodied or impersonated on multiple X accounts, leading to identity confusion. X will not take into account your number of followers or tweets when considering you for verification. For more information, read the Verified Account terms. You can find these by going to the X Verified "About" page.

Be active on X. Posting at least twice per day and engaging people who tag you in their mentions will make your account qualify as "active" to X, and it will also increase your audience's positive reception of your content. Make sure that you're discussing your content, services, or other skillset(s) with your audience so that X can see that your audience cares about your public impact.
Have a publicly influential account. As mentioned above, X favors publicly recognized accounts such as performers and entrepreneurs over user accounts that don't have much in the way of public reach. If you work for a publication, perform for a company, or in any way interact with the public, you'll want to play that up here. You should also avoid posting controversial or abrasive content. While X verification isn't an endorsement from X, it does take into account the good-naturedness (or lack thereof) of your account. For example, you might have a blog or a YouTube channel that you use to speak to an audience. This should be the focus of your X account if you want to increase your chances of verification.

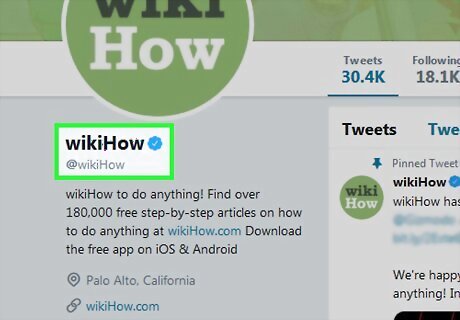
Update your account information. X's verification standards are fairly strict, so you'll need your profile to contain information that meets these criteria, including your profile and header photos, your name, your bio, and your location.
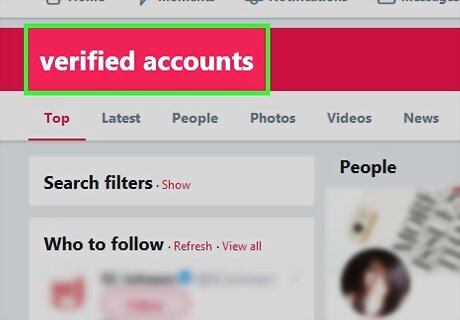
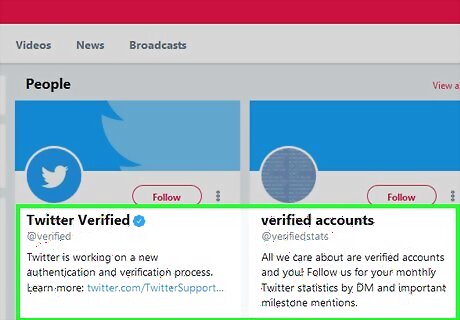
Follow verified accounts. Doing this will both allow you to see how other verified accounts behave and increase the chances of X granting verification to your account. Following verified accounts shows that you're serious about engaging the verified community in discussion. As with any kind of engagement on social media, it helps your account's standing to tag these verified accounts in your content and open dialogue with them if possible.
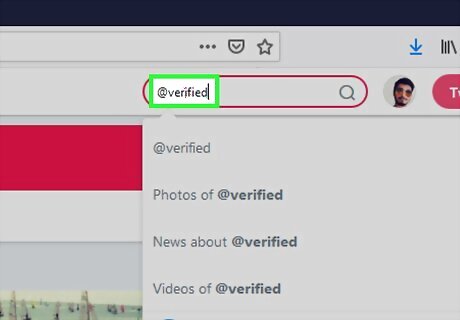
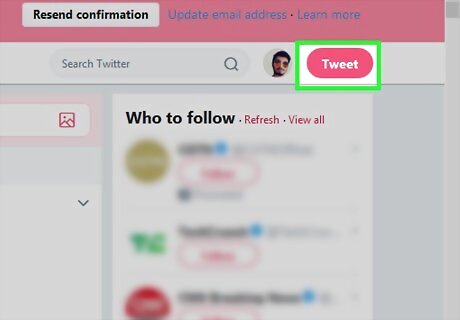
Contact the official X Verified account. If you want to perform some kind of actionable gesture, you can tweet at the X Verified account (@verified) and ask them to review your account. This is unlikely to yield specific results, but it may put your account on the map for the X Verified team. Be courteous when addressing the X Verified account. There's always a chance that they'll blacklist your account if they don't appreciate your correspondence.
Be patient. Even with the perfect account and engagement, your account may not be verified for a very long time (if ever). X has millions of accounts to review for regular content, so be patient and keep maintaining your account in case X does get around to reviewing it for verification. The X verification application will most likely come back at some point, meaning that the process for applying for a verified account will be much more direct. Until then, you'll have to play the waiting game.
Verifying Your Phone Number
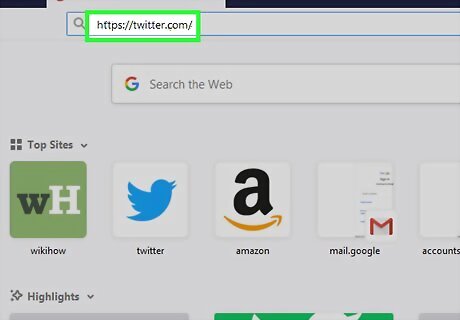
Open X. Go to https://twitter.com/ in your browser. This will open your X account page if you're logged into X. If you aren't logged in, click Log in, then enter your account details (email address/username/phone number, password) and click Log in.
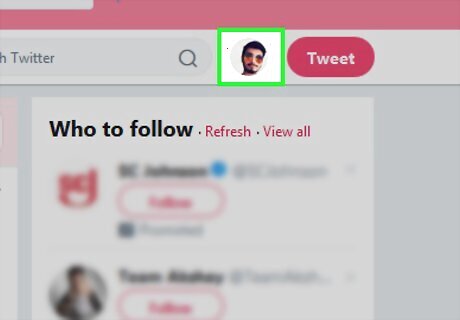
Click your profile icon. It's a circular image of your profile picture in the top-right side of the page. A drop-down menu will appear.

Click Settings and privacy. This option is in the drop-down menu. Doing so opens the Settings page.
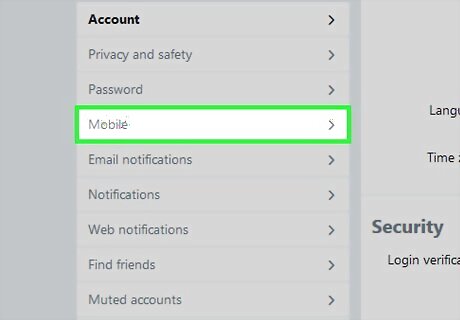
Click the Mobile tab. It's on the left side of the page.
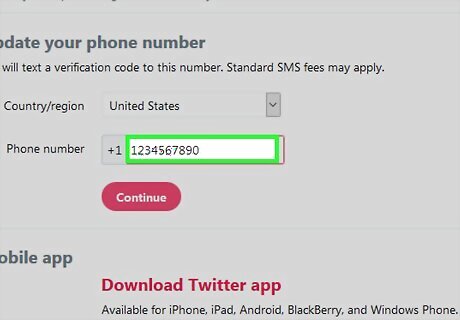
Enter your phone number. In the text field in the middle of the page, type in your mobile phone number. This must be a phone number that can receive text messages. If you see a phone number here, your number is already verified.
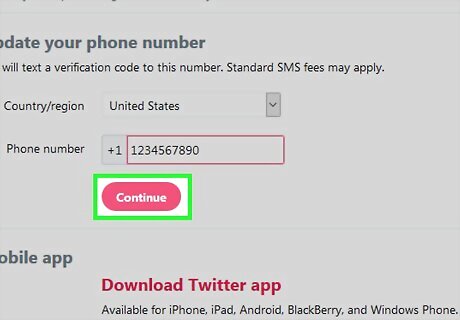
Click Continue. It's a blue button below the phone number text field. Doing so will prompt X to send a verification code to your phone.
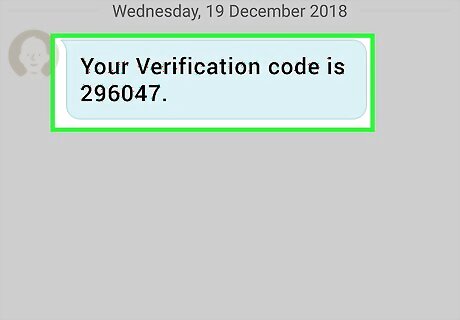
Retrieve your verification code. Open your phone's Messages section, open the text from X, and note the six-digit code here.
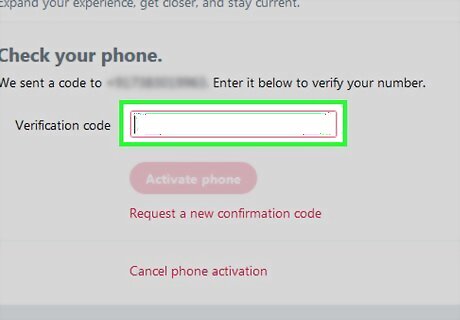
Enter the verification code. Type the six-digit verification code into the text field in the middle of the X Mobile Settings page.
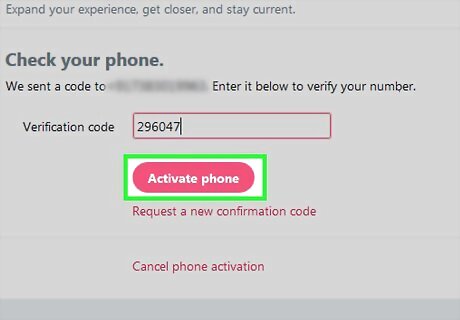
Click Activate phone. It's a blue button below the text field. Doing so will verify your phone number, thus adding the number to your account. You can use your phone number to recover your X account if you ever lose access to it.
Removing Tweet Protection

Open X. Go to https://twitter.com/ in your browser. This will open your X account page if you're logged into X. If you aren't logged in, click Log in, then enter your account details (email address/username/phone number, password) and click Log in.

Click your profile icon. It's a circular image of your profile picture in the top-right side of the page. A drop-down menu will appear.
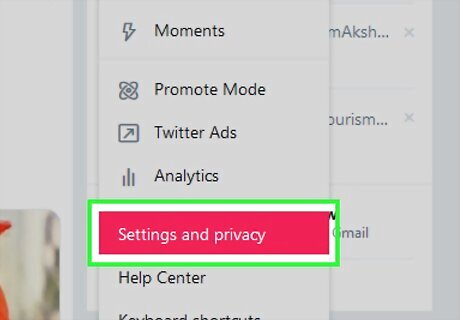
Click Settings and privacy. This option is in the drop-down menu. Doing so opens the Settings page.
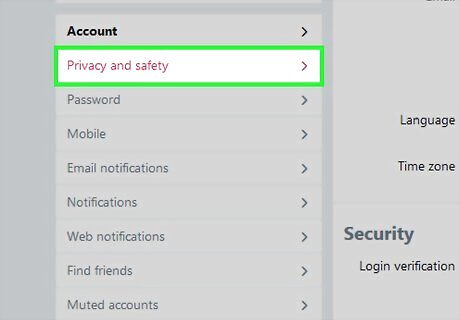
Click the Privacy and safety tab. You'll find this on the left side of the page.
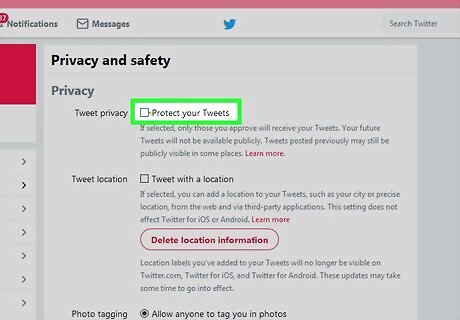
Uncheck the "Protect your tweets" box. It's in the "Tweet privacy" section near the top of the page. If this checkbox is already unchecked, your tweets aren't protected.
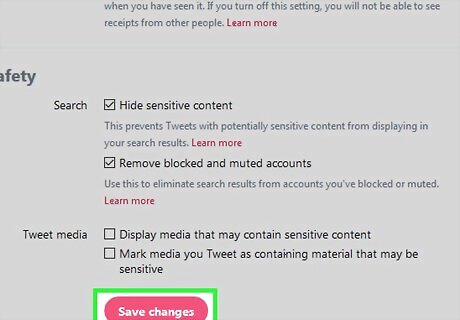
Scroll all the way down and click Save changes. It's a button at the very bottom of the page. This will remove tweet protection from your account, allowing anyone to see your past and future tweets.
Editing Your Account for Verification

Open X. Go to https://twitter.com/ in your browser. This will open your X account page if you're logged into X. If you aren't logged in, click Log in, then enter your account details (email address/username/phone number, password) and click Log in.
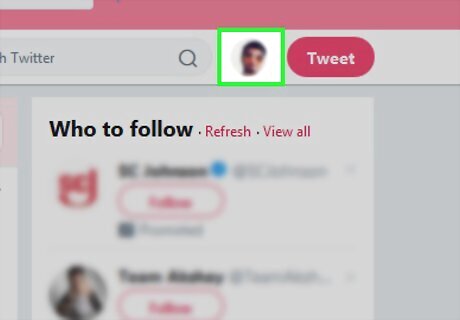
Click your profile icon. It's a circular image of your profile picture in the top-right side of the page. A drop-down menu will appear.
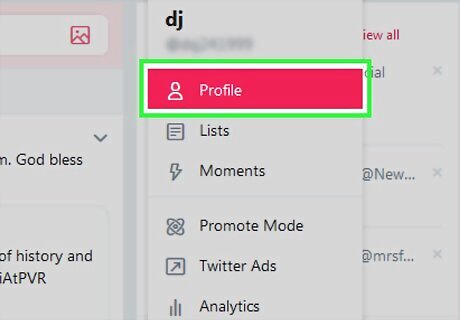
Click Profile. It's near the top of the drop-down menu. This will open your X profile page.
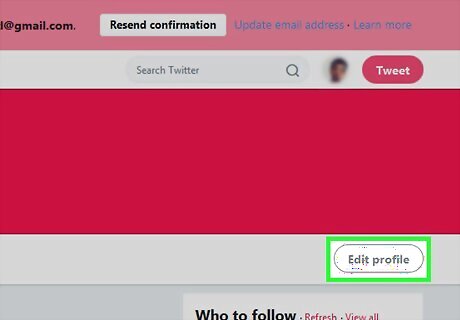
Click Edit profile. This option is on the right side of your profile page. Doing so puts your profile in "Edit" mode.
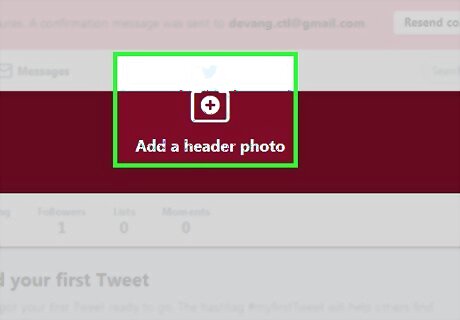
Change your profile and header pictures. You can change each of these by clicking the picture that you want to change, clicking Upload photo in the menu that appears, selecting a photo, and clicking Open. Header photos should show you in a setting that reinforces your public worth (e.g., you speaking at a convention or performing on a stage). Profile photos should be professional headshots (or well-lit, high-quality photos at the very least).
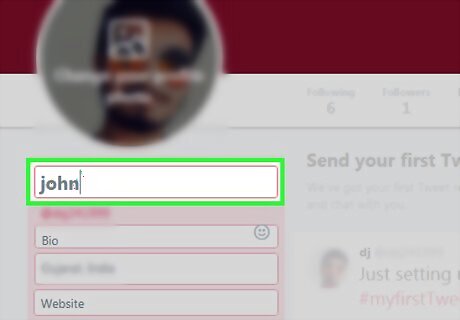
Use your real name. On the left side of the page, you'll see your chosen X name in a text box. If your X name isn't your real name (or your public persona's name, if you're a performer or actor), type your real name into this text box.
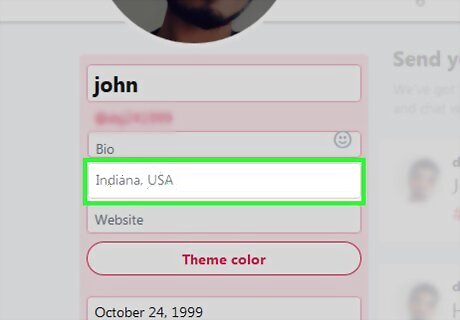
Add a specific location. Type your location into the "Location" text field on the left side of the page. Many people use the "Location" text field to indicate a silly or nonsensical location, but you'll need to use your specific location (e.g., city and state if you're in the U.S.) for X to consider you for verification.
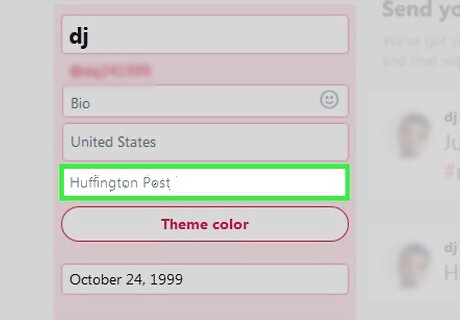
Link to a website. In the Website text field, you should place a link to your most impressive online achievement, be it a writer profile, a YouTube channel, or a landing page for a startup that you own. The website that you choose should inherently explain why you deserve to be verified. For example, if you have a writer profile on a news site (e.g., Huffington Post), you'd want to link to that profile. You always want to use your largest online accomplishment as your website. If you graduate from being a staff writer to owning a publication, for example, you'll want to update your profile with the website that you own.
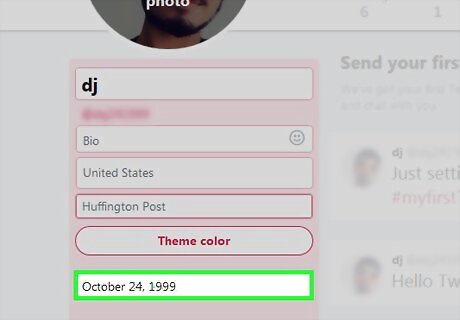
Add your date of birth. This is more of a technicality than anything else; X wants to make sure that they have as much information as possible when deciding whether or not to verify you. You'll enter your date of birth in the "Birthday" text box on the left side of the page.
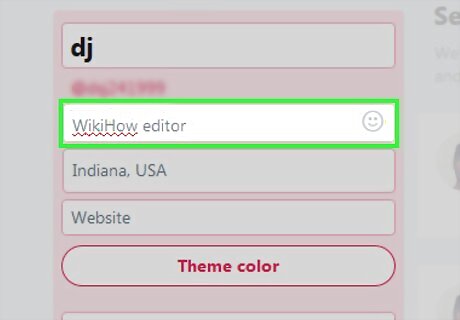
Flesh out your bio. Do so in the text box below your name on the left side of the page. Your bio is a key place in which you can prove to X (and to your audience) that you're worthy of the verification status; it should contain the following details: The type of work or public service that you do (describe your account in a few words) Mentions of profiles that can serve as references (for example, you might write "Editor at @wikihow" rather than "wikiHow editor" here) One or two vast personal accomplishments (e.g., "CEO of [your company]") A humorous byline (but only if it doesn't detract from the rest of your bio) It's okay to play up your role in certain contexts. For example, if you own a "small business" that consists of you editing other people's work, you can call yourself an "entrepreneur" or even apply the "CEO" title to yourself.
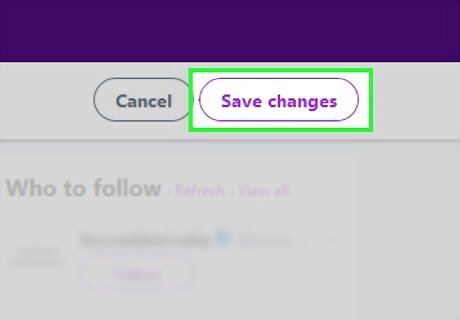
Click Save changes. It's in the upper-right side of the page. This will save your changes and apply them to your profile. With your profile optimized for X verification, you're one step closer to receiving that little checkmark next to your name.


Comments
0 comment