views
Preparing the Hair and Bleach
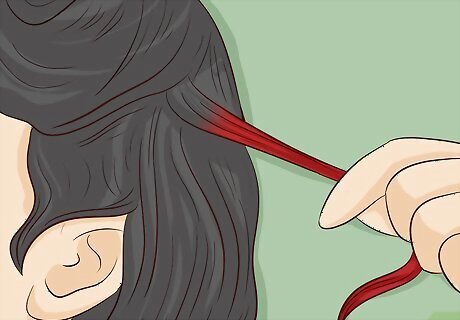
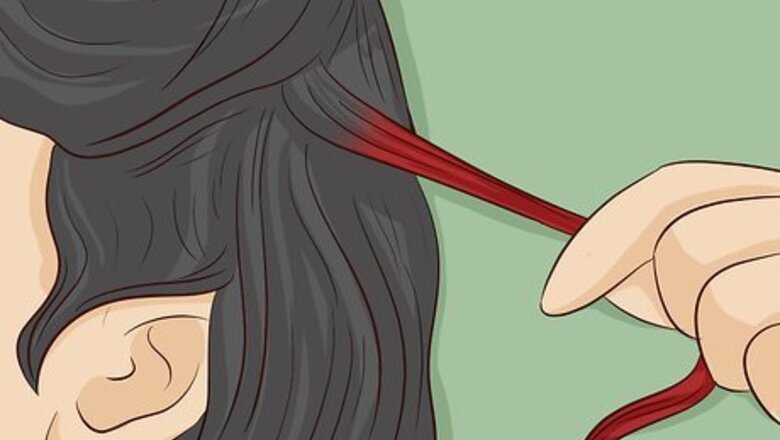
Do a test strip on a small piece of hair. Pick a part of your hair that isn’t very visible, such as behind your ear, to test the color process 3-4 days before you do the rest of your hair. Follow the rest of the process on just that strand of hair to ensure that the color is what you want and that your hair can withstand the chemical process.
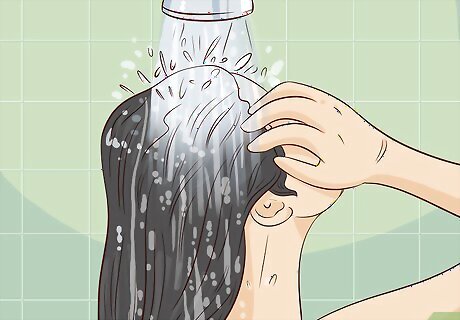
Wash your hair the night before coloring. It’s best to shower the night before coloring your hair to make sure it isn’t too clean or too dirty. This will help the color to “stick” to your hair and absorb into the porous strands. If you need to, dry your hair using a blowdryer on a low heat and no styling tools or products to make sure it is completely dry before applying any chemicals to it.
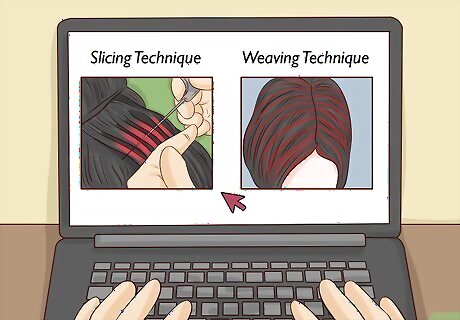
Decide where you would like to place your highlights. You can choose between the “slicing” technique and the “weaving” technique. Look at photos of both online so you have a good idea of what the final product will look like. For the weaving technique, you weave the pointed end of the applicator through a small section of hair to pull out half of it. For the slicing technique, you color small sections of hair that alternate with sections that are not colored.
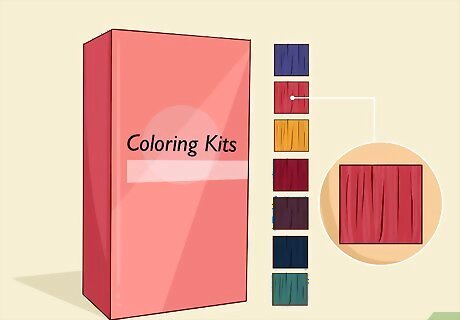
Select the shade of red that you would like to have in your hair. You can find coloring kits at grocery stores, beauty supply stores, or pharmacies. The more vibrant the red color, the lighter you will have to bleach your hair. If your hair is very dark black, you will likely want to select the darkest shade of red that they have, as it will not require you to bleach your hair too light, causing damage. For a more dramatic look, you can choose a red that is several shades lighter than your hair.
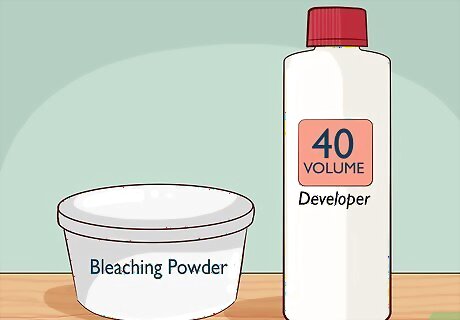
Purchase bleach and developer. Most coloring kits will come with bleach and developer, but you can also purchase these separately. Powder bleach will come in a package by itself. Developer comes in levels of 10, 20, 30, and 40. Level 10 is the weakest and will be the least damaging to your hair, and 40 is the strongest level and will be the most damaging, but will provide the highest lift. If you’re doing this at home, use a level 20 bleach so you don’t damage your hair too much.
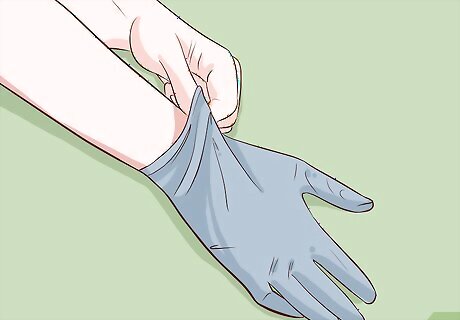
Put on your latex gloves. This is extremely important! You should always wear gloves while mixing and applying bleach and hair color to avoid chemical burns on your hands. Make sure your arms and rest of your body are protected by your clothing. If you have an allergy to latex, any thin plastic glove that fits closely to the hand and allows for movement of your hands will work.
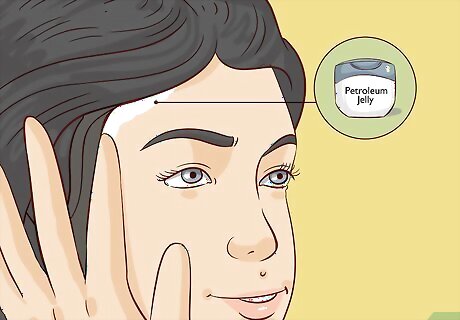
Apply petroleum jelly to your hairline. This includes the top of your ears and back of your neck as well. Petroleum jelly will protect your skin from staining when you apply the color, saving you time after you rinse your hair.
Applying the Bleach
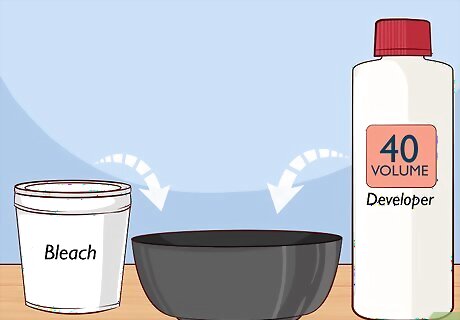
Mix the powder bleach and developer. Combine the powder bleach and developer in a glass bowl and mix using the color application brush included in the kit. Follow the directions on the box carefully, as the ratio of bleach to developer will vary by brand. Make sure you are working in a well-ventilated area. This is to avoid irritation of eyes, nose, or skin from any harsh smells or chemical gasses that are put off by mixing and processing the bleach.
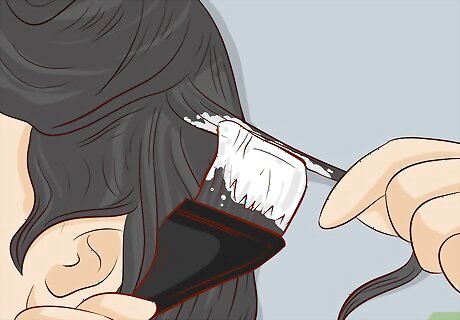
Apply the bleach to small sections of hair and wrap each section in foil. Start with the bottom half of your hair and work up into your roots, as the bottom section will require more bleach and processing time. Put a piece of foil behind the section you want to bleach. Then, paint the bleach downwards onto each section. Fold the hair up into the foil before moving on to the next section so the bleach doesn’t get on the hair you want to keep your natural shade. Make sure you use a dye brush, as this allows you to get closest to the root of your hair when applying.
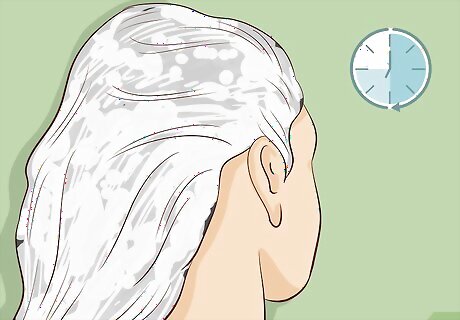
Leave the bleach on for the recommended amount of time. If you are unsure what this might be, have a look at the directions. There will be a chart that corresponds with how much time you should leave the bleach on in comparison to your hair color or a general recommendation for all hair colors. Keep an eye on the hair while it is processing. If you experience any burning on your scalp or your hair begins to break, immediately wash the bleach out of your hair.

Wash the bleach out of your hair. Pull the foils out of your hair before washing it. Make sure you pay close attention to getting your hairline clean, as well as the back of your neck and ears. These areas can be very sensitive, and leaving peroxide on them for too long can cause visible burn marks. Your hair should not feel gritty or sandy to the touch if the bleach is properly washed out. If it is still gritty, wash again.
Applying the Red Color
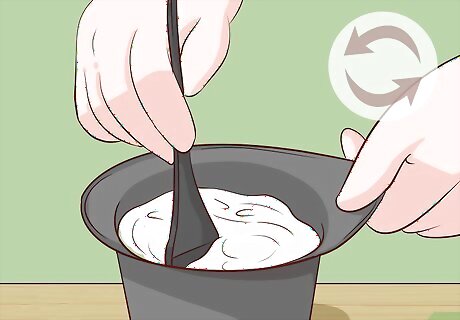
Mix the red color according to the box directions. This will also vary by brand. You may be able to apply the color without any mixing, or you may also need to use some sort of developer. Check the directions to make sure you are mixing correctly. Make sure you are using a new bowl.
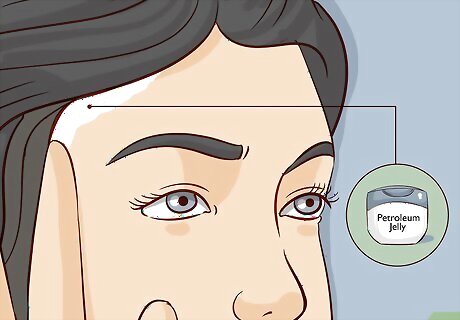
Re-apply the petroleum jelly to your hairline. This will protect your skin from staining and save you time after washing your hair.
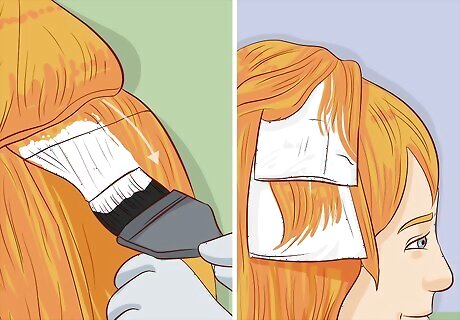
Apply the red to the bleached areas of your hair, then fold them in foil. Wear gloves during this process to avoid staining on your hands and work from the bottom of your hair to the top. Put a piece of foil behind each bleached section, then apply the color liberally with a clean brush. Fold each section up in the foil before moving on to the next. If you don’t use foil, the color may bleed out onto your hair and create patches of red.
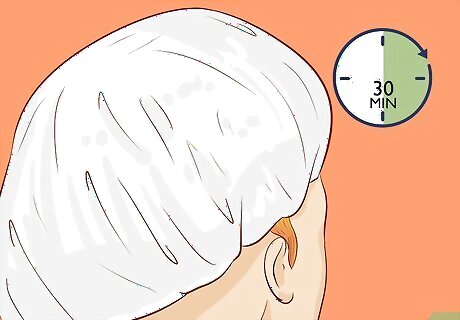
Leave the dye on your hair according to box directions. Normally this will require 30-45 minutes of processing. Keep an eye on your hair, and if you have any scalp irritation rinse your hair immediately. You normally will not be able to tell what color your hair is under the dye until you wash it, so be patient until it is time to remove the color.
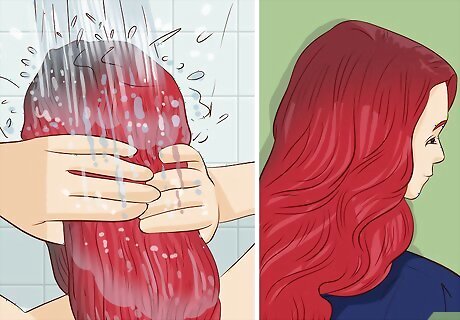
Wash your hair with cold water. Cold water will keep the color bright and in place on the bleached strands of hair. Make sure all of the color is rinsed out, especially around the hairline, back of the neck, and near the ears. Make sure you apply conditioner formulated for color-treated hair after washing the color out, as it will help to reverse some of the damage done by coloring. If your hair is not the desired color or as vibrant as you would like, wait 1 week before repeating the bleach and dye process. In that time, wash and condition your hair frequently. Expert Answer Q How long will the highlights last in your hair? Laura Martin Laura Martin Licensed Cosmetologist Laura Martin is a Licensed Cosmetologist in Georgia. She has been a hair stylist since 2007 and a cosmetology teacher since 2013. Laura Martin EXPERT ADVICE Answer from Laura Martin: Highlights are created by breaking down the pigment in the hair, so they don't fade or disappear. However, you'll probably want to touch up the roots and retone the red every 2-3 months.




Comments
0 comment