views
- Purchase a Recruit Edition starter kit or buy the miniatures, rulebook, and supplies you need separately if you want more options.
- Every army has its own Codex that contains unique rules and info on your unit’s abilities.
- Each player chooses an army and takes turns moving units, making ranged attacks, charging, and making melee attacks.
Getting the Essentials
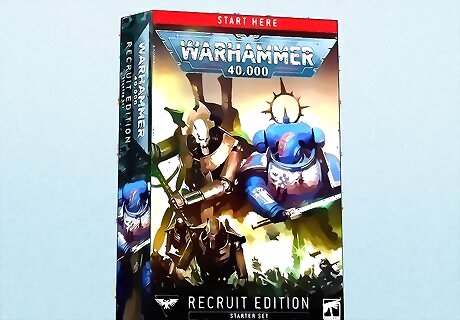
Buy the Warhammer 40,000 Recruit Edition to start fast. The Recruit Edition includes everything you need for a basic two-player game of Warhammer 40k. It’s also updated for the 9th Edition ruleset, which is what Warhammer currently uses. It contains two factions (Space Marines and Necrons), paints, dice, a ruler, a playmat, and all the miniatures you need to play. If you purchase a set like this, go to the next section. If you would rather play a different faction (and have a larger budget to spend), continue to the next step. Don't buy any products with an outdated edition listed on them. Older editions may be cheaper, but you may not be allowed to take the pieces to a tournament if you plan on playing with other 40K players. You can use miniatures from older editions, but the ruleset that comes with these box sets will be wrong if you buy 8th, 7th, 6th, etc. box sets. The game is currently in the 9th edition, but the 10th edition comes out in the summer of 2023, so buy the updated Recruit Edition whenever it drops (which will probably be shortly after the new ruleset comes out).
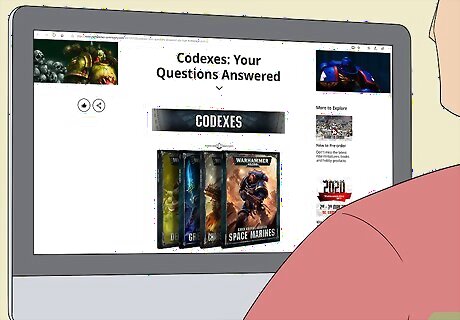
Choose an army and acquire their most recent Codex. The Codex describes the unique units, special abilities, and history of a playable faction. Once you pick an army to use, purchase their most recent available Codex. As a new player, don't worry about how powerful each army is—just pick an army that grabs your attention with cool models, or an interesting story. You'll spend a lot of time with this army, so choose something interesting to you! You can find the full list of official Codices online, but you have to buy the individual Codex you need. In other words, if you want to play the Chaos Marines, buy the Chaos Marines Codex and bring the book with you when you go to play. Necrons, Grey Knights, Space Marines, and Chaos Marines are all good options for new players. Some factions can be difficult to play because they rely on complex rules. Pro tip: ask the players at your local game shop for recommendations based on the kind of media and characters you like. They’ll have great ideas for you!
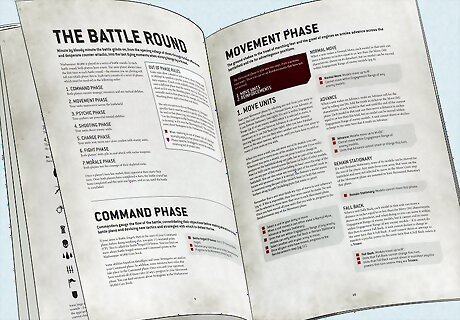
Purchase a copy of the most recent rulebook. The cheapest option is to find a used copy online, but any game shop will carry copies. It’ll help to have the rulebook handy when it's time to look up an obscure rule mid-game. Warhammer has published the rules online here. If you have a tablet with a long battery life, you can always use that instead. If you purchased a starter set, it’ll come with a copy of the rulebook.
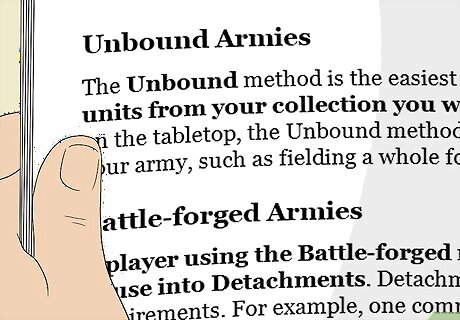
Focus on one army while learning and avoid mixing units. An “Unbounded” army can have any combination of units (category of miniatures). Unbounded armies can be a lot of fun to play, but it’s easier to stick with one Codex and learn the mechanics of one army if you’re just starting out. On top of making things more complicated, you usually lose out on bonuses if you don’t stick with one faction. You cannot mix units inside of each detachment (i.e. set of units together on the battlefield). You can have mixed deployments, though (for example, one detachment of Space Marines and one detachment of the Tau Empire).
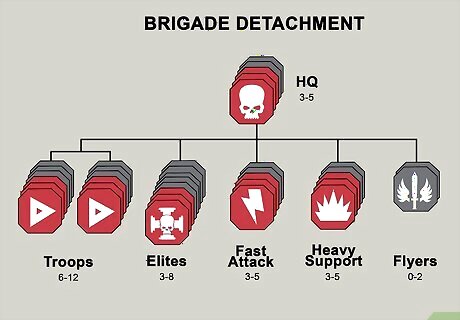
Opt for a Battle-Forged army to get the maximum benefits. A Battle-Forged army is an army that is divided into pre-defined Detachments as outlined in your faction’s Codex. Each detachment fulfills a certain requirement, and your army get special bonuses for following the Battle-Forged guidance. The main requirements are minimum or maximum numbers of each Battle Role, such as HQ or Troops. Each unit's Battle Role is shown as a symbol in its description. Each detachment must be a single faction, and there are additional restrictions when choosing them.
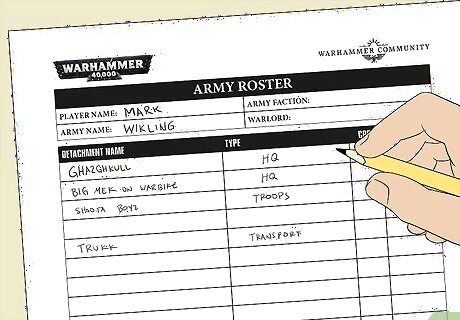
Compose your army using the Codex for that faction. Your Codex lists every unit available to your faction, with a point cost for each unit. Each player should make an army with the same total point cost. A 500- or 750-point army is a good place for a new player to start. There are endless combinations of units you could buy, but don't overthink it for your first time. Ask for help from experienced players, or search for beginner guides to your faction online. Check with the people you'll be playing against. Some groups of Warhammer players agree on extra requirements for their armies, which you'll have to follow to play with them.
Building Your Game Pieces
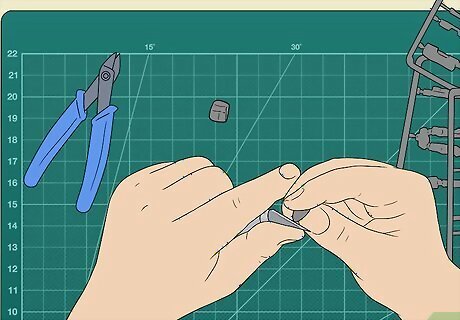
Assemble your miniatures by gluing and snapping the pieces in place. Buy the Warhammer miniatures for the units you chose from a game store or the Games Workshop website. Just pick a couple to start with, so you can get a feel for the assembly and painting process. Put the pieces together and use plastic glue to hold them together. Get your hands on: Nail or sprue clippers to remove model parts from the frame. Plastic glue for plastic models. Never use wood glue or super glue; plastic glue is ideal. Emery board, nail file, and a utility knife to clean rough edges.
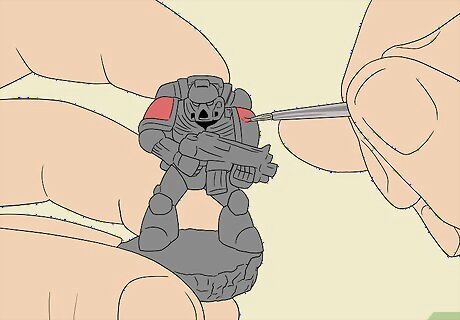
Paint your miniatures to make your game pieces yours. Break out your brushes, paints, and a magnifying glass and bring your minis to life! Feel free to use a simple two- or three-color paint job to keep it simple, or get really elaborate and get into some finer details. Besides aesthetic appeal, painting will also help you and your opponent identify units during battle. For a lot of players, the painting and miniature assembly is the best part of the game! It’s where you get a chance to really customize your army and make it unique. For the paints and brushes, you’re best off buying a miniature painting kit that contains everything you’d ever need to have. Use acrylic or modeling paint. Most miniature enthusiasts like Vallejo or Citadel paints, but any high-quality brand works.
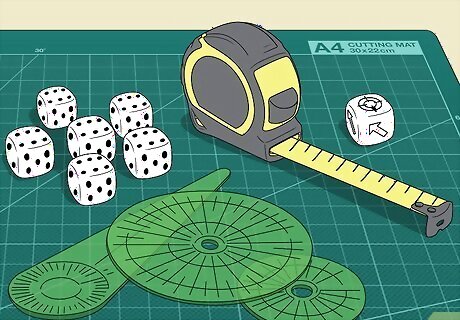
Gather your play equipment and table template. Finally, you will need a few tools to calculate distances and assess damage. If another player you’re playing with already has all of this stuff, you don't need to bring them. A lot of players prefer having their own gear, though. You need: A measuring tape that displays inches. Warhammer 40k template set (these are 3 clear plastic objects that show different blast radiuses; some unique units require special templates). A special scatter die. Artillery dice. Plenty of ordinary six-sided dice (affectionately known as a d6). Any faction-specific dice you need (some Codex need special dice with unique symbols on them).
Setting Up the Game
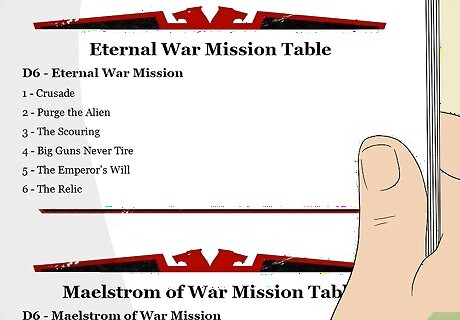
Choose a mission to play with your opponent. Any starter box set you choose comes with small missions ideal for learning the game. If you do not have a box set, choose any mission or gameplay setup in the rulebook. These will set the story for your battle and explain how to win the mission. Read the mission carefully, since it can add extra requirements for how you place terrain and deploy units. Avoid any missions with secondary objectives in the middle of the game if you’re just learning. If you want to get a sense for how competitive games go, try playing yourself!

Choose an army and pick a unit to be the warlord to lead them. Each player picks one character model in their army to be the Warlord. That unit immediately gets the Warlord Trait listed in its Codex entry. If it does not have any Warlord Traits listed, roll on the Warlord Trait table in the Rulebook. It gets that Warlord Trait for this battle. You lose the Warlord Trait bonus if that selected unit dies.
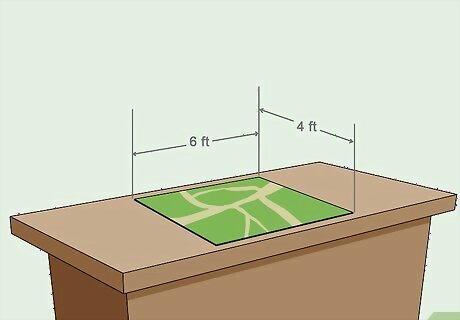
Set up the battlefield by clearing a table off or setting terrain out. You can play on any flat surface. A 6 by 4 ft (1.8 by 1.2 m) board is the most common size, but if you have small armies (500 points) you can use an area as small as 4 by 4 ft (1.2 by 1.2 m). Terrain is optional, but highly recommended, and can be placed anywhere that all players agree on. You can purchase prefabricated terrain or you can make your own homemade terrain. Warhammer rules always use inches. 12 inches = 1 foot, just in case you didn’t know. You don't even have to play on a rectangular surface, but most players prefer it.

Deploy your army by setting your miniatures up. Check the mission for deployment rules. If there aren't any, use any of the deployment zones in the Rulebook. For example, the two players pick opposite sides of the board and must place their units within 12 inches of that side. Roll dice to see who deploys first. That player puts down all their units, then the second player puts down all their units. If you can't fit all your units in your deployment zone, read the Reserves section of the Rulebook.
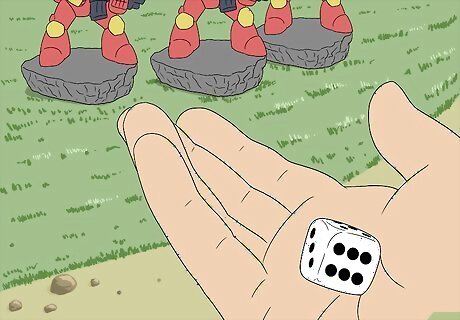
Determine who takes the first turn. Whoever deployed their units first gets to choose whether they go first or second. First is usually better strategically, but there are scenarios where going later might be better. After the player determines who goes first, the second play can roll a d6 die. If it comes up 6, they “Seize the Initiative” and go first instead.
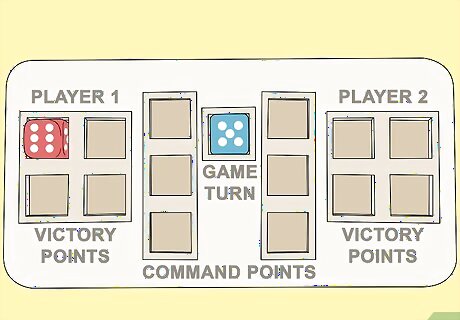
Agree on the victory condition with the other player. Most missions will tell you how long the game will last, and how to decide who wins at the end of it. If your mission doesn't, try these rules: The game ends in five turns. Earn 1 victory point for each completely destroyed enemy unit. Slay the Warlord: Earn 1 point for removing the enemy warlord First Blood: Earn 1 point if you were the first to destroy a unit. Linebreaker: Earn 1 point if you have a unit within 12 inches of the enemy table edge at the end of the game.
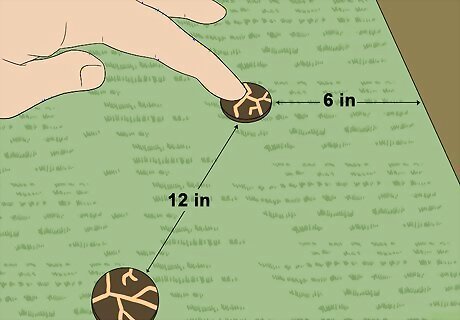
Lay objectives out based on the mission. If the mission has objective markers, players take turns placing them. The markers must be at least 6 inches from the table edge and 12 inches from each other. To control an objective (and earn victory points), you must control all units within 3 inches of the objective. If you have a Battle Forged Army, some detachments will have the Objective Secured ability. Units in these detachments can control an objective even if an enemy unit is nearby, unless the enemy has the same ability.
Taking a Turn

Move all your units based on how far they can go. First, move every one of your models wherever you’d like to move them. Most infantry models can move 6 inches, but check the codex entry for vehicles and monsters. Measure the distance with your tape measure from the center of the model, and place the center of the model at the far edge of the tape measure. Models in the same unit stick together. A model can't move farther than 2 inches horizontally from the nearest model in the same unit. If you start your turn with them farther apart than this, they must move back together (or as close as they can). Most terrain slows down most unit types. Check the Rulebook for more info. A basic turn has the following sequence: 1. Special hero abilities. 2. Movement 3. Psychic attacks 4. Ranged attacks 4. Charge phase 6. Melee combat 7. Battleshock phase
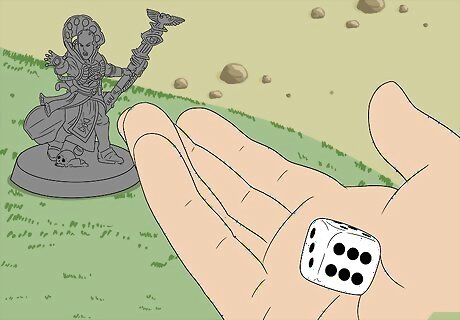
Use any psychic powers if they’re relevant. If you have any Psykers in your army; you can attempt to manifest any psychic powers they know. When manifesting powers, roll 2 dice and add them up, if the result is greater than the warp chance of the power, it is manifested, and you can carry out the effect.
Enter the shooting phase and make any ranged attacks. Now, each of your units with ranged weapons can make an attack against any enemy the unit can “see” within its weapon's range. All models in that unit fire at the same time. Roll a die and use the unit's Ballistic Skill (BS) to see whether it was a hit. Follow the Wound Chart and instructions in the Rulebook to check for injured or killed enemies. Only one model in the unit needs to "see" the enemy. If you're not sure, put your eye down to the board and look. Banners, wings, weapons, and other "poky bits" don't count; you need to be able to see the core of the model. There are many shooting rules not covered here. It's worth reading this Rulebook section in detail.
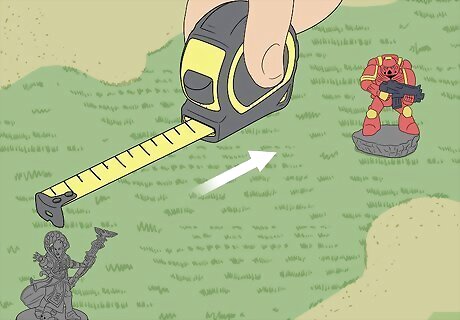
Charge the enemy if you want to engage in close combat. You can now charge the enemy and attack with each of your units if you’d like to engage in hand-to-hand combat. This has drawbacks, since units in close combat cannot move or shoot in future turns. Pick an enemy within maximum charging distance (usually 12 inches). That enemy gets to make an Overwatch attack, described in the Rulebook. Roll two d6 dice. Move the unit up to the total result, in inches. If the base of one of your models is touching the base of an enemy, the whole units are in close combat.
Fight the enemy and determine how much damage occurs. The final portion of your turn only applies to units in close combat. Make attacks using the Fight rules. Reading this Rulebook section carefully is recommended. Here are the most important points to remember: Models attack in order of highest Initiative to lowest. This includes enemy models. Each model's Attack (A) value tells you how many attacks it can make. Use the To Hit and To Wound charts to find the results of attacks.
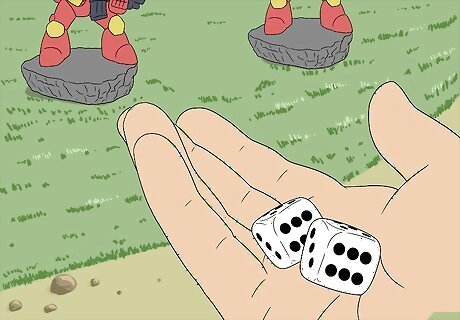
Send the opponent running if they fail a morale check. After all models have attacked, the side with more Wounds makes a Morale Check by rolling two dice. If the result is higher than the units' Leadership, the unit must Fall Back. Roll two dice again and move that many inches, straight back to the unit's starting table edge. These units get one chance each turn to Regroup, as described in the rules. If they fail, they keep moving back the same way. When they reach the table edge, they become casualties and leave the game.

Pass the turn and continue play until the game ends. You've completed one turn. The enemy player now repeats these steps. Continue playing until you reach the endpoint you agreed on. This is usually a number of turns (try 5 for your first game), a time limit, or when a certain mission objective is complete.




Comments
0 comment