views

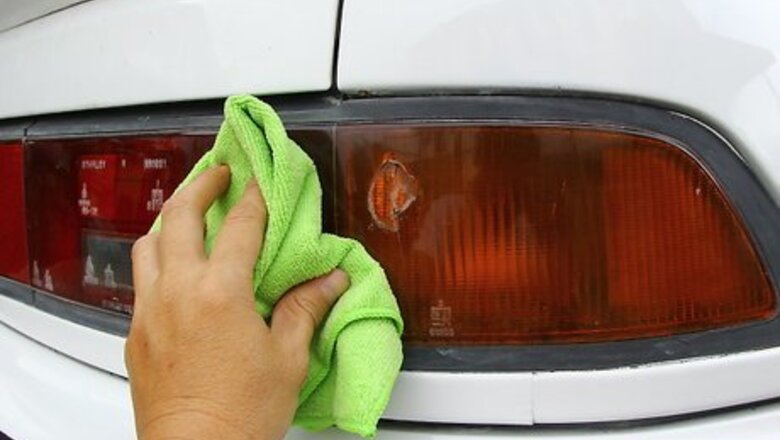
Clean the taillight lens assembly thoroughly by spraying cleaner on a rag and wiping down the lens. Do not allow any liquid to get inside the housing.

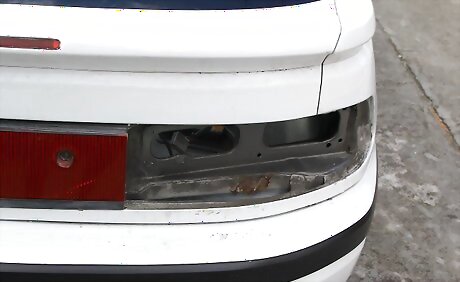
Remove the lens from the housing using the appropriate screwdriver. If the lens is glued to the housing, do not try to pry it off as that will likely break it. Instead, remove the entire taillight assembly and follow these directions to remove the lens from the housing without damaging it. Heat a kitchen oven to 200�F (99.3�C), and position oven rack in lowest position. Line a baking sheet large enough to hold the assembly with foil, and place the assembly on the baking sheet with the plastic lens facing up. Place in the oven for 15 to 20 minutes. Remove the baking sheet and assembly using oven mitts and carefully, using a flat edged screwdriver, pry the plastic lens from the housing. Remove the soft strings of glue from the edges of the lens while it is still warm using a sharp box cutter.

Wipe down the inside of the housing and the lens using a dry cloth.

Sand the edges of the crack using #200 fine grit sandpaper to give the adhesive a rough surface to cling to.

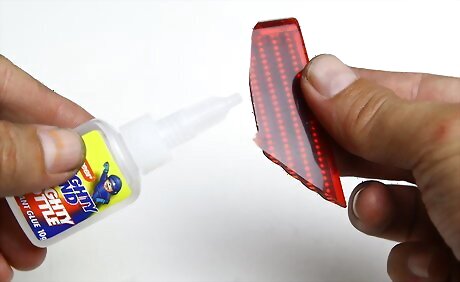
Apply a fine line of plastic glue along the crack, holding the pieces together with your hands for a minute to allow the glue to set up. If necessary, apply a second line of glue when the first one dries. You want the crack to be totally filled and even with the surface of the lens. If you apply too much glue, sand off the excess using #200 fine grit sandpaper.

Apply a line of plastic glue along the edges of the lens before replacing it in the housing and fastening down the screws.

Reattach the assembly to the car if necessary.


Comments
0 comment