views
Choosing Your Eggs and Hatching Method
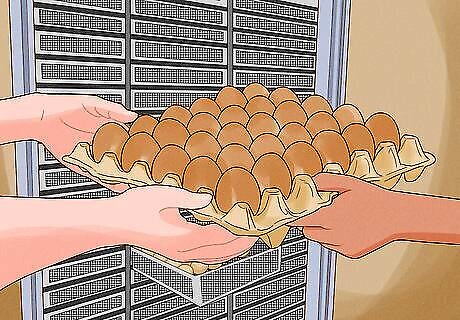
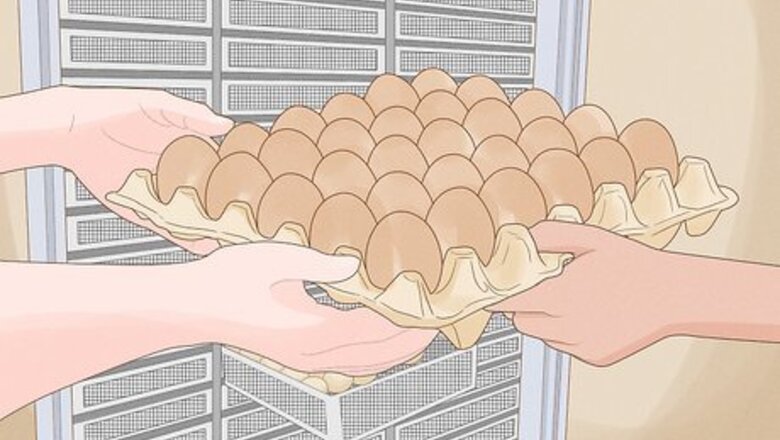
Find out where to source fertile eggs. Fertile eggs must be obtained from hatcheries or poultry farms which have roosters in their flock, if you do not breed your own chickens. You may be able to buy fresh farm eggs from someone who sells their extras. Be sure to check with potential suppliers well in advance, to ensure they have the correct breed and number of eggs in stock. Your county extension agent or extension poultry specialist may be able to suggest a source. The eggs you find in grocery stores are not fertile and cannot be hatched. For disease prevention and health reasons, it's best to get all your eggs from one source. If you are looking for a particular or rare breed of chicken, you may need to contact a specialized hatchery.
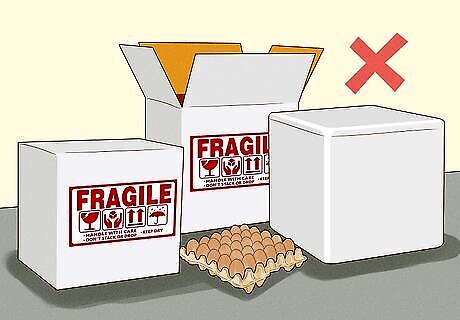
Beware of getting your eggs shipped. You should be wary of buying your eggs online and having them shipped to you, especially if you are a first time hatcher. Shipped eggs are more difficult to hatch than eggs from your own flock or eggs acquired locally. On average, eggs that have never shipped have an 80% chance of hatching, whereas shipped eggs have only a 50% chance. However, if the eggs are treated very roughly during shipping, it is possible none will hatch, even when you are doing everything right.
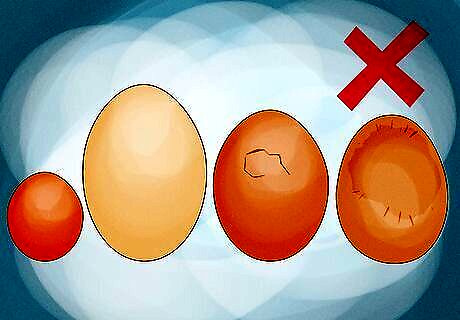
Select your eggs wisely. If you are able to select your own hatching eggs, there are several things you should look out for. You should select eggs from breeding hens that are well developed, mature and healthy; they should be compatible with their mates and produce a high percentage of fertile eggs (around three). The breeding hens should also be fed a complete breeder's diet. Avoid excessively large or small eggs, or misshapen eggs. Large eggs hatch poorly and small eggs produce small chicks. Avoid eggs with cracked or thin shells. These eggs have difficulty retaining moisture needed for proper chick development. Cracked or thin shells also make it easier for disease to penetrate.
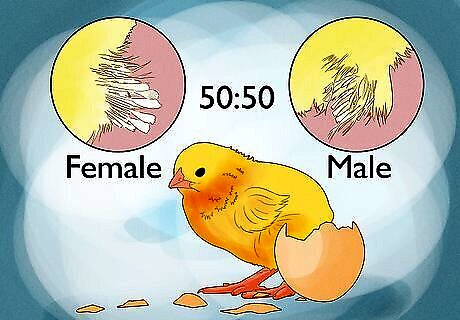
Understand that you will have roosters. An important point to keep in mind is that your eggs will generally hatch out in a 50:50 mix of males and females. If you live in town, roosters can be a problem and keeping them is often against municipal regulations! If you can't keep roosters, you will need to be prepared to find them a home. Even if you can keep them, you will have to consider what living arrangements you will need so that the roosters won't overbreed and or even injure your hens. Understand that there is no way to know whether an egg contains a male or female chick before the egg has hatched. Even though the general ratio of males to females is 50:50, you may be unlucky and hatch 7 males out of 8 eggs, which does not make for much of a laying flock. If you do intend to keep some or all of the male chicks, there are several things you will need to consider, such as whether you will have enough space to ensure that the hens are not overbred. Overbred hens can have feathers pulled out from their heads and backs, their combs injured and, even worse, can get accidental puncture wounds from rooster spurs. Too many roosters can fight amongst themselves, as well. The usual recommendation is to keep about one rooster for every ten hens or so. This is also a good ratio to keep if you want decent fertility in your home flock.
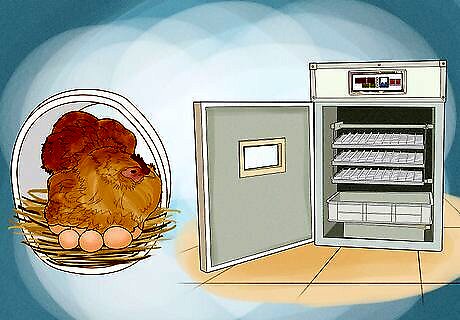
Decide whether to use an incubator or a broody hen. You have two options once you've decided to hatch chicken eggs; you can hatch them in an incubator or hatch them under a broody hen. Both options have pros and cons that you will need to consider before proceeding. An incubator is an enclosure which has controlled temperature, humidity, and ventilation. With an incubator, you are the only one responsible for the eggs. You will be in charge of preparing the incubator, monitoring the temperature, humidity and ventilation inside the incubator, as well as turning the eggs. Small incubators can be purchased, though it is also possible to make your own. If you have a commercial model, follow the instructions supplied with the unit. A broody hen can be used to incubate and hatch chicken eggs, even if she didn't lay the eggs herself. This is a great, natural option for hatching eggs. Just make sure you choose a broody breed to hatch your eggs, popular broody breeds include Silkies, Cochins, Orpingtons and Old English Games.
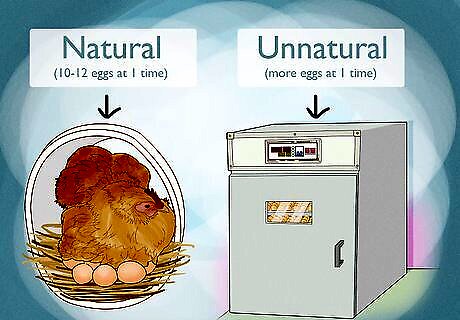
Know the pros and cons of each method. Of course, both incubators and broody hens offer advantages and disadvantages to cultivators trying to hatch chicken eggs. Knowing what these are will ultimately help you make the best decision given your circumstances. Incubator pros: Using an incubator is a good option if you do not have access to a broody hen or you are hatching chickens for the first time. An incubator allows you to be in control of the hatching process. Incubators are also the best option for hatching large quantities of eggs. Incubator cons: The main drawback of using an incubator is that its operation is wholly dependent on a reliable power source. If you are hit with an unexpected power outage or someone accidentally unplugs the incubator, it can adversely affect the eggs, even killing the babies in the shell. If you don't already own an incubator, you may need to buy one which, depending on size and quality, may be costly. Broody hen pros: Using a broody hen to hatch your eggs is a practical and natural option. With a hen, you don't need to worry about the power going out and ruining your eggs. There are no concerns about the temperature or humidity being right. Once the eggs have hatched, the hen will be a mother to the chicks, which is a beautiful thing to see. Broody hen cons: Your hen may not be broody when you need her to be and there is no way to make a hen go broody, so you will need to get your timing just right. You may need to invest in a "broody coop" to protect your hen and the eggs from overcrowding and possible damage to the eggs. This can add to the expense of hatching eggs. In addition, a hen can only reliably hatch a few eggs at a time. Large hens may be able to hatch 10-12 eggs at the very most, depending on the size of the eggs, while small hens may only hatch 6-7.
Using an Incubator
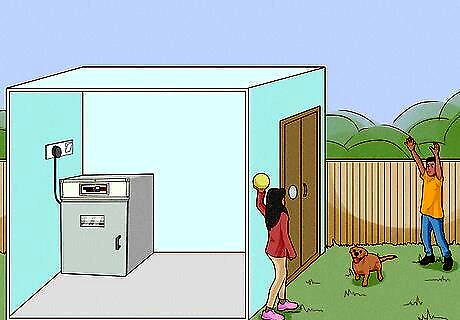
Choose a location for the incubator. To help your incubator maintain a constant temperature, place it where it will receive as little temperature fluctuation as possible. Do not place it near a window where it will be exposed to direct sunlight. The sun's heat can raise the temperature high enough to kill the developing embryos. Connect the unit to a dependable electrical source, and make sure the plug cannot be accidentally detached from the outlet. Keep the incubator out of the reach of small children, cats and dogs. In general, it's best to keep your incubator on a sturdy surface that won't be knocked or stepped on, and in a place that has relatively stable temperatures, out of the way of drafts and direct sunlight.
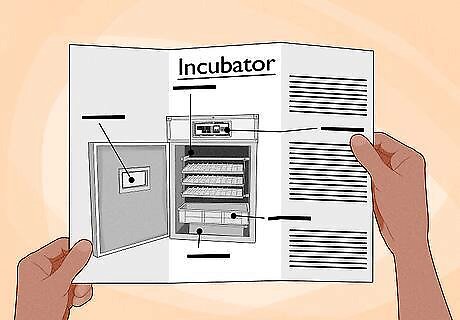
Familiarize yourself with the operation of the incubator. Before you begin to hatch your chicken eggs, make sure to read all of the instructions in the incubator's instruction manual. Make sure you know how to operate the fan, the light and any other functions. Use the thermometer provided to check the temperature of the incubator. You should do this frequently during the 24 hours before you incubate, to be sure it will stay at the correct temperature.
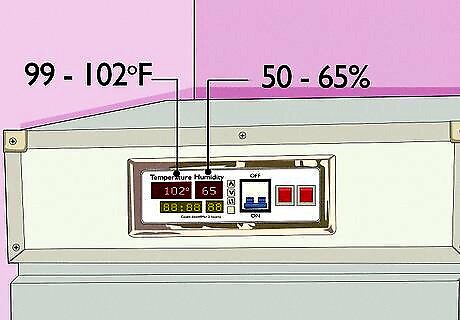
Adjust the conditions. In order to successfully hatch chicken eggs, the conditions inside the incubator must be spot on. To prepare the incubator to receive the chicken eggs, you should adjust the conditions inside the incubator to the optimum level. Temperature: Chicken eggs should be incubated at a temperature between 99 and 102 degrees Fahrenheit (99.5 is often considered to be ideal). Avoid temperatures outside the 97–103 °F (36–39 °C). range. If the temperature remains beyond either extreme for several days, hatchability may be severely reduced. Humidity: The moisture level in the incubator should be about 50 to 65 percent relative humidity (60 percent is often considered the ideal). Moisture is provided by a pan of water under the egg tray. You can use a wet bulb thermometer or a hygrometer to measure humidity.
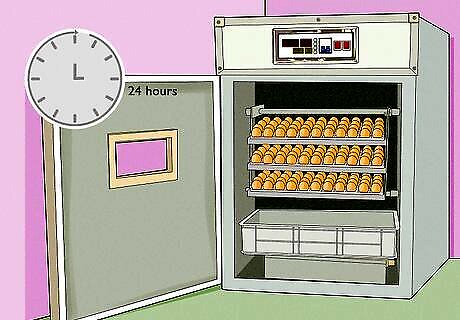
Set the eggs. Once the conditions inside the incubator have been properly set and monitored for at least 24 hours to confirm stability, it is time to set your eggs. Never set fewer than six eggs. If you try hatching only two or three eggs, and especially if they are shipped eggs, a bad hatch is likely. You may get one chick, or none. Warm the fertile eggs to room temperature. Allowing the eggs to warm up will decrease the amount and duration of temperature fluctuation in the incubator after you've added the eggs. Place the eggs carefully into the incubator. Make sure the eggs are lying on their sides. The larger end of each egg should be slightly higher than the pointy end. This is important as the embryos can become misaligned if the pointy end is higher and may have difficult pipping, or breaking through the shell, when it comes time to hatch.
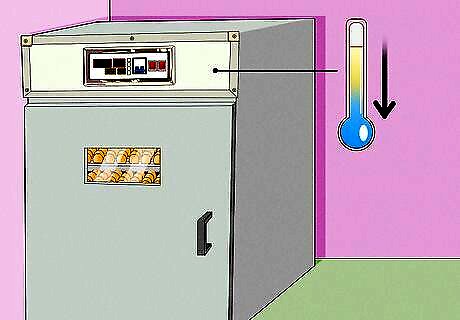
Allow the temperature to drop after adding the eggs. The temperature will temporarily lower after you've introduced the eggs into the incubator, but it should readjust if you've calibrated the incubator correctly. Don't increase the temperature to compensate for this fluctuation or you may damage or kill your embryos.
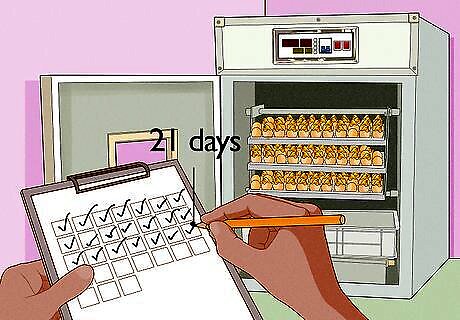
Record the date. From this you will be able to estimate the hatching date of your eggs. Chicken eggs take twenty-one days to hatch when incubated at optimal temperature. Older eggs, eggs that were allowed to cool down and eggs that were incubated at too low a temperature, may still hatch--but they will hatch late! If it is Day 21 and your eggs haven't hatched yet, give them a couple of extra days, just in case!
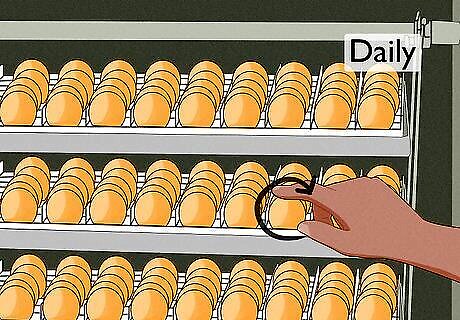
Turn the eggs daily. Eggs should be turned a minimum of three times per day at regular intervals--though five is even better! Some people like to lightly draw an X on one side of the egg so they can more easily keep track of which eggs have been turned. Otherwise it is easy to lose track of which have been turned, and whether they have been turned all the way over or not. When turning eggs manually, your hands must be washed and clean before each session to avoid transferring bacteria and oils onto the surface of the egg. Keep turning the eggs until day 18, and then stop to allow the chicks to position themselves properly for hatching.
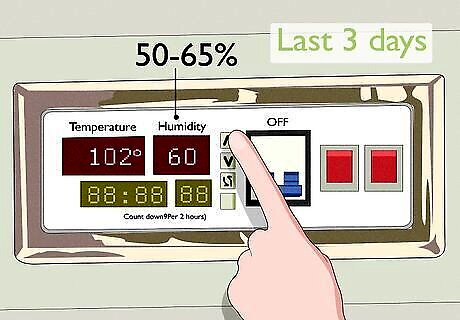
Adjust the humidity levels in the incubator. Humidity should be around 50 to 60 percent throughout incubation, except during the last 3 days when you will want to raise it to 65 percent. You may need higher or lower humidity levels depending on the type of eggs you wish to hatch. Consult your hatchery or the available literature on hatching your species of bird. Replenish the water in the water pan on a regular basis or the humidity levels will drop too low. Always add warm water. Add a sponge to the water pan if you need to increase the humidity. Measure the humidity level in the incubator using a wet bulb thermometer. Take a reading with the wet bulb thermometer and also record the temperature in the incubator at the time. Consult a chart or psychrometric chart online or in a book to find the relative humidity from the relationship between the wet bulb and dry bulb temperature readings.
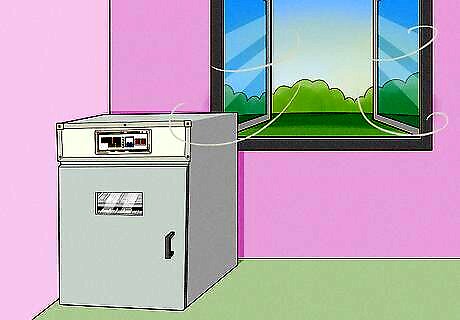
Ensure the incubator has adequate ventilation. There should be openings on the sides and top of the incubator to allow air flow-check to make sure these are at least partially opened. You will need to increase the amount of ventilation once the chicks begin to hatch.
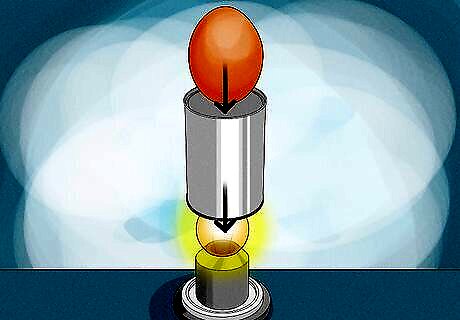
Candle the eggs after 7 to 10 days. Candling the eggs is when you use a light source to view how much space the embryo occupies within an egg. After 7 to 10 days, you should see development of the embryo. Candling allows you to remove eggs with embryos that are not viable. Find a tin can or a box that can fit over a light bulb. Cut a hole in the can or box that is smaller in diameter than an egg. Turn on the light bulb. Take 1 of the incubated eggs and hold it over the hole. If the egg appears clear, the embryo has not developed or the egg may never have been fertile. You should see a cloudy mass if the embryo is developing. The embryo will increase in size as you near the hatch date. Remove any eggs that do not show a developing embryo from the incubator.
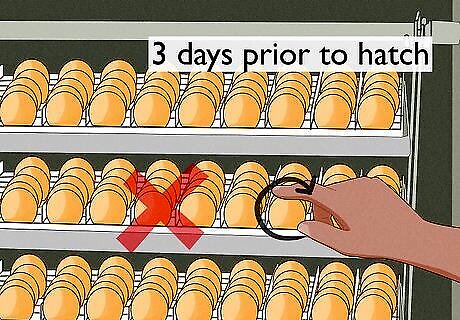
Prepare for the hatch. Discontinue turning and rotating eggs 3 days prior to the estimated hatch date. Most viable eggs will hatch within a 24 hour period. Place cheesecloth under the egg tray prior to hatching. The cheesecloth will help catch bits of eggshell and other matter during and after the hatch. Increase the humidity level in the incubator by adding more water or a sponge. Leave the incubator closed until after the chicks hatch.
Using a Broody Hen
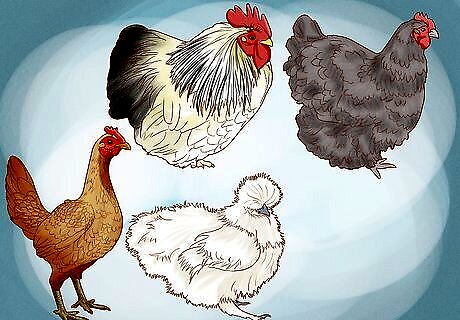
Choose the right breed. If you are decided on using a hen to hatch your eggs, you will want to know how to choose the best for your hatching needs. Some breeds will never go broody, so if you are waiting for your favorite to get in the mood for hatching, it may be a very long wait! The best broody breeds are Silkies, Cochins, Orpingtons and Old English Games. There are plenty of other breeds that will go broody, but keep in mind that just because a hen goes broody, it is no guarantee she will be a good mother. For instance, some hens will go broody, but will not stay on the nest consistently, so few if any eggs will hatch. Some hens are so startled when the eggs finally hatch, that the mother hen may attack the new chicks or abandon them. If you can find a hen that's a good breeder and mother, then you're on to a winner!
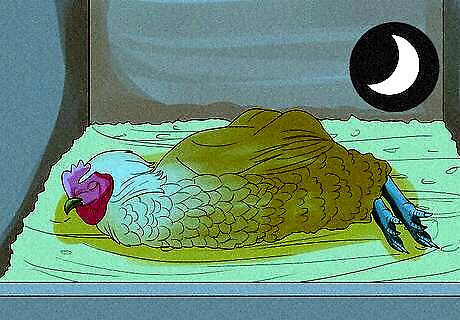
Know when a hen is broody. To tell whether a hen has gone broody, look for a hen that stays flattened out in the nest box in a trance-like state and stays there at night. You can also look for a patch of naked skin on her underside. And if she warns you away with a loud squawk or gives you a sharp peck, this is a good indication that she's broody. If you don't trust your hen, before placing fertile eggs under her, test her for a couple of days to see if she sticks tight to the nest. You can place her on golf balls, artificial eggs, or regular eggs that you are willing to sacrifice. You don't want a hen that will abandon the nest partway through the incubation cycle.
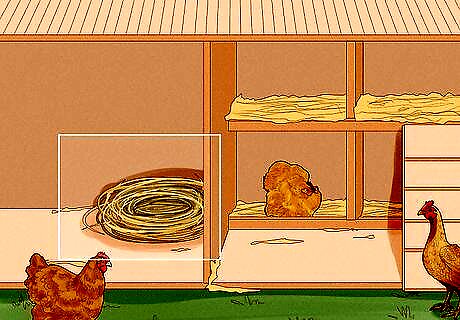
Prepare a brooding area. Put the broody hen in a separate house or room that can be used for both the incubation and hatching period and the time when the chicks are growing. Place a comfortable, ground-level nest within the brooding area, filled with soft cushioning such as wood shavings or straw. Minimally the brooding area should be somewhere quiet, dark, clean, draft-free, isolated from the rest of the flock, free of lice and ticks, and safe from potential predators. Allow ample room for the hen to leave the nest to eat, drink, and move around.
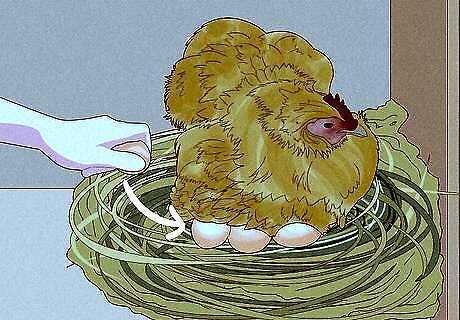
Place the fertile eggs under the hen. Once you are sure the broody hen will be a good setter and you have prepared the brooding area, place the fertile eggs under then hen. Place the eggs under her all at once, so they will hatch within 24 hours of each other. Place the eggs under the hen at night, since you are less likely to disturb her and cause her to reject and abandon the nest and eggs. Don't worry how you place the eggs. The hen will shift them numerous times over the course of the incubation.
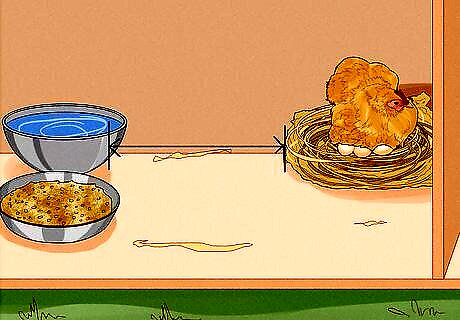
Have feed and water available at all times. Make sure the hen has access to food and water at all times, even if she only gets up to eat and drink once a day. Place the water far enough away from the hen that she won't knock it over or spill it over her nest and eggs.
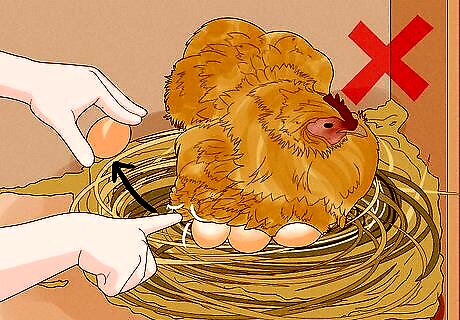
Refrain from disturbing the hen or the eggs as much as possible. The hen will do all the necessary work of turning and adjusting the eggs and the eggs should stay moist and warm from the hen's body. If you want to inspect and candle the eggs to check on their progress, resist the temptation of doing it too often. However, you don't want to have rotten eggs that could create health and safety problems if they crack open. A good compromise is to candle all the eggs at the same time between seventh and tenth day of the incubation process. If you discover a rotten egg or are absolutely sure the egg has no chick developing inside, remove it. During the last week of incubation, expect the hen to stay on the nest full time without turning or fussing with the eggs. That's all natural, so leave her alone.
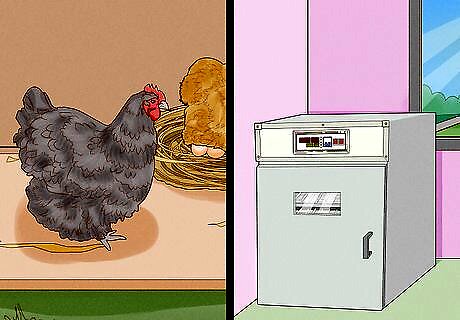
Have a back up. It can be very frustrating when a hen has been faithfully broody for two weeks and then gives up on the eggs, but don't despair. If you have another broody hen or an artificial incubator at hand, you can still save the clutch.
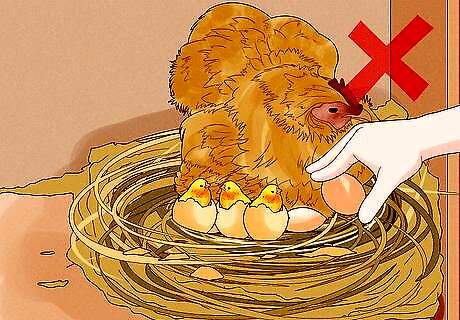
Let nature take its course. Once the chicks begin to hatch, try not to peek or remove the eggs from under the hen just to get a better look. They are exactly where they need to be. Don't worry if not all of the eggs have hatched, hens are surprisingly good at multi-tasking between incubating eggs and caring for baby chicks. The hen will usually stay on the nest for 36 hours or longer to provide time for all of the chicks to hatch while keeping the hatched chicks very close under her wing.


Comments
0 comment