views
Identifying Faulty Spark Plugs
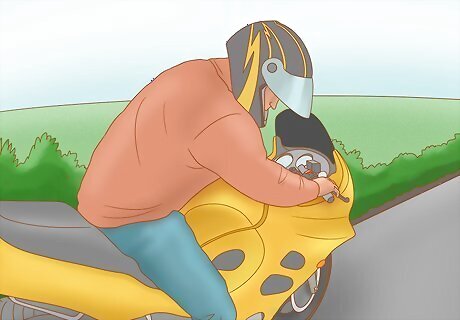
Listen to the engine idle. Good spark plugs will cause the idle to remain very smooth and consistent. Spark plugs that have gone bad, however, will produce a rough, highly fluctuating idle. They can also cause engine misfires, which you should also listen for.
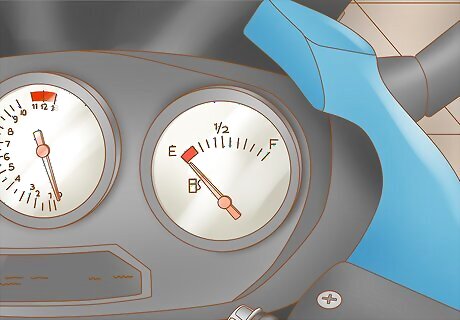
Monitor your fuel consumption. Deteriorated spark plugs can cause incomplete combustion to occur in the engine, resulting in significantly reduced fuel economy. Because there are many factors that affect fuel economy, potentially faulty spark plugs are often overlooked.

Check the acceleration. A strong indicator of faulty plugs is if the bike feels as though it is struggling to pull itself along. While this may sounds subjective, it should be fairly obvious. If the throttle is not as responsive as you are accustomed to, the spark plugs could be at fault.
Replacing Faulty Spark Plugs
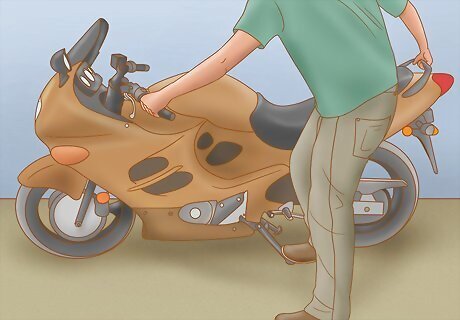
Lift the bike onto the center stand. This gives you a more stable platform to work with, and decreases the probability of accidents occurring. Grasp the bike by the left side of the handlebar and the rear tail handle Stand the bike up straight and put up the side stand (kickstand) with your foot. Put your bodyweight on the center-stand foot and rock the bike back onto the center-stand
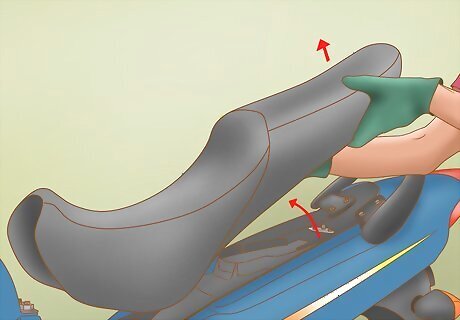
Remove the seat. This is simple enough; just turn the ignition key in the keyhole on the left-side rear fairing to release the latch. Once the latch is released lift from the back of the seat, and the front of the seat will slide right out.
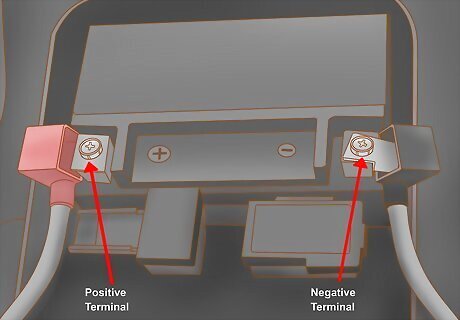
Disconnect the Battery. While not necessary, this is a precautionary measure to keep you safe. Be sure to start with removing the negative (black) lead, then the positive (red) lead. Doing this out of order can result in sparks or even electrical shock. You will only need a Phillips head screwdriver to accomplish this task
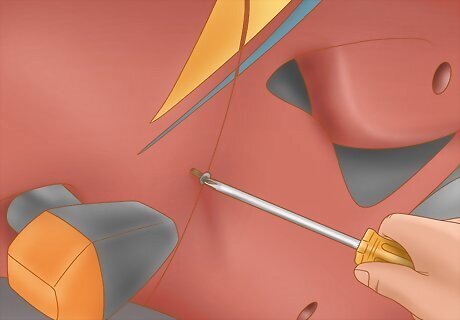
Remove the upper fairings. Suzuki suggests that you completely remove the upper fairings, which can be accomplished by first removing the lower fairings and side mirrors. However experience will show that removing the bolts indicated by the red arrows, and not completely removing the fairings will suffice. The two bolts on the opposite side of the motorcycle will also need removal - for a total of four bolts. A 4 mm Allen wrench is required.
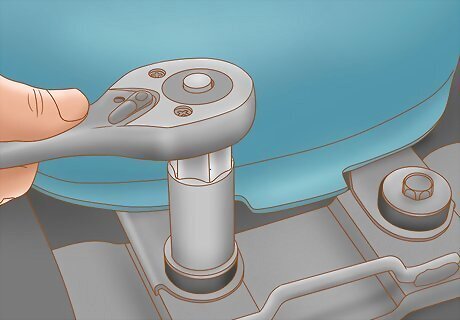
Remove the fuel tank. This involves several steps that need to be followed in careful order. The process is significantly easier if the tank comparatively empty. This step requires a 3/8 inch ratchet drive, a 10 mm socket, and potentially a set of pliers. Remove the two 10mm tank mounting bolts indicated by the red double-sided arrow. Disconnect the fuel gauge coupler. This is found on the right side of the bike and is indicated here by an orange circle. There is a small plastic lever that functions as a quick release when pressed. It should not require a lot of force to separate the coupler. Turn the fuel valve (petcock) to on. On is the 6 o'clock position. The other two positions are reserve and prime, at 9 o'clock and 3 o'clock respectively. Lift the front of the tank. Disconnect the fuel tank drain hose (1), vacuum hose (2), and fuel hose (3). Depending on your grip strength you may be able to remove the clamp (red arrow) on the fuel hose by hand, although pliers are recommended to simplify the process.The motorcycle in the image has been modified to not require the fuel drain hose, but the mount for it is indicated by the white (1). Remove the tank. You may need to pull out slightly on the upper fairings to do this, if you chose to not completely remove them.
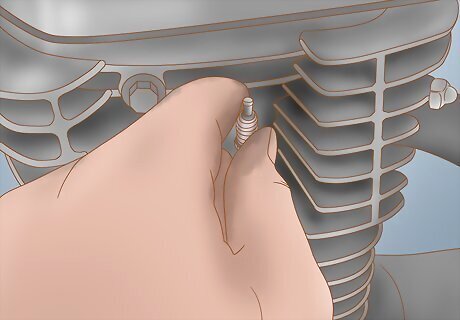
Remove spark plug caps. This does not mean removing the rubber seals around the bore-holes. Rather these seals will be removed by disconnecting the mating surface between the spark plug and the cap, which is about 10 cm down in each bore-hole. They should readily separate from one another merely by vigorously wiggling them. Should that fail, their fairly robust design makes it is reasonable to pry them up with a flat head screwdriver or small pry bar.
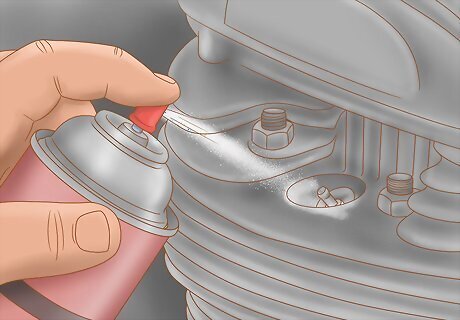
Inspect and clean out area around spark plugs. Any debris around the spark plugs will have direct access to the engine since the spark plugs are integrated into the cylinder head. Thus cleaning around them is very important to maintain your engines longevity. This is typically accomplished with small bursts of compressed air. If you do not have access to a compressor, a small manual tool such as a toothbrush may be used instead.
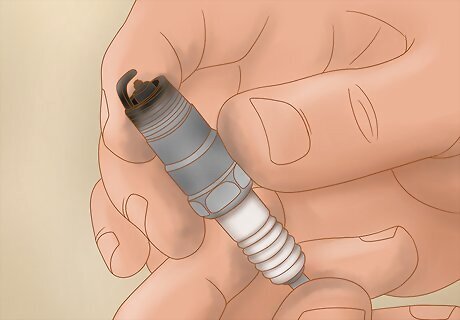
Remove spark plugs. Use the spark plug wrench and T-handle from Suzuki, or a set of pliers. The pliers can be used to gain additional leverage to unseat the plugs, by gripping the top of the spark plug removal tool instead of the T-handle. Once unseated, the spark plugs can be unscrewed by hand. If you have access to a comprehensive tool set, a thin walled 18mm socket with an extension bar and ratchet drive is a more ideal instrumentation to accomplish this task.
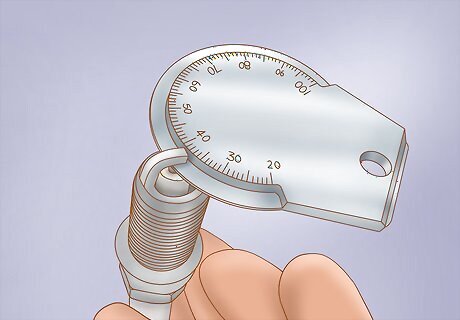
Evaluate if plugs can be refurbished or need replacement. This step may be skipped if the decision to replace the spark plugs has already been made. If any of the following situations cannot be rectified, the plug needs to be replaced. Check for carbon deposits. These will accumulate on the firing end of the spark plug. There are spark plug cleaning machines that can be used to rectify this. If this is not an option, the plugs may be carefully cleaned with a pointed metallic tool. Verify the spark plug gap. This bike requires a gap of 0.6-0.7 mm (.024-.027in). This can be done using a thickness gauge or a set of dial or electronic calipers. Observe the condition of the electrode. A burnt or worn electrode indicates the spark plug needs to be replaced Check the exterior of the spark plug for cracks or damaged threads. These are not fixable problems.
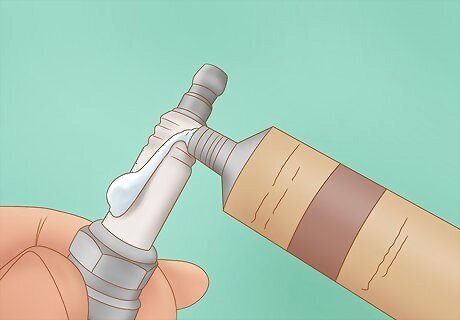
Apply dielectric grease to rubber gaskets. Only use a very small amount, and only apply it to the rubber. This improves the seal between the spark plug and the engine, preventing dirt or moisture from getting in.
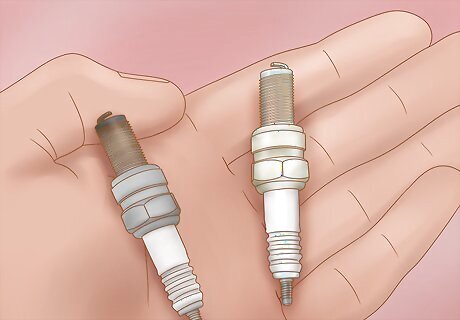
Insert new or refurbished spark plugs. Tighten these by hand to ensure the threads in the cylinder head are not damaged.
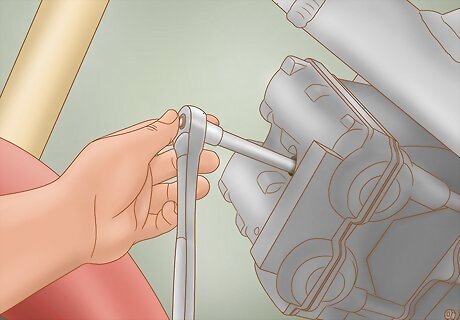
Use a wrench to tighten the spark plugs. They should be tightened to 11 Newton meters (8 foot pounds). The best tool for this job is a digital torque wrench like the one in the image instead of the spark plug wrench. Alternatively, tightening the plugs to finger tight and then using a tool to tighten them an additional ½ turn is widely accepted, although not endorsed by Suzuki.
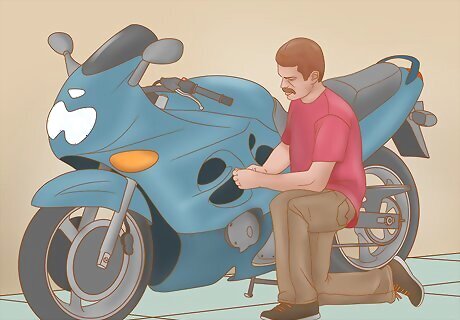
Put the bike back together. Everything goes back on in the opposite order relative to the sequence of taking the bike apart. Be sure to attach the spark plug caps to the proper cylinder. Each cap is numbered on the wire, which corresponds to the same number cylinder, numbered from left to right.


Comments
0 comment