views
Looking out for Warning Signs
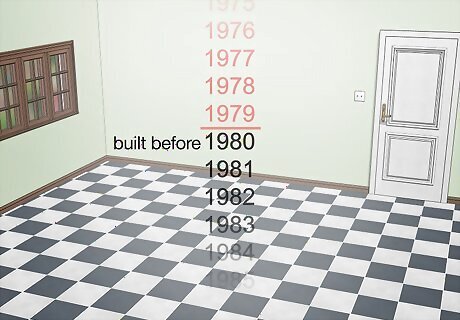
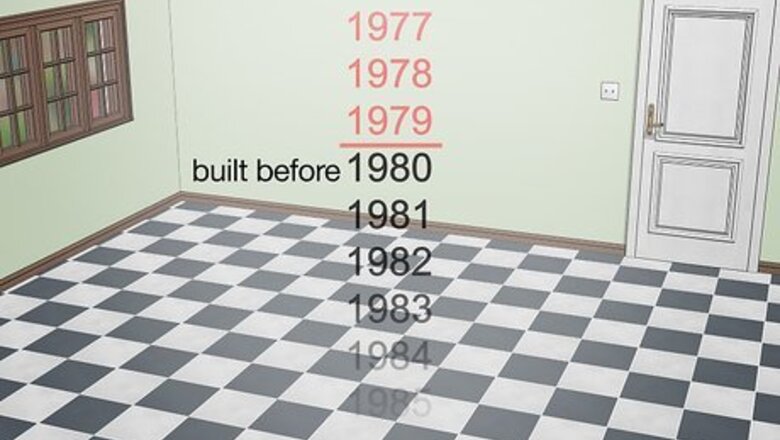
Determine whether your home was built before 1980. Federal regulations banned the use of asbestos in construction after they were discovered to be harmful. However, if your home was built before 1980, there may still be asbestos mastic under your floor tile. Look at your property deed, title, or tax appraisal to find the year your house was built. Keep in mind, unless your tiles are cracked and the adhesive is exposed, any asbestos in your flooring is not actively dangerous.Tip: Asbestos is legally required to be disclosed by the seller of a house. You may have legal recourse if you want to sue the previous owner for not disclosing the asbestos. They may have simply not known it was there though. The good news is that if you had to choose the safest place to get stuck with asbestos, it’d be in the flooring tile. Asbestos is only dangerous if it’s airborne, and it is harder for the asbestos to become airborne when it’s trapped under your floor.
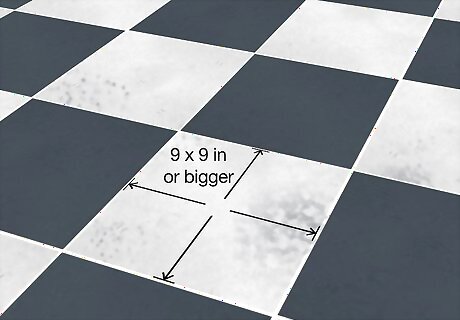
Look to see if you have square tiles that are 9 by 9 in (230 by 230 mm) or bigger. Between 1960 and 1980, mastic adhesives were most commonly used with a specific type of vinyl flooring tile. Use a measuring tape to measure the length and width of one of your flooring tiles. If it is 9 by 9 in (230 by 230 mm), 12 by 12 in (300 by 300 mm), or 18 by 18 in (460 by 460 mm), there’s a chance that there’s mastic adhesive with asbestos under your tiles. Mastic flooring glues were thinner than other flooring adhesives, which made them easier to spread on to bigger tiles. They were also manufactured by the same company that made these kinds of tiles, so many of them were installed with this type of mastic.
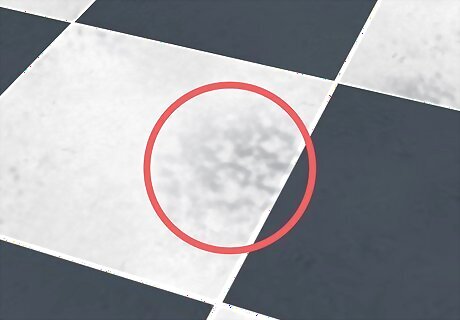
Inspect your floor to see if there is any dark discoloration in the tiles. Look carefully at your tiles to see if they have a uniform color or pattern. Asbestos mastic is made with asphalt, which can degrade the tiles over time as it grinds against the backs of the tiles. If the tiles are older than 1980 and there is a dark discoloration in your floor, it’s a sign that you may have asbestos underneath. If your tiles are thicker, you may not be able to see any discoloration.
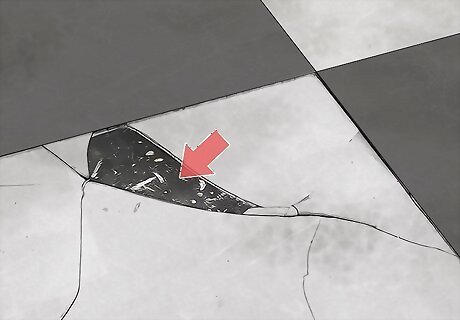
Look to see if cracked tiles are black or dark gray underneath. Asbestos mastic is always black. If you have a cracked or missing tile and there is a black paste where the tile used to be, it could be asbestos. If the mastic has been exposed to the open air for a long time, it may have a gray tint though. If the subfloor is made of concrete, it may look like a mix of black and gray since some of the subfloor may not have been originally covered.
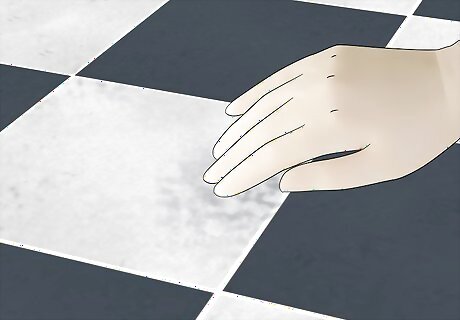
Check to see if the discoloration has an oily texture. Due to the asphalt used to produce asbestos mastic, the adhesive often has an oily shine and texture. As it wears through the backs of the tiles, it may make them appear reflective, and shiny. Inspect a set of tiles or touch them with a pair of rubber gloves to see if they’re slick or oily. This will not be true of mastic that has been exposed to the open air for some time though, since the mastic will dry out and lose a little bit of the shine. If you want to touch a surface that you suspect to be asbestos, wear rubber gloves.
Confirming Asbestos Mastic
Hire a contractor to test your tiles if you can afford it. The safest way to get your flooring tested for asbestos is to have a licensed contractor do it for you. Asbestos is extremely dangerous if you inhale it, so it’s best to leave it to a professional. While having a contractor test your flooring is the safest way to do it, the service will cost $400-1,000. Look online or check your local phone book to find a contractor that specializes in asbestos testing and removal. It's a good idea to have an accredited asbestos inspector gather samples to avoid contamination. For example, in older buildings, a thorough inspection of asbestos should be performed to make sure that the particles haven't been released into the environment. This testing can be done through Transmission Electron Microscopy (TEM) and Phase Contrast Microscopy (PCM). However, the first option is more precise because it can detect a greater range of asbestos particle sizes.
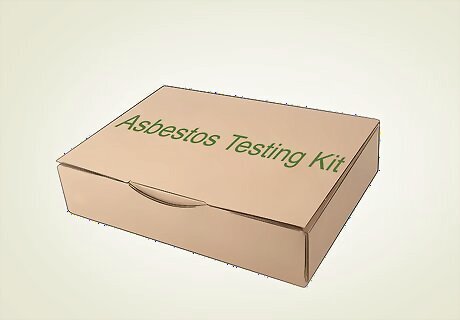
Get a testing kit from a laboratory that analyzes asbestos. If you can’t hire a contractor, you’ll need to get a testing kit from a laboratory. Contact an asbestos testing facility to get a kit sent to you. It will contain a bag, shipping container, and special labels for the container. Find an asbestos testing facility online or in your local phone book. You may be required to drop the sample off yourself depending on where you live. In some states, it’s illegal to ship asbestos. In most countries and states though, it’s legal to ship asbestos in small amounts and in specially-marked containers. These kits typically cost $20-60 each. The lab tests typically run $100-250. There are DIY kits that supposedly allow you to determine whether or not a material is made of asbestos on the spot. These kits don’t tend to be very accurate though, and they often can’t test mastic adhesive anyway. Testing for asbestos on your own isn't recommended, since asbestos particle inhalation always remains a risk.
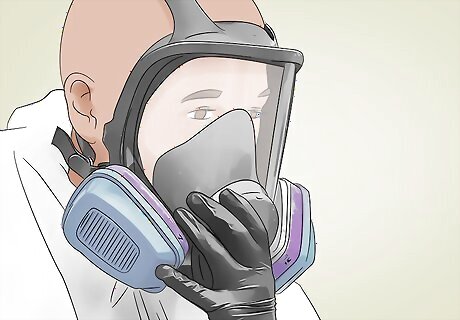
Put on a respirator, rubber gloves, and protective eyewear. Asbestos is extremely dangerous, and breathing it in can cause lung cancer. To protect yourself, get a commercial respirator that is designed to filter out asbestos. Wear protective goggles to keep the asbestos particles out of your eyes, and rubber gloves to keep the residue off of your hands. Respirators with P1 or P2 filter cartridges will work with asbestos. Any respirator with a purple HEPA filter will work as well. It is extremely important that you take the proper steps to protect yourself from asbestos.
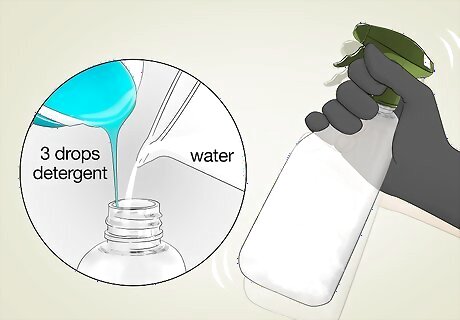
Fill a spray bottle with water and add a little laundry detergent. Get an empty spray bottle and fill it with water. Take a liquid laundry detergent and pour 2-3 droplets into the bottle. Screw the cap on to the top of the spray bottle and shake it to mix the detergent and water together. The spray bottle will make it easy to knock down any dust while you’re removing a sample.
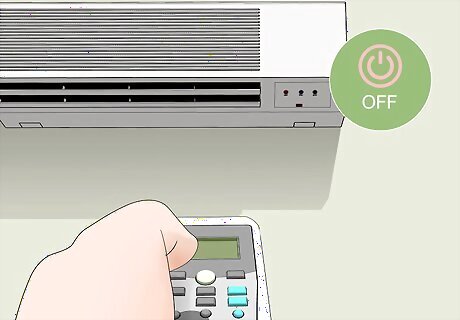
Turn your air conditioning or heat off before removing a tile. When you remove a chunk of your tile, you may be releasing asbestos into the air. To prevent it from getting into your vents and circulating throughout your home, turn the heat or air conditioning off. If you have a fan on in the room, turn that off as well.
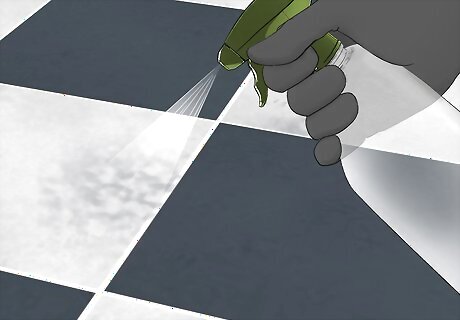
Spray the area that you’re going to cut with the water and soap. Select a section of your tile to cut out for your sample. Take your spray bottle and mist the area by spraying it 3-4 times. When you cut the tile, you will knock up asbestos particles into the air. Getting the area wet will catch some of the particles and keep them close to the area that you cut. While you’re cutting, mist the area continuously with the soap and water as well. Opt to cut a corner out to avoid the number of cuts you have to make.
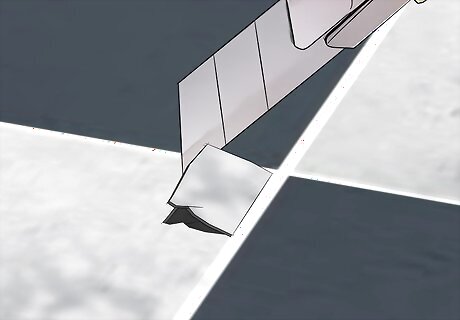
Cut out a ⁄8–⁄2 in (0.32–1.27 cm) chunk of tile with a utility knife. With your gloves on, open the blade on your utility knife by sliding the button down. Lean down and carefully cut ⁄8–⁄2 in (0.32–1.27 cm) of floor tile out by dragging the blade into the tile at a 45-degree angle. Make sure that you cut out the entire tile and don’t simply cut the outer layer of your flooring off. Spray the area with your nondominant hand 3-4 times while you’re removing the tile. This will knock some of the dust down and keep it from coming up into the air.
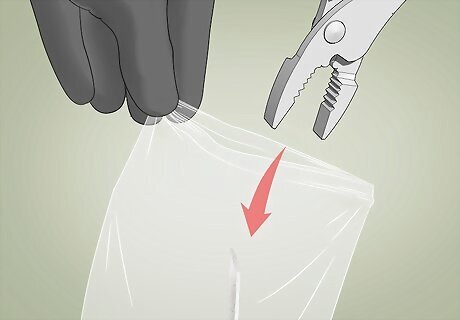
Bag the sample in the bags that came with the kit. Your testing kit will come with heavy-duty plastic bags that are designed to hold asbestos. They resemble thick sandwich bags that can be sealed. Place the sample in the plastic bag and seal it. Then, place the first bag in the second bag to keep any residue out. Drop the sample off at the lab or ship it depending on your manufacturer’s instructions and the legality of shipping asbestos where you live.
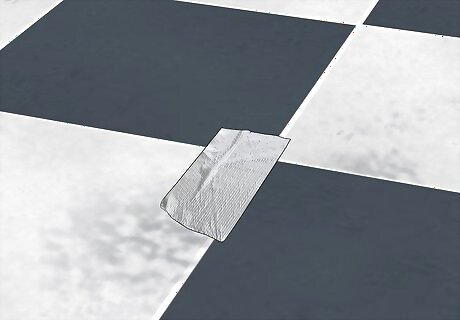
Seal the location that you cut out with duct tape or caulk. To keep more asbestos from getting into the air, cover the area you cut to seal it. After the water and soap have air dried, place 2-3 pieces of duct tape over the area or use a tube of caulk to fill the gap in. This isn’t a good long-term solution, but it should be okay while you’re waiting for the testing to come back. You can also paint over the asbestos with a thick oil-based paint to seal the fibers into the floor.
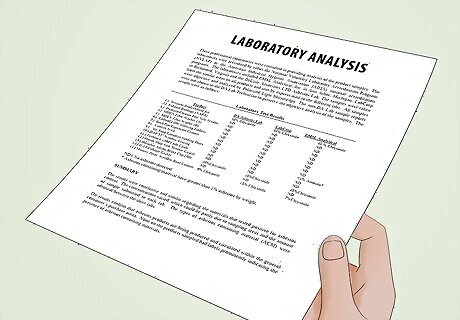
Wait for the test results before removing or covering the tile. After you’ve shipped your sample, the lab will process it and interpret the results. They will contact you to let you know whether or not the sample is actually asbestos. If it is indeed asbestos, hire a contractor to have the asbestos professionally removed.Warning: In many instances, it’s safer to simply build a new floor on top of the old floor than it is to remove it. Consequently, it is illegal in many states and countries to remove asbestos flooring. Look online or call your local government’s building department to find out if it’s legal to remove asbestos flooring where you live. It is extremely dangerous for you to remove the asbestos yourself, so have a licensed professional do it for you.




Comments
0 comment