

Open Terminal. Open the Menu ⋮⋮⋮ and scroll down, then click Mac Terminal Terminal to do so. You can also press Alt+Ctrl+T.

Remove any current versions of Java. This is extremely important, as failing to do so will render the following instructions useless: Type in sudo apt-get purge openjdk-\* Press ↵ Enter Type in your password if prompted. Press Y if prompted, then press ↵ Enter
Enter the Java installation command. Type in sudo apt-get install software-properties-common and press ↵ Enter.
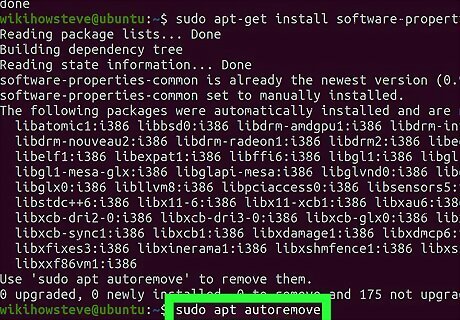
Remove any old versions of software. Type in sudo apt autoremove and press ↵ Enter, then wait for old software to remove itself. This will both free up space on your computer's hard drive and prevent interference when installing Java. The removal process may take several minutes.
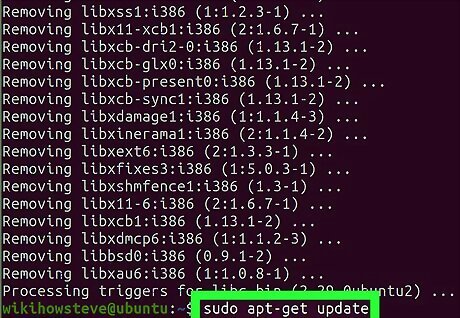
Update packages. Type in sudo apt-get update and press ↵ Enter to ensure that the current software is up-to-date.
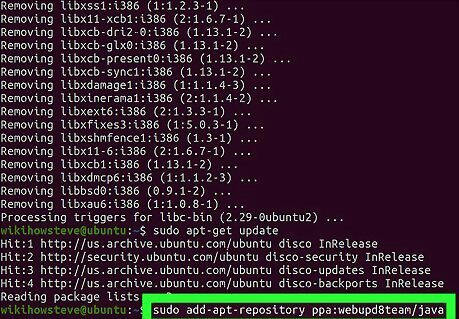
Access the Oracle Java repository. Type in sudo add-apt-repository ppa:webupd8team/java and press ↵ Enter.
Press ↵ Enter when prompted. You'll see a message that reads "Press [ENTER] to continue or Ctrl-c to cancel adding it" at the bottom of the Terminal window; this is where you'll press ↵ Enter.
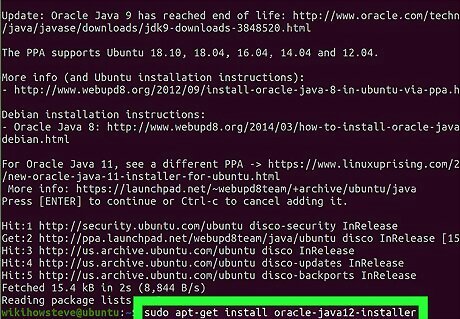
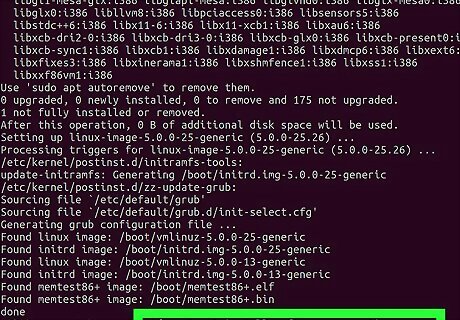
Download the Java installed. Type in sudo apt-get install oracle-java9-installer and press ↵ Enter, then type in y and press ↵ Enter when prompted. The Java 9 installer will begin downloading, at which point a confirmation box will appear in Terminal.
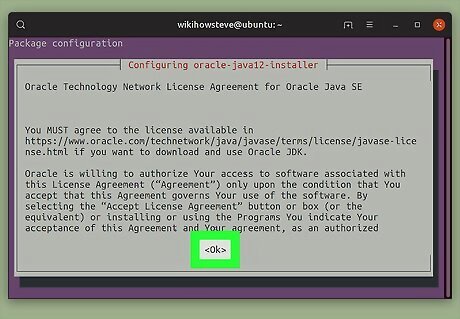
Agree to the Java terms of use. Press ↵ Enter once to continue, then use the left arrow key to select Yes and press ↵ Enter again.
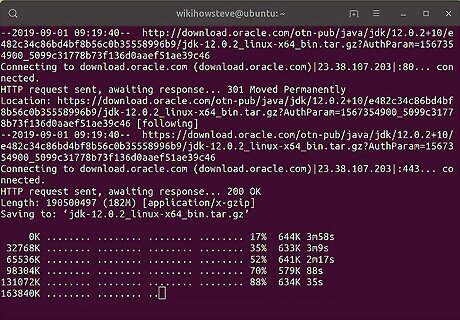
Wait for Java to download. Java will take upward of 20 minutes to download, so be patient. Once you see your name appear at the bottom of Terminal again, you may proceed.
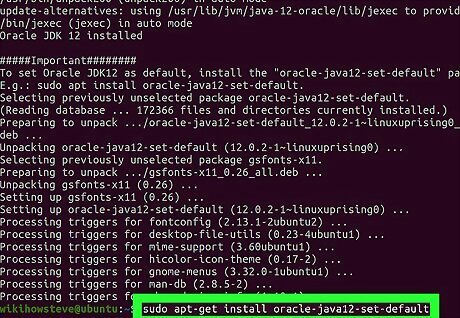
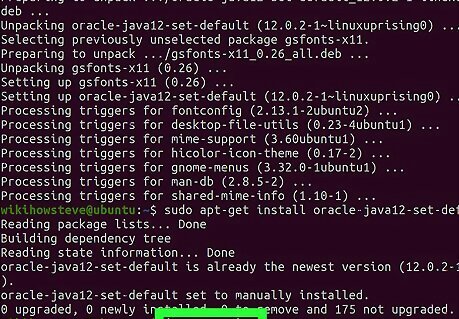
Set Java 9 as the default. Type in sudo apt-get install oracle-java9-set-default and press ↵ Enter, then enter your password if prompted.
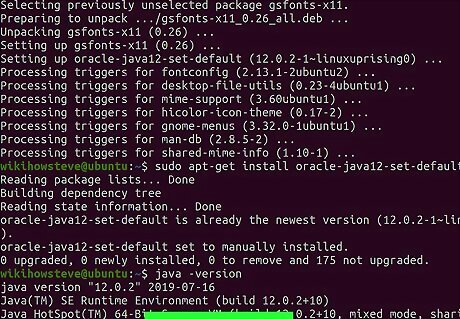
Check your Java version. Type in java -version and press ↵ Enter. You should see the following text: java version "9.0.4"
Update all of your packages again. Type in sudo apt-get update and press ↵ Enter. This probably won't do anything, but it's a good way to ensure that both everything from Java and the rest of your software is up-to-date. Once this command finishes running, the Java JDK is installed; you can exit Terminal.


Comments
0 comment