views
Using Water
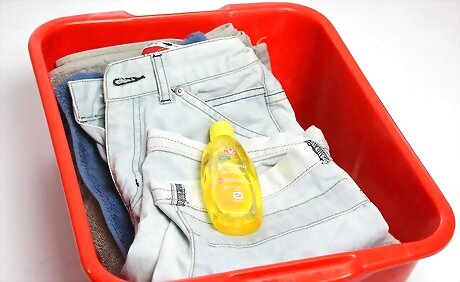
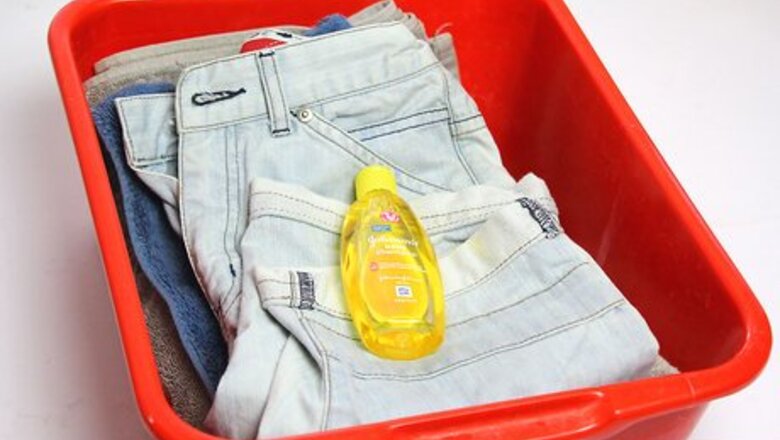
Gather your supplies. This method is simple, but it requires some drying time. It will help restore your jeans to their original length (or close to it). It is perfect for those jeans that have shrunk in the was. Here's a list of what you will need: Jeans Sink, tub, or bucket Lukewarm water Baby shampoo 2 towels Fan (optional)

Fill a sink with enough water to submerge your jeans and mix in a little bit of baby shampoo. You will need about a cap-ful of the shampoo. The shampoo will help soften the fabric and make it easier to work with. If you can't find a sink large enough to fit your jeans, you can also use a bucket or tub.
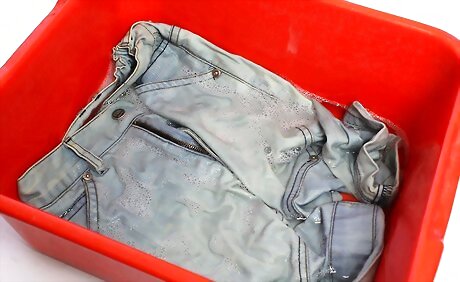
Let the jeans soak in the water for about half an hour. Gently swish the jeans around from time to time so that the soapy water gets into the fibers. If the jeans won't stay under the water, you can try weighing them down with a heavy jar.
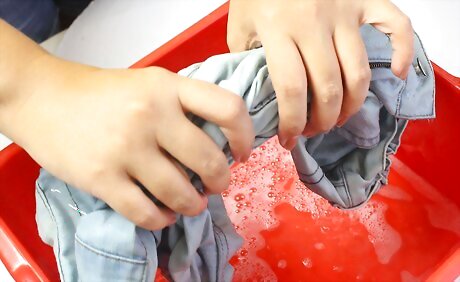
Take the jeans out of the sink and squeeze the water out. Don't rinse, twist, or wring the jeans.
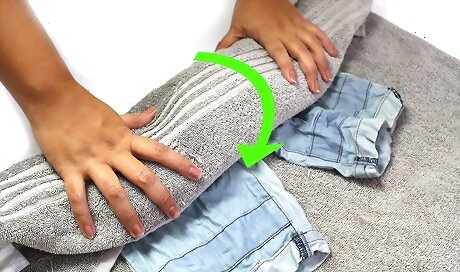
Roll the jeans up in a large towel to soak up any excess moisture. The towel needs to be long enough to fit your jeans. Place the jeans on top of the towel. Start rolling the jeans and the towel at the same time. You can start from either the top or the bottom. It doesn't matter which side; you are just getting the excess water out.
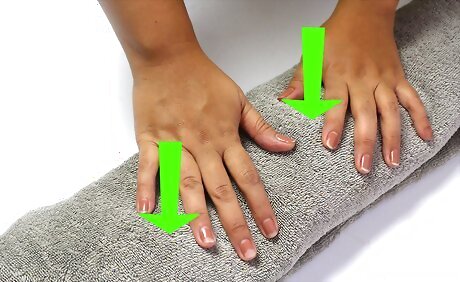
Gently press down on the towel, then take the jeans out. Unroll the towel and take the jeans off. The jeans should still be damp, but not dripping wet.
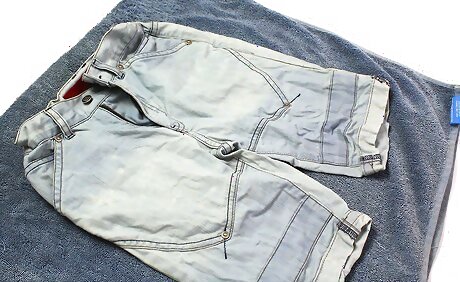
Spread the jeans on a fresh, dry towel. The towel needs to be long enough to fit your jeans.
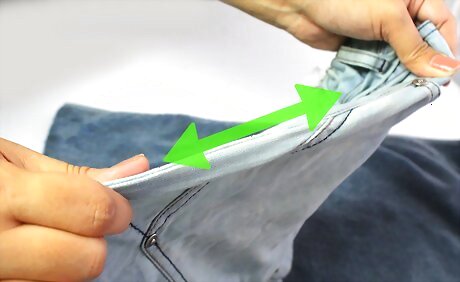
Gently tug on the jean legs until you get them to be the length you want. Start tugging from anywhere below the knee in short, little jerks. Work your way down towards the cuffs. Be sure that you tug from both sides of the pant leg (the inseam and the outer seam) so that the leg will be even at the bottom. If you're using flare jeans, pull by where the flare starts.
Allow the jeans to dry. If you want, you can set a fan down next to them. This will speed up the drying process.
Adding a Trim
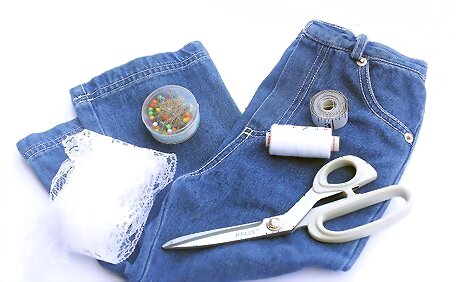
Gather your supplies. This method is ideal for those pairs of jeans that are just a little bit too short. The trim will help your jeans look longer. It will also act as an embellishment or decoration. Depending on how wide your trim is, you can make your jeans quite a bit longer. Here's a list of what you will need: Jeans Tape measure Trim (lace, ribbon, ruffle, etc) Scissors Thread Sewing machine or sharp needle Sewing pins
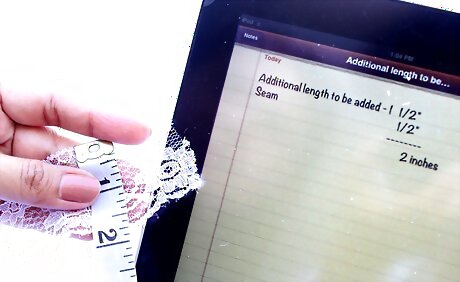
Figure out how much longer you want your jeans to be and get some appropriate trim. You will be sewing the trim to the bottom of the jean cuff using a ½ inch (1.27 centimeters) seam allowance, so make sure that your trim is wide enough. Here are some things you can use as a trim: Crocheted lace Regular, scalloped-edge lace Embroidered ribbon Ruffled fabric
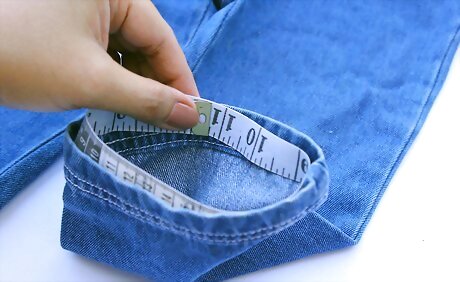
Measure the circumference of the bottom of your jean leg and 1 inch (2.54 centimeters) for the seam allowance. Make sure you are measuring inside the pant leg. Jeans are thick, especially along the bottom cuff. Place a tape measure inside the leg and measure all the way around the bottom hem. Start and end at the inseam.
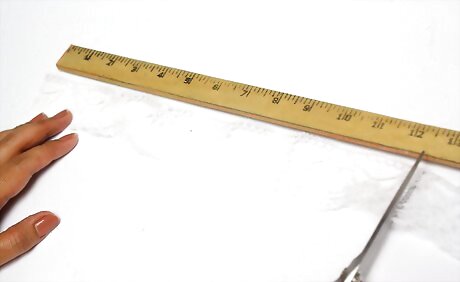
Cut your trim according to that measurement. If the fabric is very delicate and frays a lot, you can seal off the ends with some super glue, fabric glue, clear nail polish, or fray check.
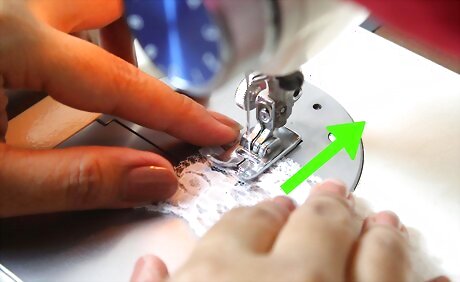
Sew the narrow ends of your trim together using a ½ inch (1.27 centimeters) seam allowance. Make sure that you are sewing the right side together. You can sew by hand using a running stitch, or on a sewing machine. Tie the ends off into a tight knot and snip off any excess thread.
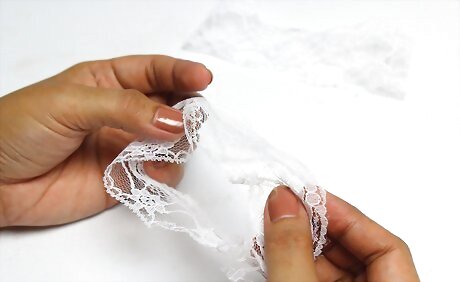
Turn the trim inside out. If you want, you can press the inside seam flat with an iron.
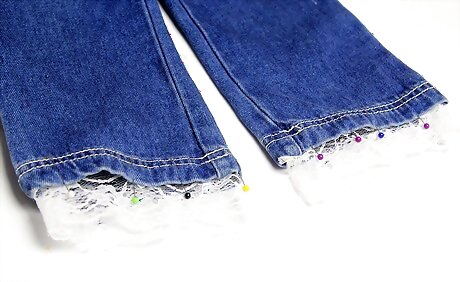
Pin the top edge of your trim to the inside of the pant leg. The top edge of your trim and the bottom cuff should be overlapping by no more than ½ inch (1.27 centimeters).
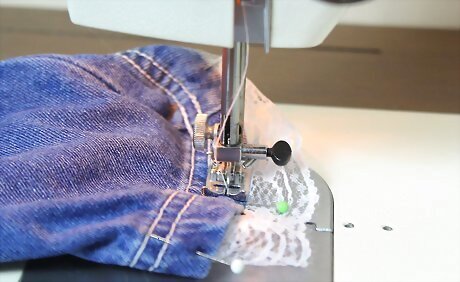
Topstitch the two together. Make sure that you are using a thread color that matches your jeans. When you are done, remove the pins and tie the ends into tight knots. Snip the excess thread off. You can sew the trim on using a sewing machine or a sharp needle and thread.
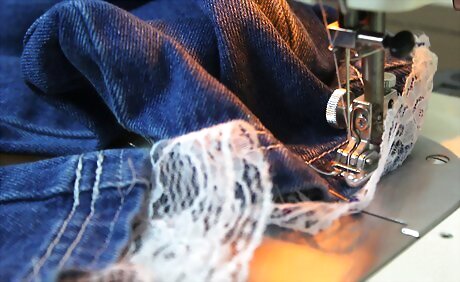
Repeat the whole process for the other pant leg. Your jeans are now a little bit longer and fancier than before.
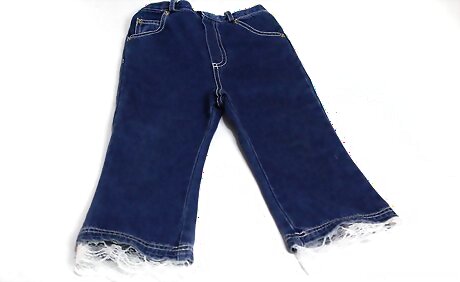
Done.
Adjusting the Hem
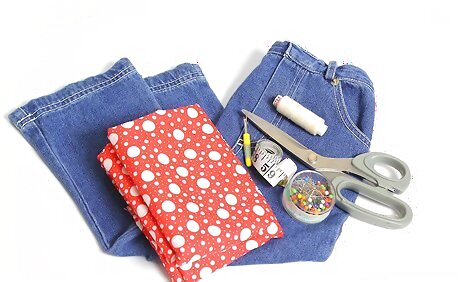
Gather your supplies. This method relies on the fabric tucked away inside the hem of your jeans. Depending on how much fabric is tucked away, this method can only make your jeans longer by an inch (2.54 centimeters) or so. As such, this method is better for those jeans that only need to be a little bit longer. Here's a list of what you'll need: Jeans Seam ripper Tape measure Scissors Thread Sewing machine Cotton fabric Sewing pins
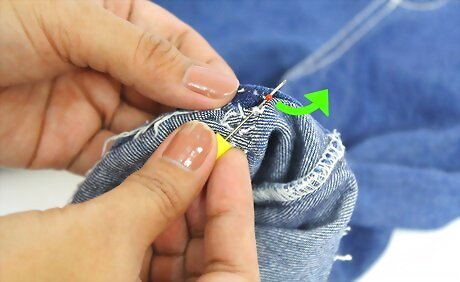
Flip the pant leg inside out and undo the bottom hem with a seam ripper. You will notice that there are fold lines along the bottom edge. If you want, you can iron them out, but keep in mind that they will never really go away.
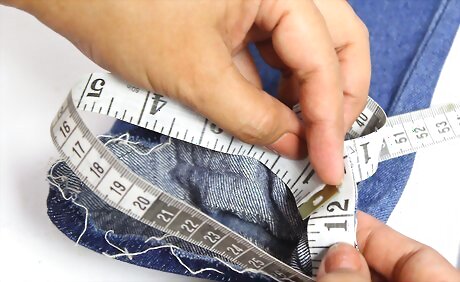
Measure the bottom width of the pant leg. Take your tape measure, and measure across the bottom of the pant leg, from inseam to outer seam.
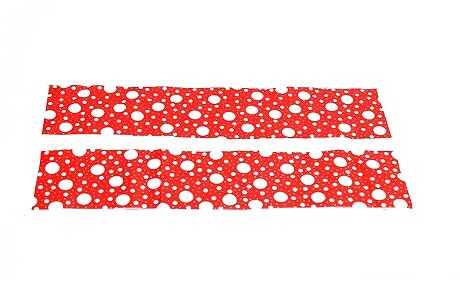
Cut two thin rectangles from some fabric. Each rectangle needs to be about 2.5 inches (6.35 centimeters) tall and 1 inch (2.54 centimeters) longer than the bottom of your pant leg. This will be enough to hem one pant leg. You can use any color or pattern you want. You can match the fabric to your jeans, or use a contrasting color. Lighter fabric, such as cotton, will be easier to sew with.
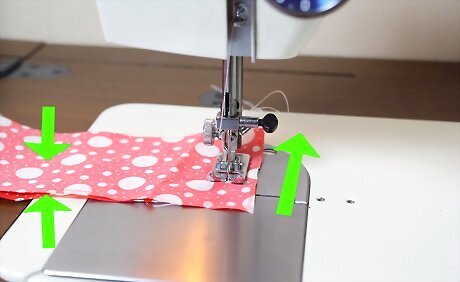
Sew the two strips together using a ½ inch (1.27 centimeters) seam allowance along the narrow ends. Pin the right sides together. Sew along both of the narrow ends using a ½ inch (1.27 centimeters) seam allowance. Do not sew along the long edges. This will be your lining.
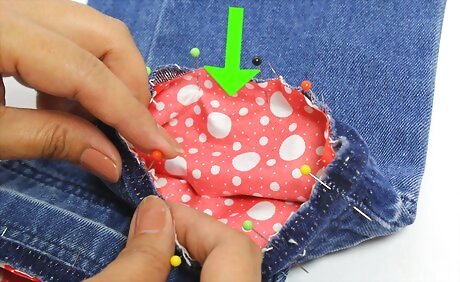
Flip the lining right side out and slip it inside the pant leg. The top edge of the lining needs to align with the bottom edge of the pant leg. Make sure that the side seams of the lining are aligned with the seams on the pant leg. Pin everything in place.
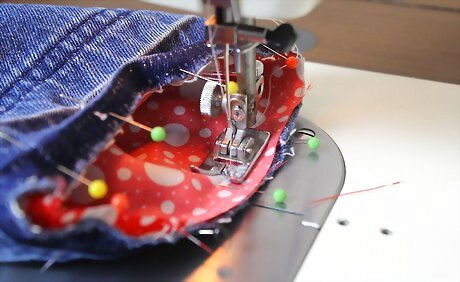
Sew along the raw edge of the pant leg and lining. Slide the pant leg onto the sewing machine arm. You may notice that your jeans have several fold lines. Sew along the fold line closest to the raw edge. Sew all the way around the bottom of the pant leg, turning the leg as you go. Tie the ends of the thread off into tight knots and snip any excess thread off. If you can't find a fold line, then use a ½ inch (1.27 centimeters) seam allowance.
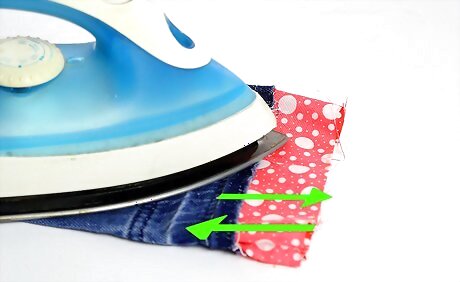
Pull the lining out of the pant leg and iron the hem down. Iron the hem towards the top of the pants, away from the lining. Keep the pant leg inside out.
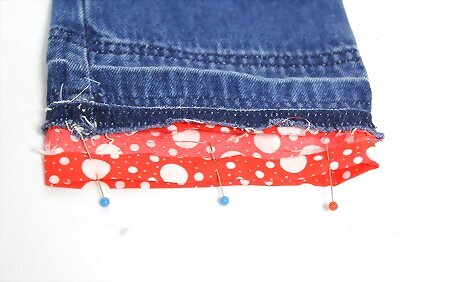
Fold the bottom edge of the lining up by ½ inch (1.27 centimeters). Pin and iron the hem flat, then remove the pins. This will be the hem, so you won't see any raw edges inside your pant leg.
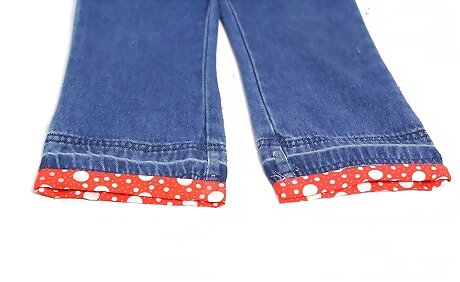
Fold the lining the rest of the way up. The seam between the lining and the jean fabric is now the bottom of your pants. Press the seam with an iron.
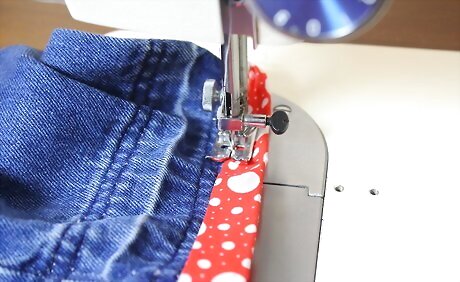
Sew the lining down onto the jean fabric. Slide the pant leg back onto the sewing machine. Try to sew as close to the folded edge of the lining as possible. When you are done, tie the threads into tight knots and snip off any excess.
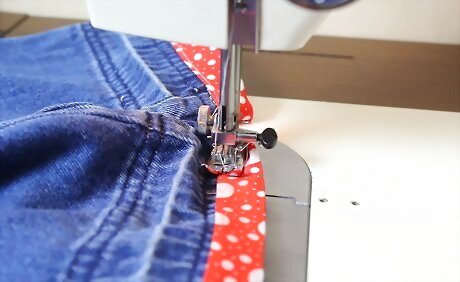
Repeat the entire process for the other pant leg. Your jeans are now a little bit longer than before. The inside is also neatly hemmed. The cuffs will still have fold lines. Over time, the lines will fade, but they will never completely disappear. They will be less noticeable light lighter-colored jeans, however.
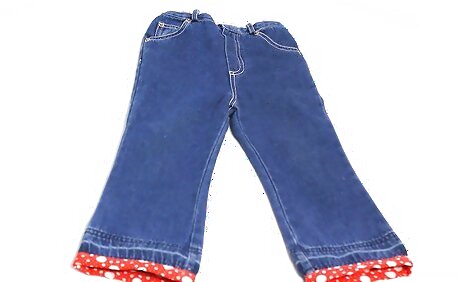
Done.
Adding a Fabric Cuff
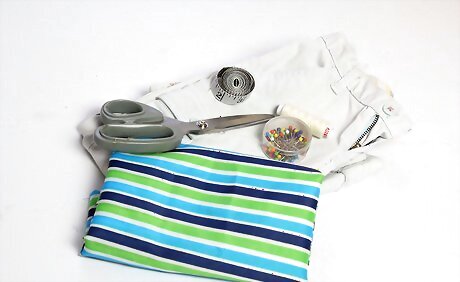
Gather your supplies. This method is great for those pairs of jeans that need to be made a lot longer. Because of the wide, colorful cuff you'll be making, this method is great for children's jeans. Here's what you'll need: Jeans Tape measure Scissors Thread Sewing machine Fabric Sewing pins
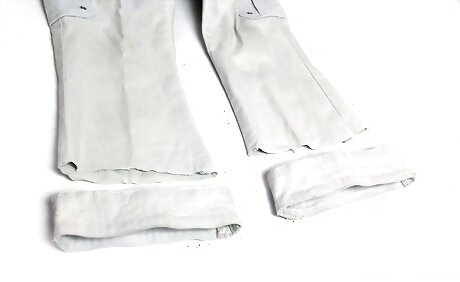
Cut off the bottom hem of your pant leg. Don't worry, your jeans will be longer by the end of this tutorial. The bottom hems adds a lot of bulk. It will be easier to sew without it.
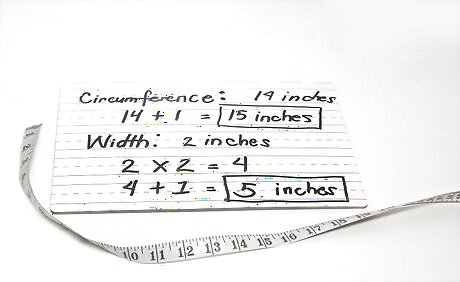
Determine the measurements for your fabric band. You will be sewing a fabric band or cuff to make the jeans longer. First, however, you will need to draft the pattern for your cuff. Here is how to figure out the measurements for your cuff: Measure around the cut edge of the pant leg (the circumference). Add 1 inch (2.54 centimeters). You will need this for your seam allowance. Decide how wide you want the band to be. Multiply that number by 2 (you will be folding the fabric in half later) and add 1 inch (2.54 centimeters) for the seam allowance.
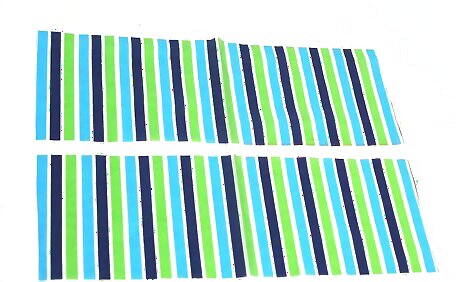
Cut the fabric according to your measurements. You will end up with something that looks like a rectangle. You can use any fabric you want, but a lightweight fabric (such as cotton) may be easier to sew with than a heavyweight fabric (such as canvas). Choose something with a contrasting color. You can even pick something out with a fun pattern.
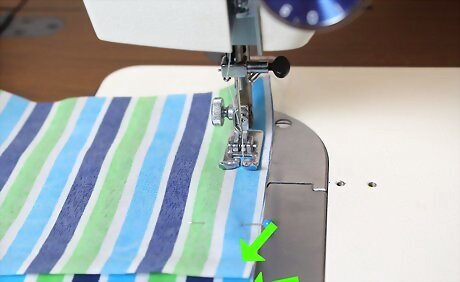
Fold the rectangle in half and sew the two short sides together. Make sure that you are sewing the right sides together. Use a ½ inch (1.27) seam allowance. You will end up with a squat tube.
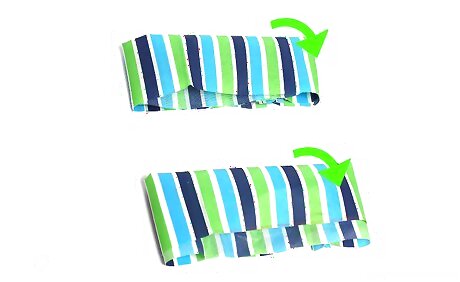
Fold the top edge down towards the bottom edge so that you end up with an even shorter tube. You should now see the right sides of the fabric on the outside and on the inside of the tube.
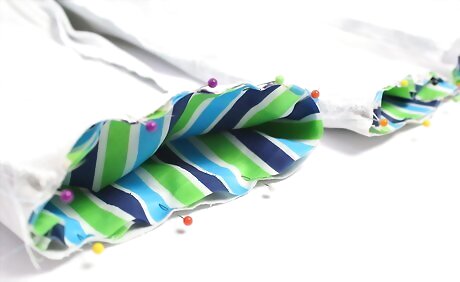
Flip the pant leg inside out and slip the cuff inside it. Align the cut edge of the cuff with the cut edge of the pant leg. Rotate the cuff so that the seam is aligned with the inseam of the jeans. Pin everything in place.
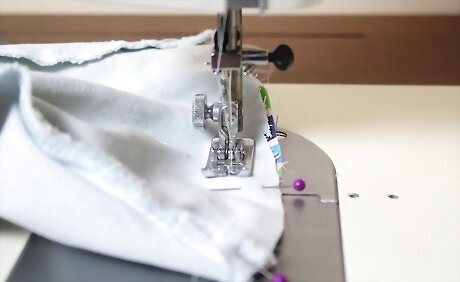
Sew the two together using a ½ inch (1.27) seam allowance. Slip the pant leg onto the sewing machine and sew along the raw/cut edge. Rotate the pant leg as you go so that it does not get tangled. Snip off any excess thread and tie the ends into tight knots.
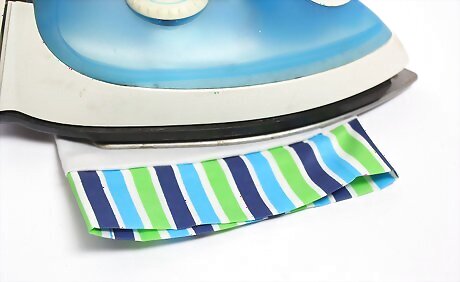
Gently tug the cuff out from inside the pant leg and iron the seam. Press the hem against the jean fabric and away from the cuff.
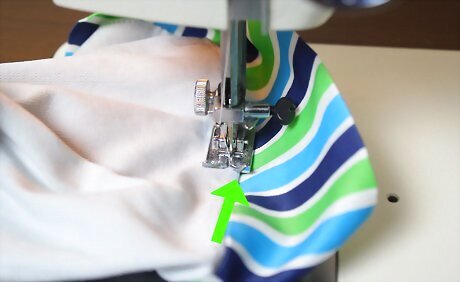
Topstitch the hem down using a thread color that matches your jean fabric. Slip the pant leg back onto the sewing machine arm and sew the hem down. Try to get as close to the seam as possible. Be sure to rotate the pant leg as you go so that it does not get tangled. When you are done, tie the threads off into tight knots and snip off any excess.
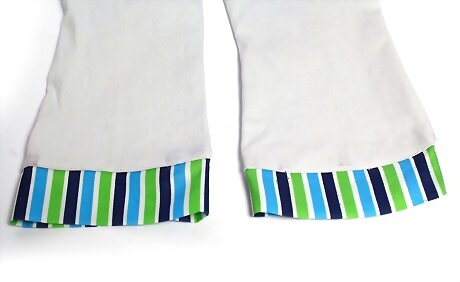
Repeat the entire process for the other pant leg. Your pant legs will now be much longer. The bright band of color along the bottom hem will add some contrast and flair.
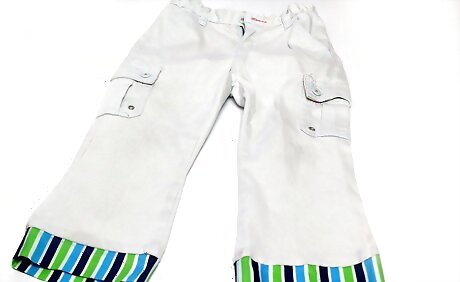
Done.






Comments
0 comment