

Making a "Snowflake" Lantern
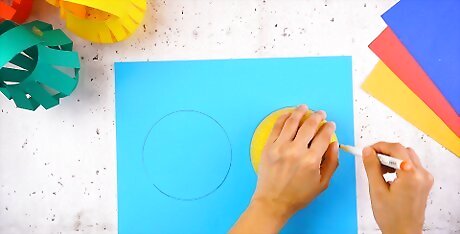
Make two paper circles. Using any round object, trace a circle on two pieces of paper and cut them out with scissors. Make sure the two circles are the same approximate size. You can use any size circle. Just remember that the bigger the circle, the bigger the lantern. You can use a plate, the lid off a tub of ice cream, the bottom of a bucket, or any other round object. You can also use any kind of paper you want: regular white printer paper, colored cardstock, decorative patterned paper, etc.

Fold the first circle. Take one of the circles and fold it in half. Then, fold it in half two more times. This will give you a finished product that looks like a slice of pizza (a long triangle with a rounded top).
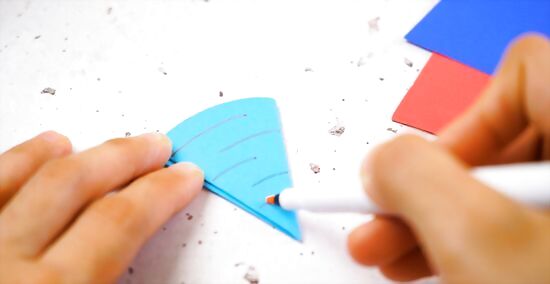
Draw lines on the paper. Following the curve of the top of the paper (the pizza crust), draw alternating lines on the paper that cross the full length of the paper, but don't quite meet the opposite side. Start on the left side and draw a slightly curved line that stops shortly before (approximately 1 inch to 1/2 an inch) the right side. Then, below the line you just drew, start on the right side and draw a slightly curved line that stops shortly before the left side. Continue this alternating pattern until you reach the bottom of the paper (the point of the triangle).
Make a hole. Cut off a tiny bit on the point of the triangle, making a hole in the center of the paper.
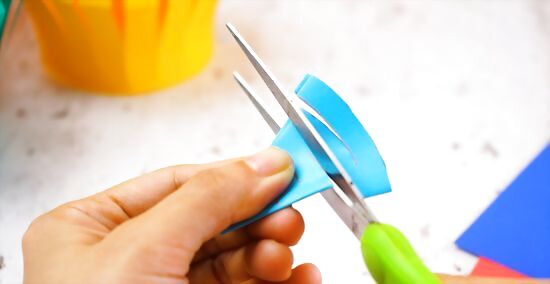
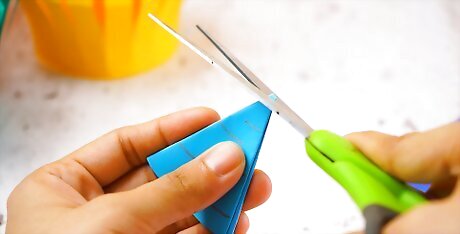
Cut the lines. Use scissors to to cut the paper along the curved lines that you drew. Try to stay closely on the lines, but don't worry about being too perfect. Just make sure you don't accidentally cut across one line into the path of another.
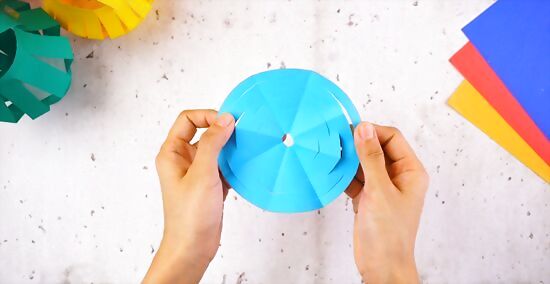
Unfold the paper. Making sure not to rip any of the delicate strips you just cut, unfold the paper until you are back to the open circle shape.
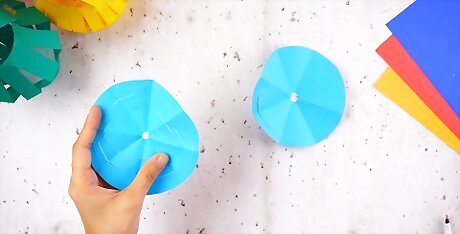
Complete the other circle. Repeat steps 2-6 on the second circle that you cut out so that you end up with two identical cut-up circles.
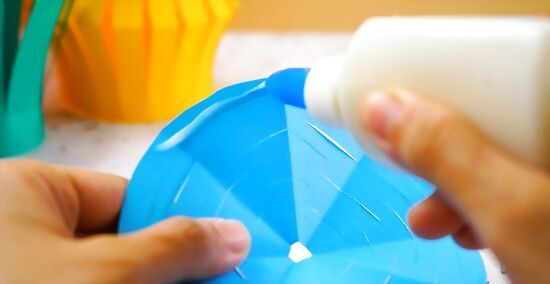
Glue the circles together. Use some glue to adhere the two circles to one another only on the outermost ring. Make sure you do not glue the inner parts of the circles together. Let the glue dry.
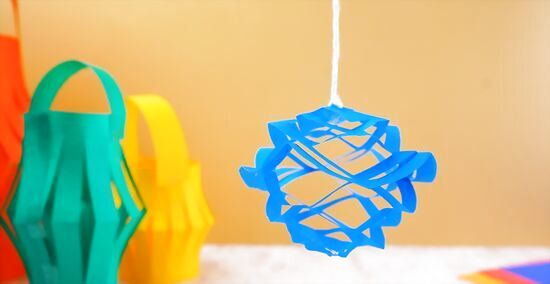
Pull the lantern pieces apart. Gently pull each side of the lantern so that the pieces spread out to reveal the beautiful design you cut into it. Tie a string in the top (through the hole and the outer ring) and hang the lantern somewhere to enjoy it.
Making a Lantern with a Handle
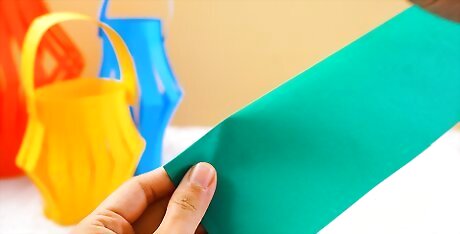
Fold the paper. Take a piece of paper and fold it in half lengthwise. It can be of any size and weight. A piece of regular printer paper will do just fine, but so will cardstock or scrapbook paper. The lighter the weight of the paper, the more likely the lantern will be to collapse under its own weight. You can use a solid color piece of paper or a piece of decorative scrapbook paper to make the lantern more festive.
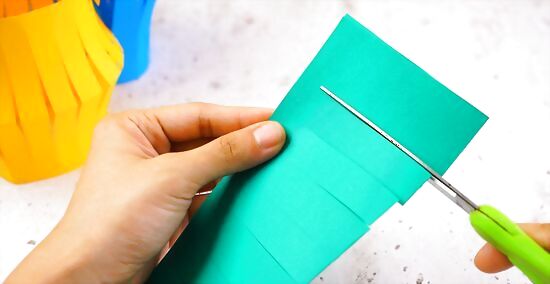
Cut the paper. Cut along the folded edge, but not all the way to the end. It's up to you how long you want the slits to be. The longer the slits, the more light will shine through and the more flexible/floppy your lantern will be. You can also decide how large you want your strips to be. The number of strips will completely change the look of your lantern. An inch or so (2.5 cm) apart is fairly standard.
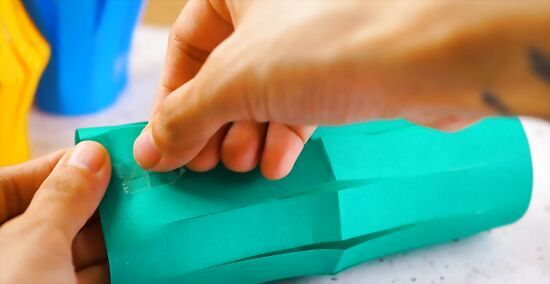
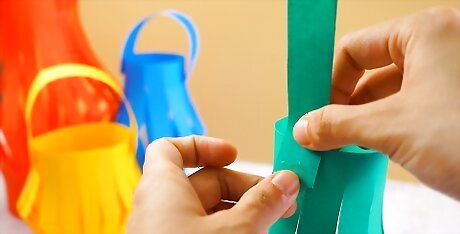
Make a tube. Take the two ends of the paper and wrap them around to make a round tube shape. Use a piece of tape or glue to stick it together. Tape the top and bottom edge together. You can also use a stapler to connect the two end pieces of the lantern.
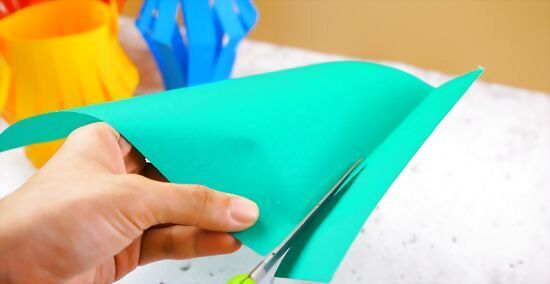
Make the handle. Cut off another piece of paper to make a handle. If you used a piece of printer paper, your handle should be about 6" (15 cm) long and 1" (2.5 cm) wide. If you're hanging it, however, you don't necessarily need a handle -- it can be hung through the base on ribbon or string. If you're hanging the lantern, however, you don't necessarily need a handle -- it can be hung through the base on ribbon or string.
Attach the handle. Using glue or tape, secure the handle to the inside of the top of your lantern. If your lantern is too straight-edged, bend it a bit. It will slowly give to the form you're putting it in. The heavier the paper, the more you'll need to force it into shape.

Enjoy the finished product. You can put a candle inside, hang it from the ceiling, or use it as a centerpiece. Since the lantern is made of paper, only put a tea candle or votive in the center if you have a glass to put it in. Place the candle in the glass and put the lantern around the glass to light it up. It's best if the glass is deep so the flame doesn't sear the edge of the lantern and start a fire. Only use a candle inside if you are sitting the lantern on a flat surface, not if you are hanging it or using the handle.
Making a Tissue Paper Circle Lantern
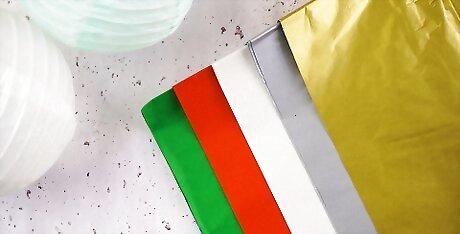
Pick a color. For this project, you'll need quite a bit of tissue paper. The tissue paper will cover the entire paper globe lantern in a pattern, so you'll need to acquire enough tissue paper to do this. You can use all one color tissue paper, or choose to make your lantern multi-colored. Pick whatever color combination you desire, or whatever makes sense for how you intend to use the lantern.
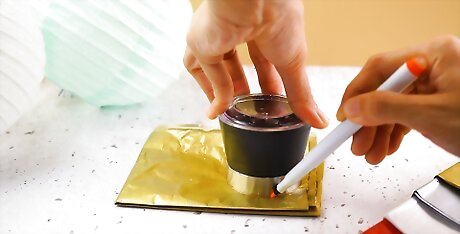
Make tissue paper circles. Use any circle-shaped object (a coffee can lid, a small salad plate, etc.) as a pattern to trace circles on the tissue paper. Depending on the size of your circles, you'll need about 100 tissue paper circles. Trace your circle pattern on your tissue paper, keeping the circles as close together as possible to avoid wasting too much excess tissue paper. Don't make your circles too big or too small. If they are too big, the lantern won't be very billowy; and if your circles are too small, you'll be making much more work for yourself than necessary. Aim for something the size of a coffee can lid.
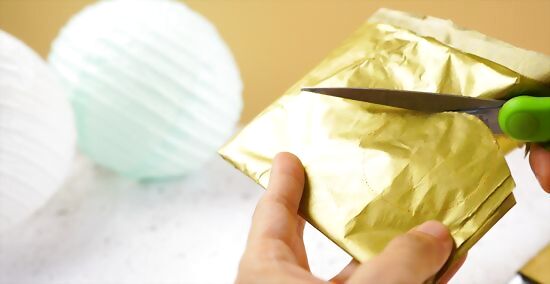
Cut out the tissue paper circles. Use scissors to cut out all of your tissue paper circles. Handle the tissue paper carefully because it is very thin and will tear easily.
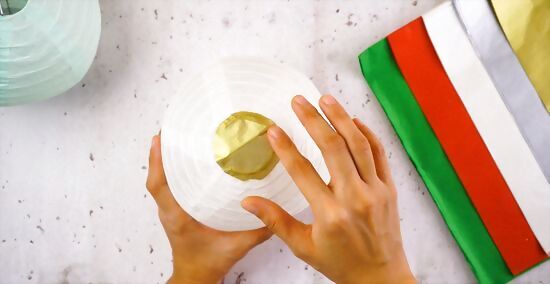
Cover the bottom of the paper globe lantern. Take one of your tissue paper circles and glue it to the bottom of your paper globe lantern. Make sure that you glue it centered directly on the bottom so that your pattern can remain even as you move up the globe.
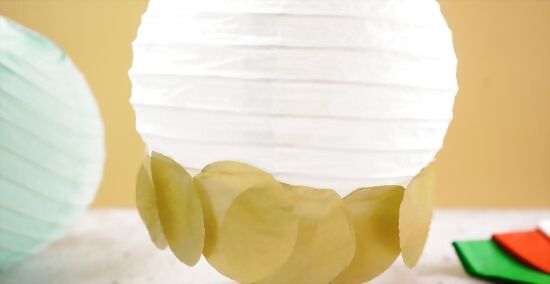
Make the bottom row of tissue paper circles. Starting at the bottom of the globe, make a ring of tissue paper circles by gluing only the top edge of each tissue paper circle to the paper globe lantern. Make sure that the bottom row of tissue paper circles hangs lower than than the paper globe lamp to give it that flowing, whimsical look.
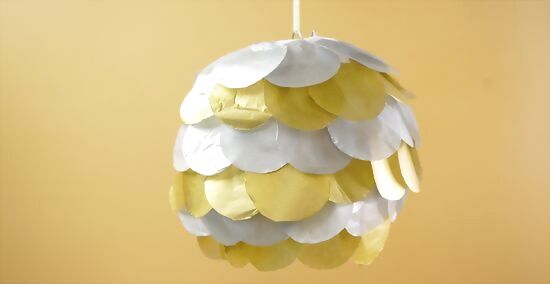
Cover the entire paper globe lantern in tissue paper circles. Repeat Step 5 until the entire paper globe lantern is covered in tissue paper circles. As you move up with each row, ensure that about one inch of the row below is visible underneath. This will give your final product a layered, patterned look.


Comments
0 comment