
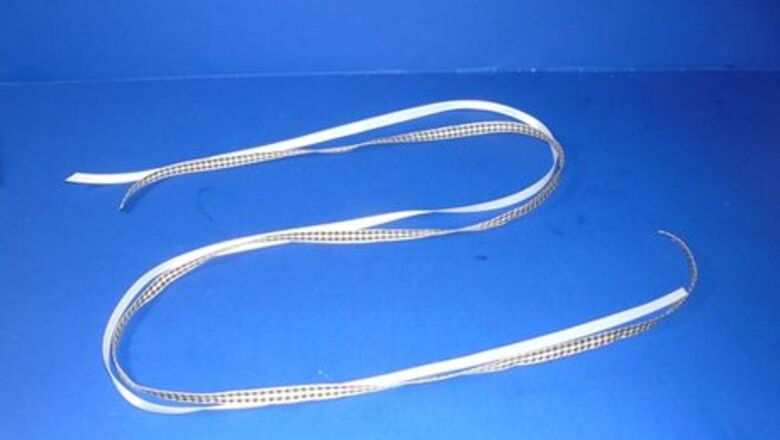
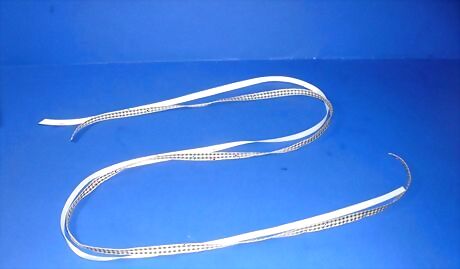
Cut two lengths of ribbon approximately 4 times as long as you want your finished bookmark to be. (Around one yard or meter in length works well.) You may use any color(s) you wish, but contrasting colors work best the first time making one.
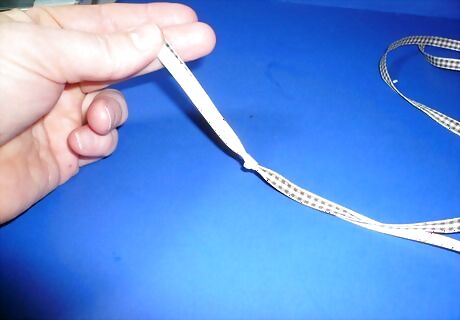
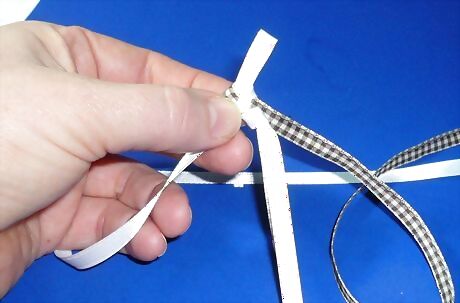
Tie the ribbons together in a knot 3 inches (7.5 cm) or so from one end.
Hold the knot with short ends facing down and long "working" ends facing up and/or away from you.
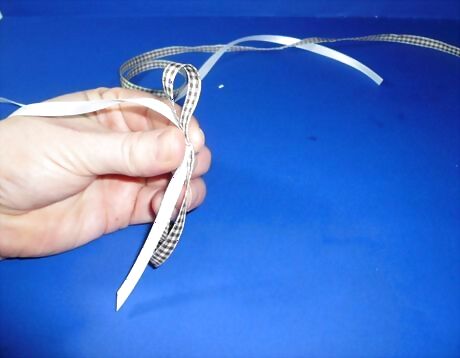
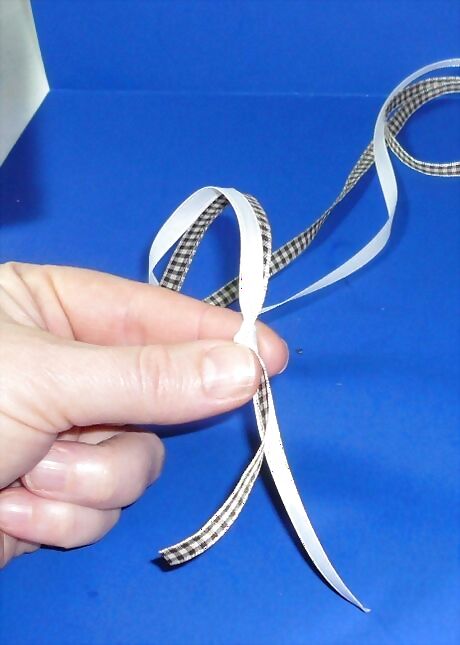
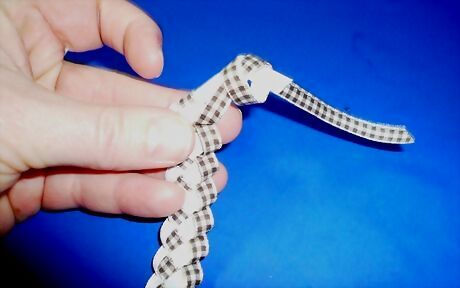
Form a flattened or folded "loop" with whichever ribbon is furthest away from you. In the case of the example, the checked ribbon was under/further away.
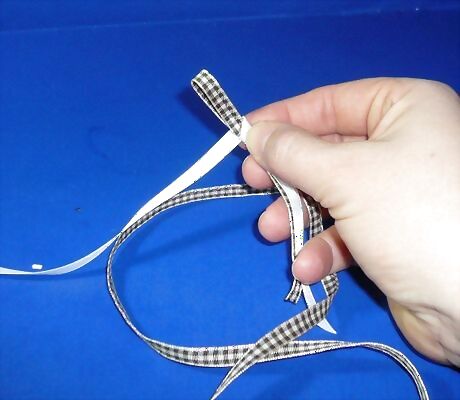
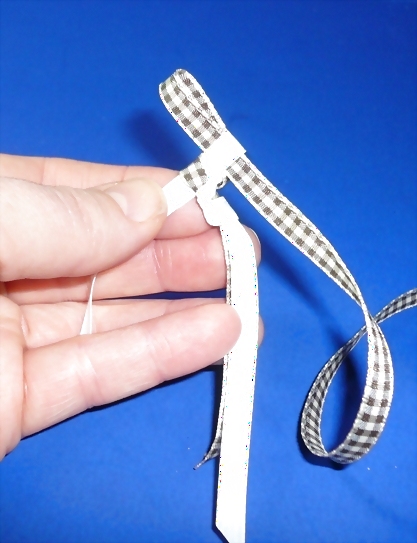
Fold/wrap the "top" ribbon over and around the loop...
Fold a "loop" with the ribbon you just used to "wrap" around with.
Tuck your new loop into and through the previous loop.

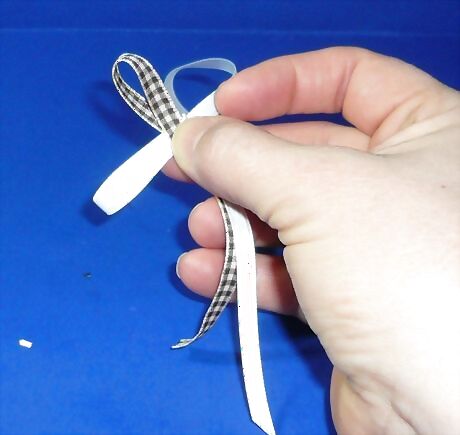
Trade hands.
Gently snug down your first loop over the base of the second loop by pulling on the end of its ribbon.
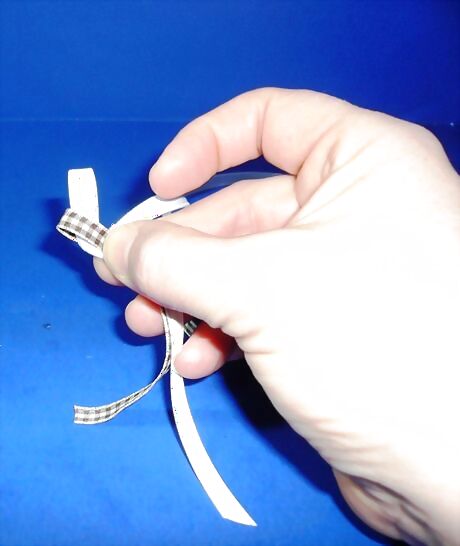
Repeat the process of forming a loop, passing it through the existing loop and gently snugging the existing loop down over the base of the newly formed loop.
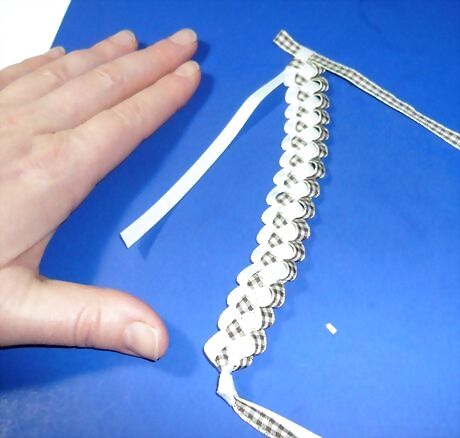
Continue until you form a chain of loops.
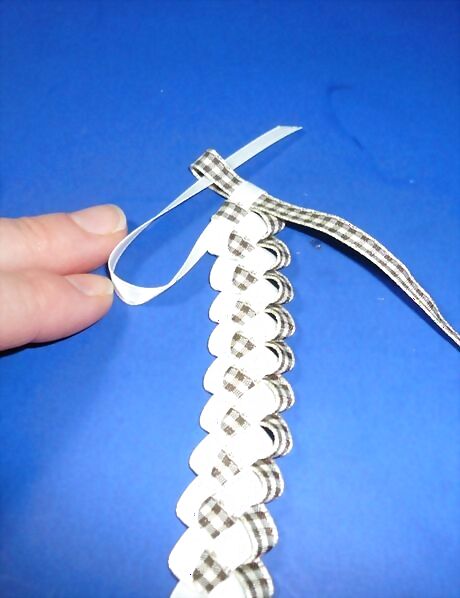
Tie off by sliding one ribbon (not just a loop) entirely through the existing loop.
Line the ribbons up together and tie them in a simple knot.
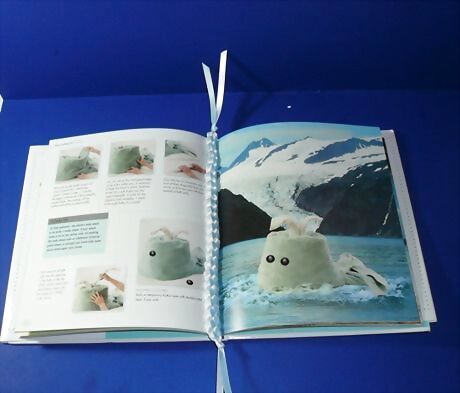
Use your new ribbon bookmark!


Comments
0 comment