views
Piping the Rose
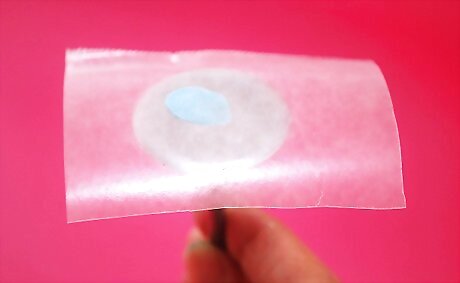
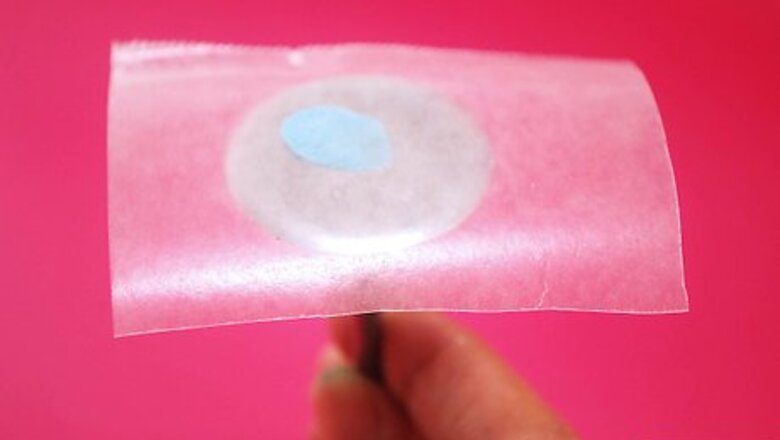
Prepare the rose nail. Pipe a small amount of icing onto the top of the rose nail, and then press a small square of wax paper onto the icing, using the icing to hold the paper and nail together.
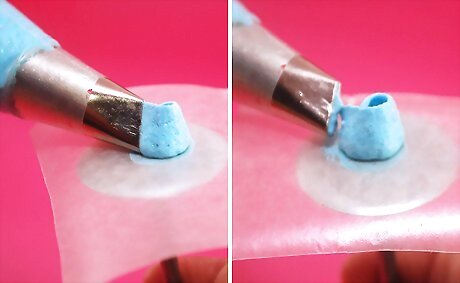
Make the rose's center. Place the tip of the pastry bag with the rose tip onto the rose nail, with the wide end touching the wax paper. Spin the nail in a full circle to make a cone shape. You will need to synchronize your hand movements so that you're moving as fast as the icing is coming out.
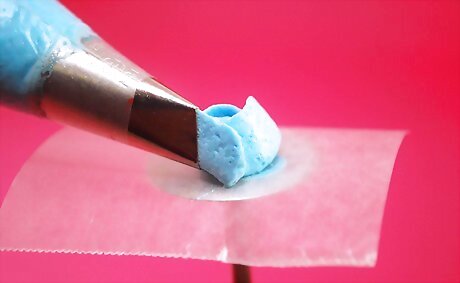
Make the first layer of petals around the cone. Make each petal a little bit higher than the center, and make each third the circumference of the rose center, so that you can have three petals total.
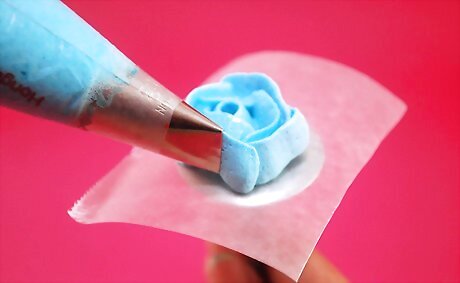
Make the second layer of petals. This layer will have five petals total. Keep on making the petals higher than the others so that they arc upwards and outwards. Also, try to overlap the petals to make them look natural.
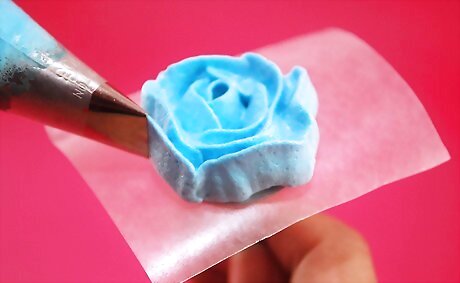
Make the final layer of petals. This one should consist of about seven evenly spaced petals. If you want a larger rose, you can continue to add layers.
Using the Icing Rose

Carefully slide the rose and the wax paper off the nail. Then, put it on a baking sheet or other flat surface. Give it 24 hours to harden.

Finished. It can now be added to a cake or other baked good as decoration.


Comments
0 comment