views
Preparing Your Hemp
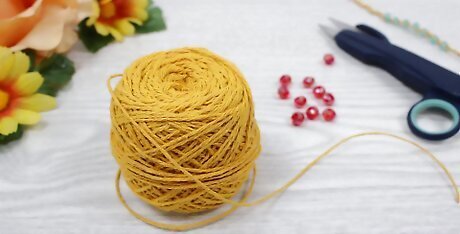
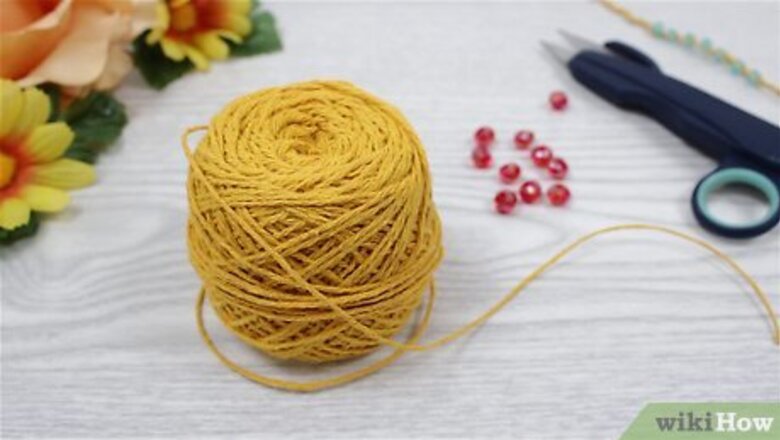
Gather your materials. To start, you'll need to gather your materials. Most of what you need for a conventional wish bracelet can be found at a local craft store. You will need the following: Hemp twine Size 6/0 seed beads Scissors A clipboard or tape, which you'll use to pin down the twine as you braid
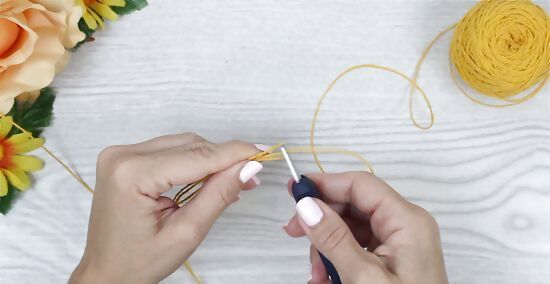
Cut three pieces of hemp based on wrist or ankle size. To start your bracelet, you'll need to cut your hemp. Cut the hemp in a length big enough that the bracelet will fit around your wrist or ankle. Do not just measure the diameter of your wrist or ankle, however, as you'll be braiding the hemp which will reduce its length. About 15 inches will work for most wrist sizes, although you may need slightly more or less if your wrist is larger is smaller. When making bracelets for children, you will probably need less than 15 inches. An ankle bracelet will be larger, so you may need more hemp. For an ankle bracelet, 20 to 24 inches may be necessary.
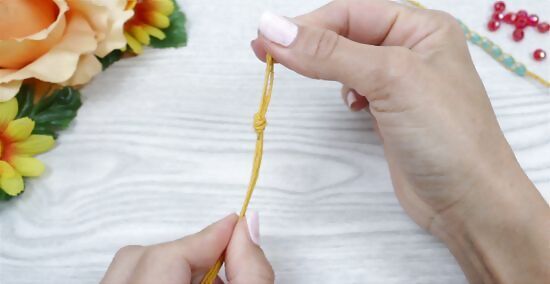
Tie the hemp strands together in an overhand knot on one end. To start, you'll want to tie your strands of hemp together in an overhand knot. You'll want to leave about 2 inches of slack, as you'll have to tie the bracelet together when you're done. An overhand knot is fairly simple. It's more or less a basic knot. Cross the end of the hemp over the rest of the hemp, making a Q-shape. Tuck the tail of the hemp through the Q-shaped loop. Then, pull at both ends until the knot is sufficiently tight.
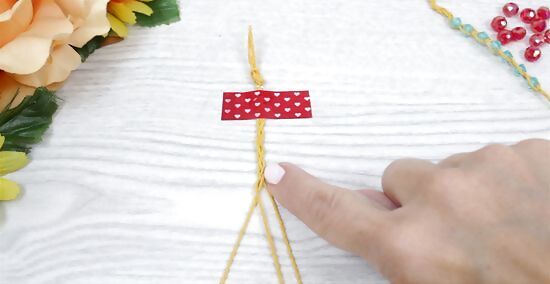
Braid the hemp down about 2 and a half inches. From here, you can begin braiding the three strands of hemp together. To secure the hemp, tuck the tied end under the clip on your clipboard. If you're not using a clipboard, use a small piece of scotch tape to secure the tied end on a flat surface. Then, simply braid the ends together for about 2 and a half inches. Keep in mind, 2 and a half inches will result in about a 7 inch bracelet. If you want your bracelet to be longer or shorter than this, braid down slightly more or less.
Adding Beads and Finishing
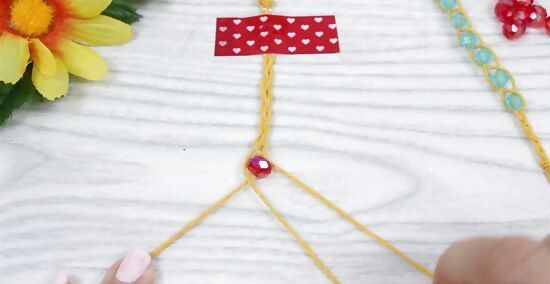
Thread a bead onto the right hand strand and braid into the bracelet. Once you've braided the bracelet down sufficiently, you can begin adding your beads. Take the strand of hemp farthest to the right. Take one of your beads and thread it through this strand. Push the bead up until it's pressed against the end of the braid. Once the bead is near the edge of the braid, braid the strands as you normally would. You will end up braiding the bead into the center of the stands. When you're done braiding, the bead should be closed into the braid with twine.
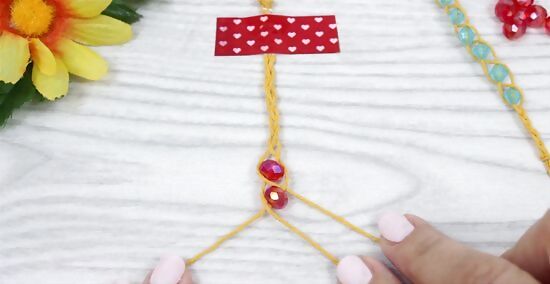
Repeat the process with the new right hand strand. Once you've added one bead, take the new righthand strand. Thread a new bead onto this strand, and then braid the bead into the bracelet. You should now have two beads that are braided into the center of the hemp strands.
Add as many beads as you want. Continue this process until you've added as many beads as you want. Keep adding beads to the new righthand strand, then braiding them into the center of the bracelet. For a wish bracelet, some advocate adding 7 beads as 7 is thought to be a lucky number. However, there is no set number. Add as many beads as you want for your bracelet. EXPERT TIP Joy Cho Joy Cho Designer & Style Expert, Oh Joy! Joy Cho is the Founder and Creative Director of the lifestyle brand and design studio, Oh Joy!, founded in 2005 and based in Los Angeles, California. She has authored six books and consulted for creative businesses around the world. Joy has lectured on business, leadership, and entrepreneurship at conferences and companies such as AltSummit, Pinterest, Target, and Hallmark, while her home and studio have been featured in magazines such as House Beautiful, Parents, and Domino. She has also been named one of Time's 30 Most Influential People on the Internet multiple times and has the most followed account on Pinterest with more than 14 million followers. Joy Cho Joy Cho Designer & Style Expert, Oh Joy! The key to a wish bracelet is often the simplicity of it. You can add a little heart or star bead to your wish bracelet, or little gold and silver shapes. You can use a lot of beads, but many people keep theirs simple. Try using cords in contrasting colors or just your favorite colors — anything that adds a nice little accent of color.

Braid down another few inches when you finish adding beads. Once you've finished adding beads, continue braiding the hemp strands together. You should keep braiding until you're about two inches away from the end of the strands.
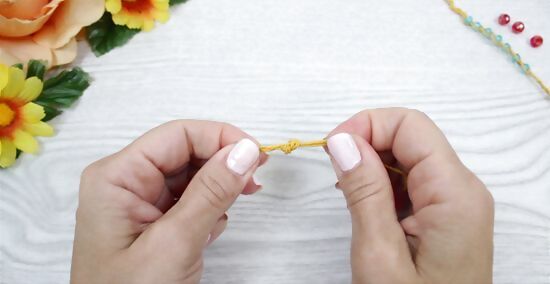
Do another overhand knot. Once you reach the end of the strand, tie another overhand knot. Remember, you cross the end of the hemp over the rest of the hemp, forming a q-shape. Pass the end of the hemp through the loop made by the q-shape and pull until tight.
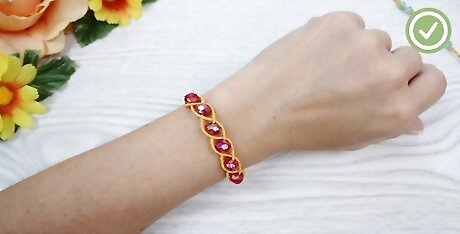
Tie the bracelet around your wrist and make a wish. Your wish bracelet is now complete. Wrap the bracelet around your wrist and tie the two ends together. Make a wish as you do so. Superstition dictates that once all the beads fall off, your wish will come true.
Adding Wishbone Charms
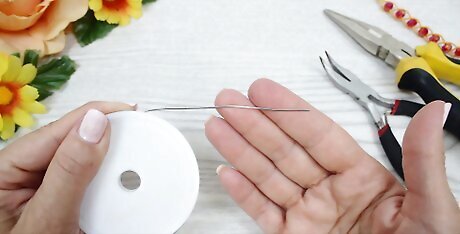
Gather your materials. A fun alteration to conventional beads are wishbone shaped charms. This can add to the wish theme of the bracelet. To make wishbone charms, you'll need the following materials. You should be able to purchase them at a local craft or hardware store. 20 g wire Round nose pliers Chain nose pliers Oval Wubbers pliers Jeweler's hammer and block
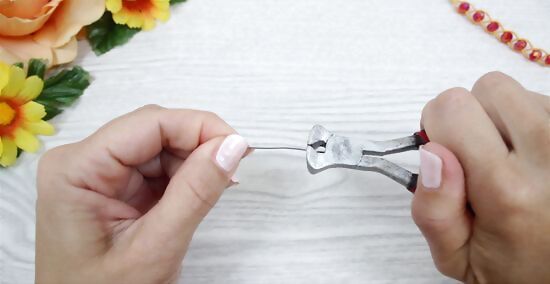
Cut a piece of wire for the charm. Use a ruler to measure your wire. You'll need about 30 millimeters, or 3 centimeters of wire for each charm. You should be able to cut the charm with a thick pair of scissors.
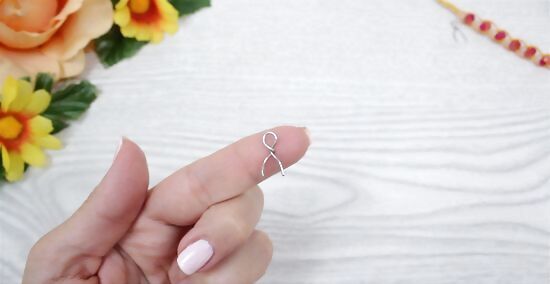
Use your pliers to make and then twist a loop in the wire. From here, use your round nose pliers. Make a loop with the wires by twisting one end over the other, and then pulling downward. The loop itself should be small, with two long strands of wire hanging off either end. Remember, you're trying to create something like a wishbone, so keep this image in mind to gauge loop size. To make the loop look more like a wishbone, take your chain nose pliers. Twist the loop about 1/4 of the way around. The loop will now be sideways, with the strands hanging off on either side.
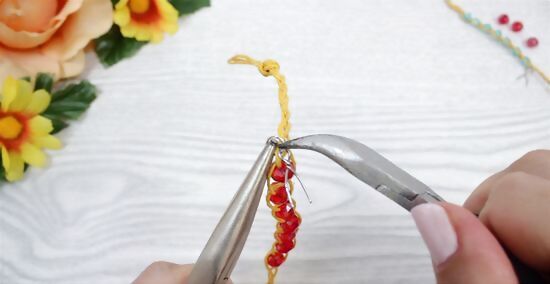
Use the oval pliers to curve the sides. You want to curve either side of the loop now. This will make it look more like a wishbone. Take your oval pliers and use them to gently curve either side of the loop inward. It can help to look at a picture of a wishbone online to figure out how much of a curve you want. The sides should be bent in slightly, but not curved to the point they're almost touching.
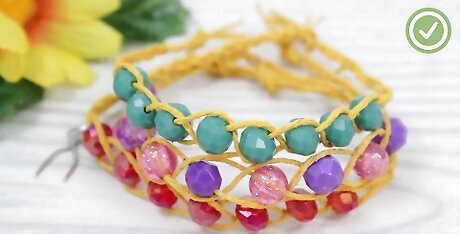
Braid into your wish bracelet. You can braid your wishbone charm into your bracelet as you would braid in the regular beads. Slip the loop through the twine, push it to the edge of the braid, and then braid the wishbone charm into the center of twine.


Comments
0 comment