views
Forming the Spoon
Choose a well-ventilated work area with a flat surface. Find an open area in your home where you can work with clay, like a table or countertop. Before you get started, open a window or turn on a fan to get fresh air moving throughout your workspace. Since most ceramic clays and glazes are made with silica, a partially toxic ingredient, make sure that there’s plenty of fresh air in your work area. As an extra precaution, consider wearing a face or nose mask while working with ceramic clay.
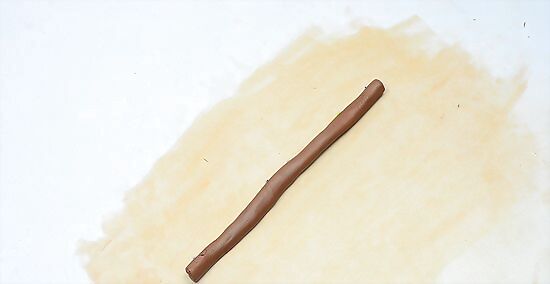
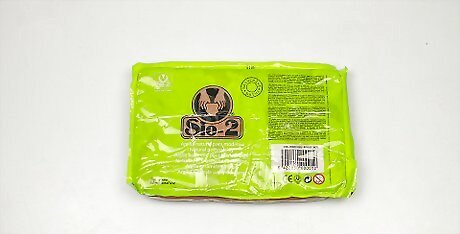
Roll a cylinder of clay that’s 6 in (15 cm) long and 1 in (2.5 cm) wide. Place a large mound of ceramic clay on your workspace, then pull off a large section of material with your fingers. To smooth out the clay, roll it over the flat workspace until it’s about 6 in (15 cm) long and 1 in (2.5 cm) wide. If you’d like to make your spoon longer and wider, pull a larger piece of clay from the mound. If you’re trying to make a regular piece of flatware, try rolling the clay 1 to 2 in (2.5 to 5.1 cm) longer. You can use any kind of ceramic clay for this project. When purchasing the clay from an art supply shop, note if it’s labeled as low fire—this just means that it needs to be placed in the kiln at a lower temperature later on.
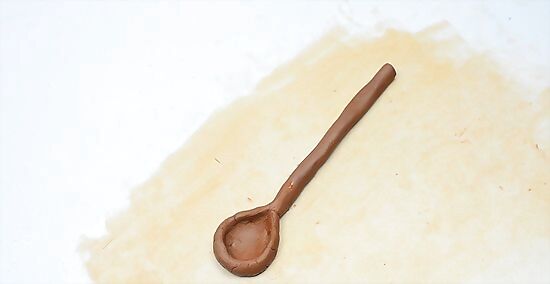
Pinch a shallow bowl shape with your fingers if you want to make a flatware spoon. Mold 1 end of the clay cylinder with your fingers, working the base into a rounded bowl shape. Use short, even motions as you round out the bowl of spoon, making the rim at least 3-5 millimeters thick as you go. If your clay is water-based, try to moisten it with water throughout the molding process.
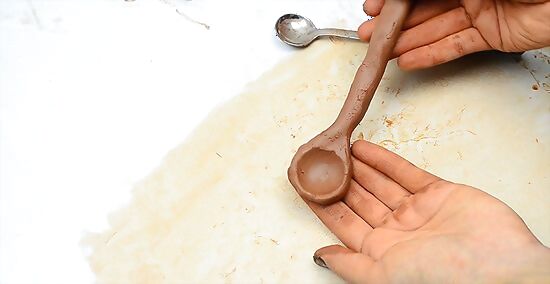
Use measuring utensils as a reference if you want to make your own measuring spoons. After rolling your clay into a cylinder, push the measuring spoon into 1 end of the clay so an obvious, rounded indentation forms. As you mold your own utensils, try pulling and smoothing clay around the outer edges of the measuring spoon. Create a consistent rim with the clay, giving the bowl of the spoon an even thickness as you spread and coax the material around the bowl of the measuring spoon. Make sure that your spoon has enough clay to handle the shape and curvature of the measuring spoon. For instance, you’ll need more clay for a tablespoon than you’ll need for a ½ teaspoon.Tip: Poke a hole in the bottom of the handle if you want to string it to other spoons. Use a clay hole puncher to create a small indentation on the end of the handle; next, apply an even amount of pressure to the tool, so the hole looks even and consistent.
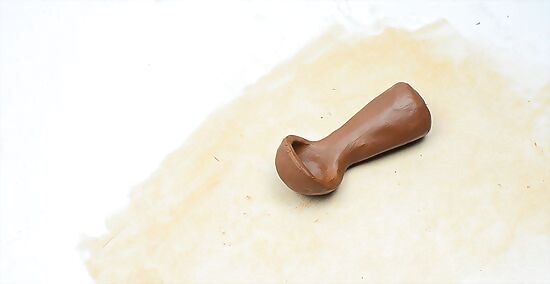
Create a thicker, angled handle if you’re making a serving spoon. To make a ladle or serving utensil, first roll the clay into a cylinder that’s at least 8 in (20 cm) long. Next, push the clay handle upwards at a 45-degree angle so the spoon resembles a ladle. To provide extra support to the handle, layer more clay around the base until the handle is at least ½ in (1.27 cm) thick. Use your hands to roll and mold the curved handle into a smooth piece of clay. A serving spoon needs to be longer and thicker than a flatware or measuring spoon. You can make it longer than 8 in (20 cm), if you’d like.
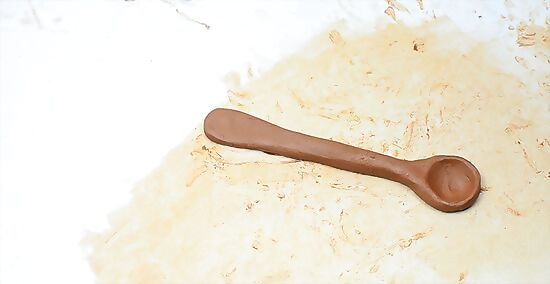
Smooth out the bottom of the handle to give it a rounded edge. Use your fingers to press and mold the ends of the spoon, getting rid of any obvious imperfections along the way. Try to make the base of the handle slightly rounded, so the spoon’s design looks consistent throughout. If you’d prefer to play around with the design of your spoon, try flattening the base of the handle on a flat surface to give it a rectangular shape.
Decorating and Hardening the Clay
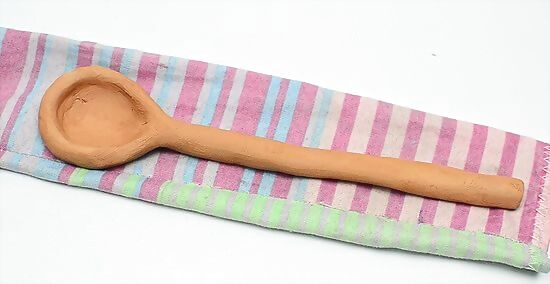
Create a fun pattern with a doily if you’d like to add texture to your spoon. Find a cloth doily, or another decorative piece of paper or fabric. Drape the patterned item over as much of as little as the handle as you’d like, or until you’re satisfied with the placement of the doily. Next, take a wooden pony roller and move it back and forth across the doily. Apply a light, consistent amount of pressure as you roll over the handle, so the clay is evenly imprinted with the doily’s pattern and texture. Don’t place the doily over the bowl of the spoon. If you don’t have any doilies on hand, you can purchase some online.
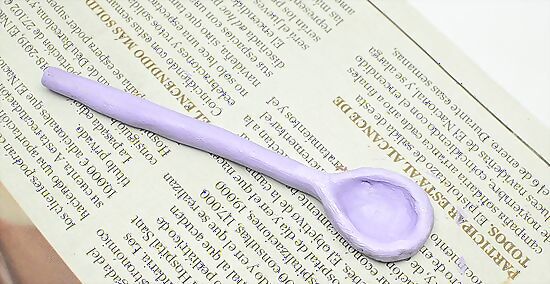
Paint a decorative layer of glaze over your clay if you’d like to make colorful utensils. Use a small, thin paintbrush to apply a layer of colored or clear glaze to your spoons. As you paint, note that many glazes will appear differently to the naked eye once they’re fired in the kiln. If you’d like to play around with your design, try using glaze pencils or watercolors instead! You can purchase glazes online, or find them at an art supply store.
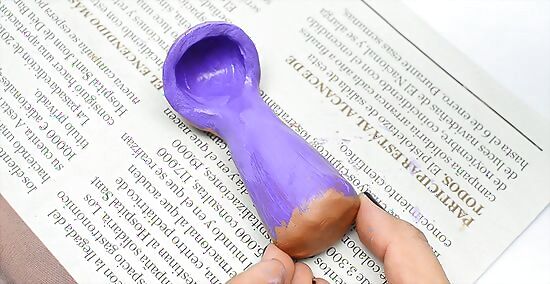
Choose a different glaze color if you want to give your spoon a fun design. Select a color scheme or pattern that you’d like to include with your spoons. If you don’t want to paint your utensils a single color, use a second glaze to paint the spoon’s bowl a different color. To create a more dynamic spoon, choose 2 paint contrasting colors while decorating the clay. For instance, you can paint over the spoon’s handle with a layer of clear glaze, then paint over the bowl of the spoon with white glaze.
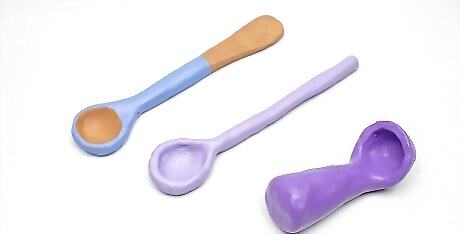
Place your painted spoons in the kiln at the recommended temperature. Follow the instructions on the glaze packaging before arranging your painted ceramics in the kiln. Adjust the temperature of the kiln accordingly, then wait for the firing cycle to complete. After the kiln cools down, you can remove the items from the appliance. If you’re using low-fire ceramic clay, don’t fire your clay at a temperature higher than 2,157 °F (1,181 °C). If you don’t have access to a kiln, contact a local pottery business, community center, or school for assistance.


Comments
0 comment