
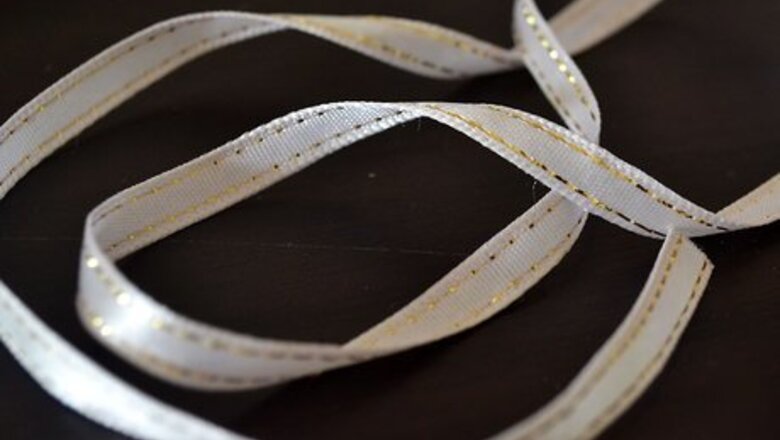
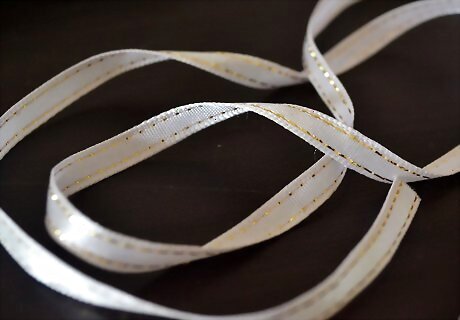
Cut a piece of ribbon a bit longer than the length of your hair. Allow the ribbon to fray, as this is the most important step in the process of making your "clip-on" streaks.
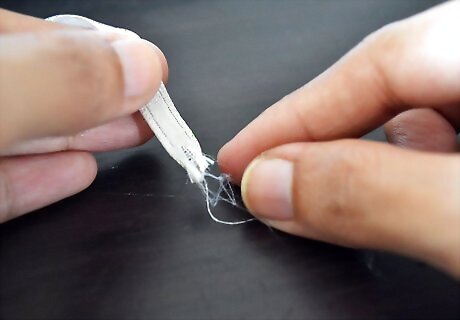
Pull the first row of horizontal thread which, once disconnected, will make a zigzag pattern. This thread will eventually break, but continue pulling the first row until it breaks again. You will begin to see your vertical ribbon threads getting longer. Repeat this step until you get to the end of the vertical threads in this strand.
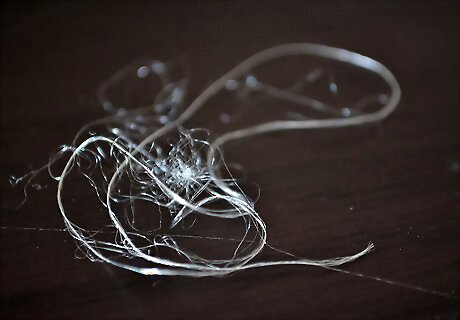
Discard the long, zigzagged horizontal thread. If you like the thickness of your streak, skip to step 4. If not, repeat steps 1 and 2 until your streak has reached your desired width.
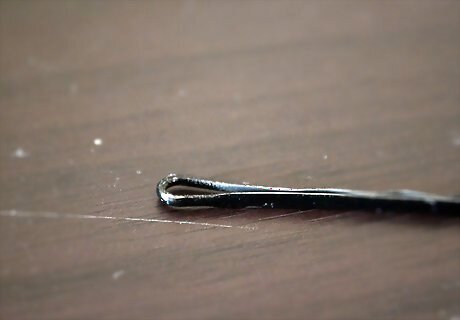
Grab a bobby pin and your strong glue. Add a dab of glue to the curved part at the base of the pin and very carefully run your vertical ribbon threads through the pin. Allow time to dry.

Double-knot the thread around the bobby pin with the excess ribbon that was left on the opposite side of your streak, after you glued it in. You may also glue the excess thread to the streak, as long as the streak is held in place, it should be fine. if you used glue in this step, allow time to dry.

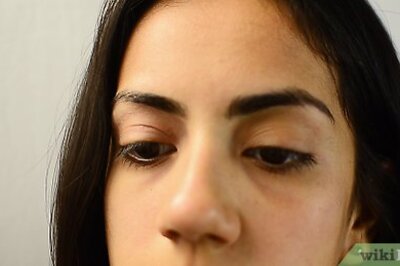
Test out the fit of your streak in the desired area of your hair.
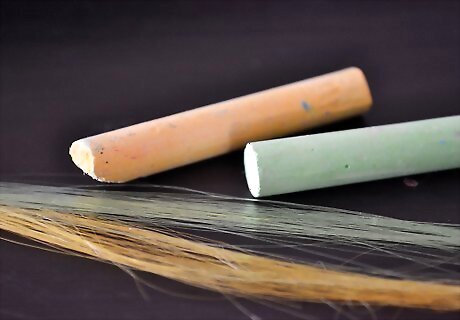
Use your watercolor/chalk and water to color your streak or streaks in the color of your choice.
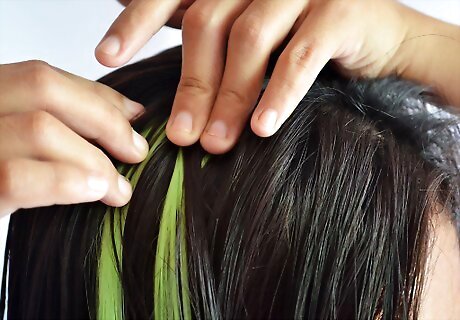
Put your streak in the desired area of your hair. If you decide you want to change your color, it should be easy to wash out the color and add extra glue if needed. You can then change the color of the streak.

You're done!


Comments
0 comment