views
Getting What You Need
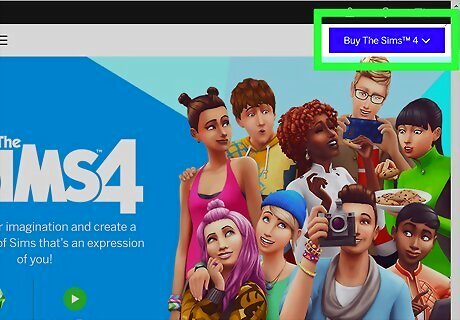
Download The Sims 4. This goes without saying. You do need a copy of The Sims 4 if you want to make clothing mods for The Sims 4. You can download it from Origin.com. You cannot install or create mods for The Sims 4 on game consoles. You can only do this on PC or Mac.
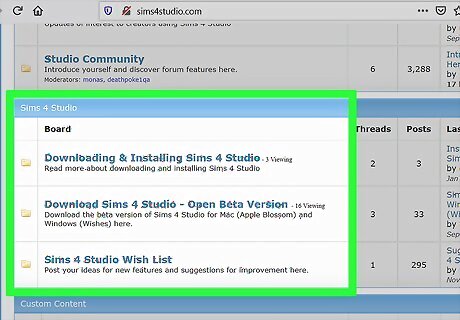
Download The Sims 4 Studio. The Sims 4 Studio is an unofficial external program used to make mods for The Sims 4. It's free to download, but you do need to register for the forum. Use the following steps to download The Sims 4 Studio: Navigate to https://sims4studio.com/board/6/download-sims-studio-open-version. Click Sims 4 Studio for Windows (Wishes) for Windows, or Sims 4 Studio for Mac (Apple Blossom) for Mac. Scroll down and click Installer (Windows) or Download from Google Drive (Mac) to download the Sims 4 Studio. Double-click the install file and follow the instructions to install The Sims 4 Studio.

Download an image editor. You need a photo editor such as Photoshop to edit clothing textures. If you don't have a Photoshop subscription, you can download and install GIMP for free from gimp.org. It's a free and open-source image editor that has many of the same features that Photoshop has.
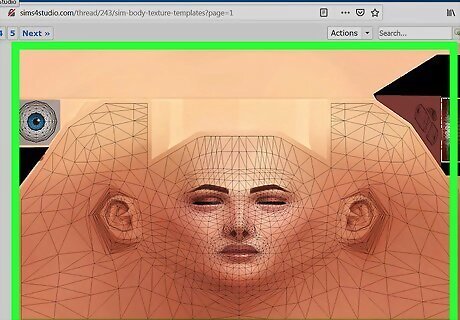
Download Sim body texture templates (optional). These weird looking image textures are used to map out where your clothing textures are placed on your Sims. There are four different image templates and UV maps. One for female Sims, male Sims, toddlers, and child Sims. While we won't be using these for this tutorial, you may decide you want to use them for more advanced options as you get better as creating clothing for your Sims. You can download these images on The Sims 4 Studio forum.
Extracting Clothing Images from The Sims 4 Studio
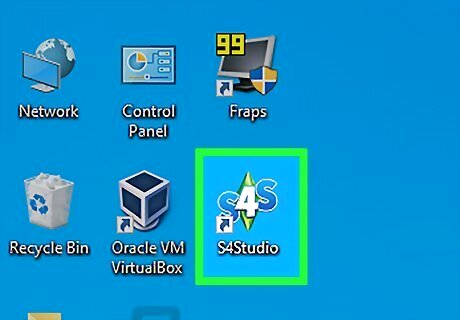
Open the Sims 4 Studio. It has a blue icon that says "S4S". You can find it in the Windows Start Menu, or the Applications folder on Mac. The first time you open Sims 4 Studio, you will be required to enter the location of your Sims 4 install, documents folder, and Blender 3D install location. Don't worry if you don't have Blender 3D. Just leave that field blank. The Sims 4 install location is C:\Origin Games\The Sims 4\ by default, and the documents location is D:\Documents\Electronic Arts\The Sims 4
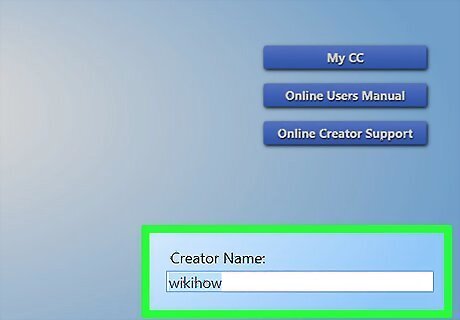
Enter your creator name. Enter the name you want to use as your creator name in the field in the lower-right corner. You can use your real name or a nick-name. This is required.
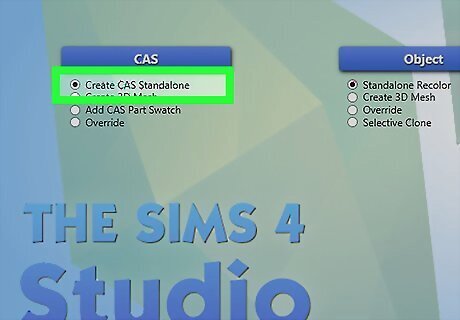
Click the radio button next to "Create CAS Standalone". It's below the blue button that says "CAS".
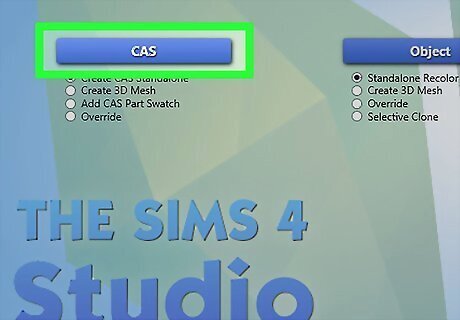
Click CAS. It's one of the four blue buttons on the opening page of Sims 4 Studio.
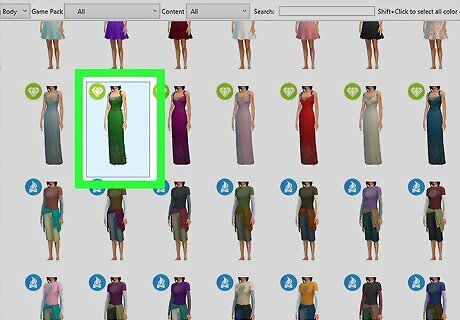
Select a clothing item you want to edit and click Next. You can select any clothing item in the game. Use the drop-down menus at the top of Sims 4 Studio to filter your selection choices. Click the item you want to edit and click Next in the lower-right corner.
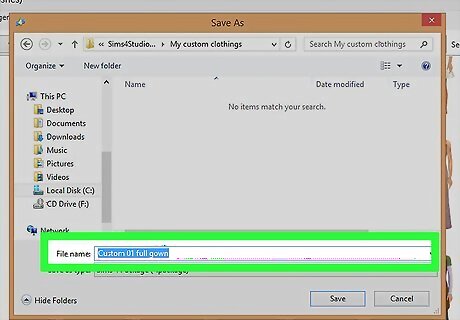
Type a name for the file you want to create. This is the name of the mod that you will eventually create. Type a file name for the .package file you are creating next to "File Name".
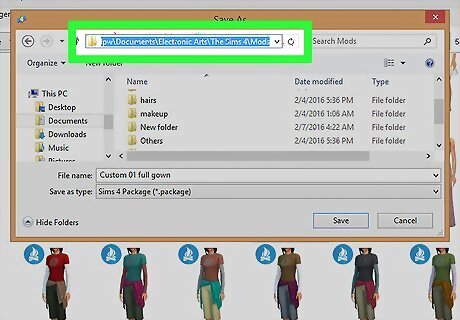
Ensure the file is saved to The Sims 4 mods folder. Check the path at the top of Windows Explorer or the Finder on Mac. Ensure the file is saving to The Sims 4 mods folder. By default, The Sims 4 mods folder is located at the following location on PC and Mac: C:\Documents\Electronic Arts\The Sims 4\Mods.
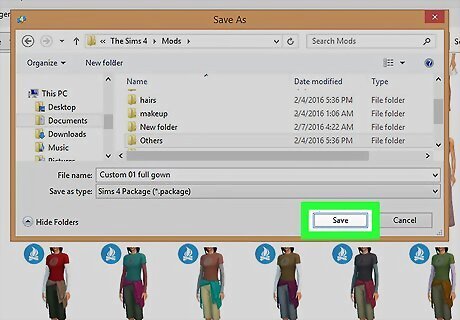
Click Save. This saves and opens a new .package file for you to edit in The Sims 4 Studio. You should see a model wearing the clothing you selected on the left.
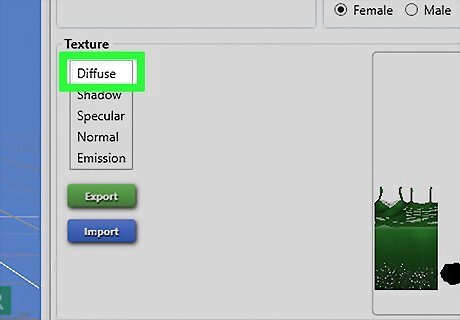
Click Diffuse below "Texture". This displays the diffuse texture map in the lower-right corner. The diffuse texture map is the image that goes over the 3D clothing mesh in the game. The image in the lower-right corner is what the texture map looks like layed out as a flat 2D image.
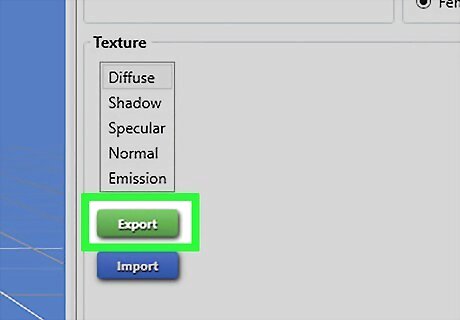
Click Export. It's the green button below "Texture" in The Sims 4 Studio.
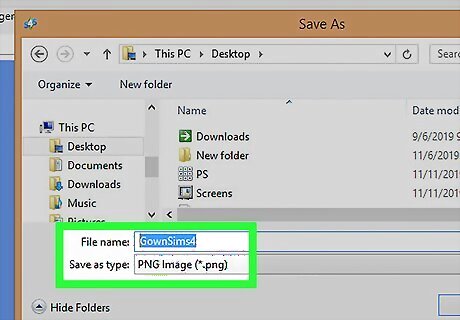
Type a descriptive file name for the image file. Type this next to "File Name" in Windows Explorer. Think of a descriptive name such as "Plain black male T-shirt" or something similar. You may want to use this same texture map for other clothing models in the future.
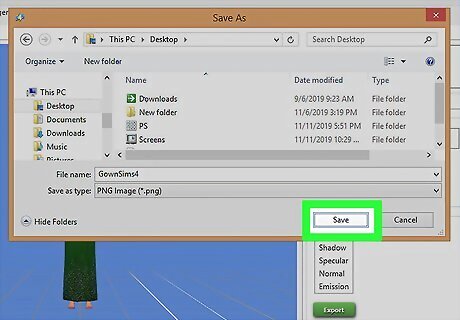
Click Save. This saves the texture map image as a PNG file. Make a note of where the file was saved to as you will need to open it in Photoshop or GIMP.
Editing a Texture Image in Photoshop or GIMP
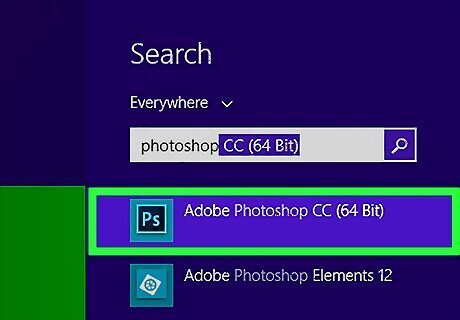
Open Photoshop or GIMP. Open the image editor of your choice.
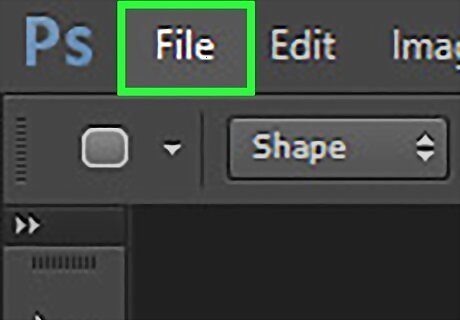
Click File. It's in the menu bar at the top.
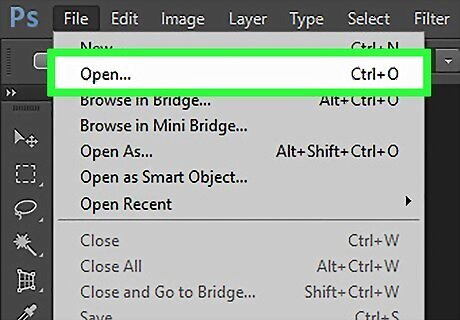
Click Open. It's in the File menu on both Photoshop and GIMP.
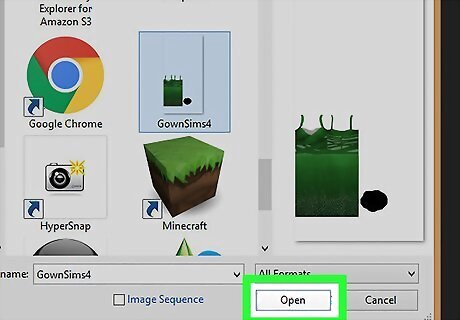
Select the diffuse texture map and click Open. Navigate to the diffuse texture map and you exported from Sims 4 Studio. Click the texture map to select it and click Open to open it in Photoshop or GIMP.
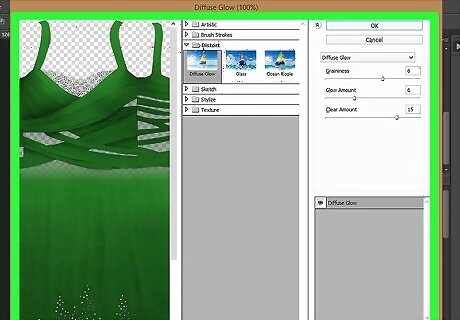
Edit the image. This is where you get creative. There are lots of tools in both Photoshop and GIMP you can use to edit an image. You can use the text tool to add text to an image. You can use the adjustment panel to change the color, hue, or brightness of the clothing. You can use the brush tool to add textures or patterns to the item, or copy a logo or image and paste it on to a T-shirt. If you copy a logo or image to the shirt, you may want to select a piece of clothing in Sims 4 Studio with the same background color and remove the background from the image you are copying from. To import the Sims texture template or UV map, click File and click Open as Layers (GIMP) or Place (Photoshop) and click the checkmark icon at the top of the screen. Drag the layer with the template or UV map below the clothing texture in the Layers panel to the left.
Click File. It's in the menu bar at the top of the screen.
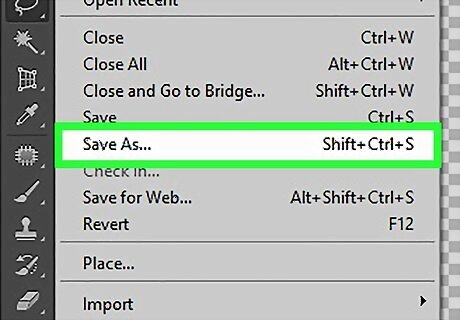
Click Save As. It's in the File menu in both Photoshop and GIMP.
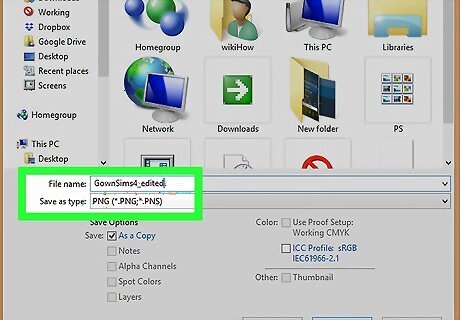
Type a descriptive name for the image file. Make sure you save this file as a different file name from the original diffuse image that you loaded into Photoshop or GIMP. Type a new name for the file next to File Name in Photoshop or GIMP.
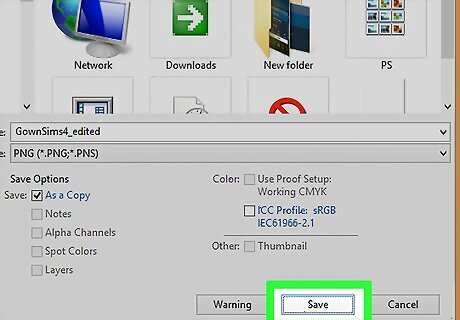
Click Save. This saves the image as a Photoshop (.psd) or GIMP (.xcf) file. It's a good idea to save a copy of the image as a native Photoshop or GIMP file in case you need to edit the image later on.
Importing and Saving the Image in Sims 4 Studio
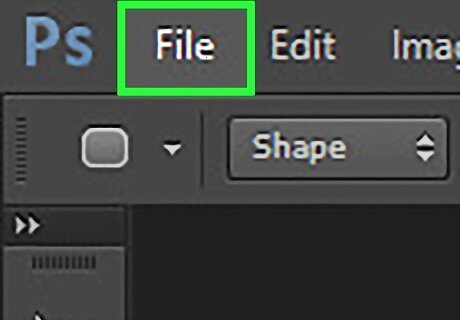
Click File. It's in the menu bar at the top of Photoshop or GIMP. If you have a Sim template or UV map image active on your file, be sure to click the eyeball icon next to that layer in the Layers panel to hide that layer before saving the image.
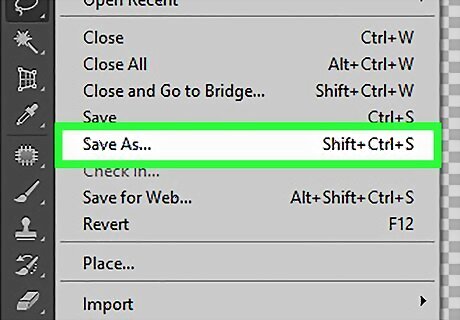
Click Save As in Photoshop or Export in GIMP. It's in the File menu.
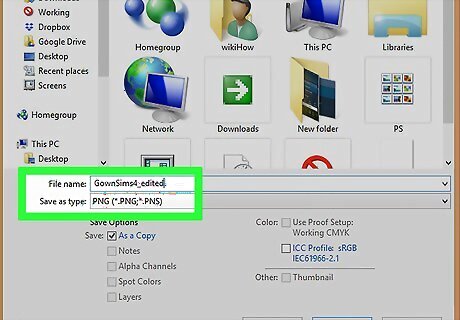
Select "PNG" as the file type. In Photoshop, use the drop-down menu next to "Format" to select PNG. In GIMP, click "Select file type (by extension)" and click "PNG image".
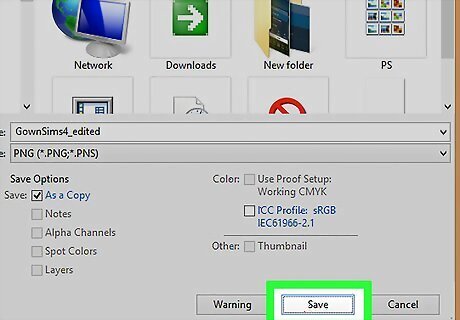
Click Save (Photoshop) or Export(GIMP). This saves the edited image in PNG format.
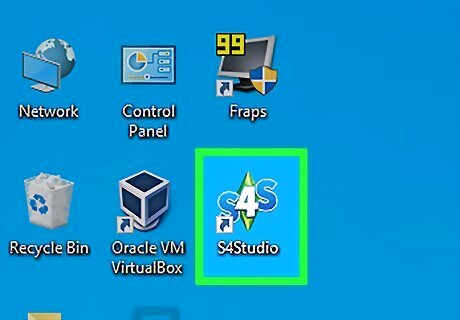
Click back over to Sims 4 Studio. If you still have Sims 4 Studio still open, click back over to it. If you closed Sims 4 Studio, open it again and click the project name under "Projects" to the right in the opening screen.
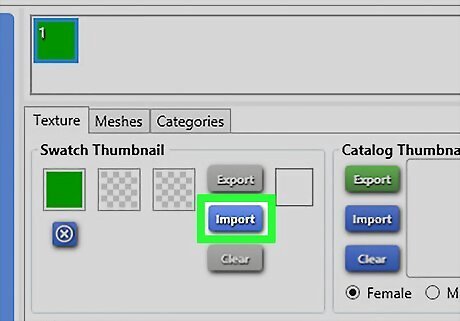
Click Import. It's the blue button below "Textures" to the right.
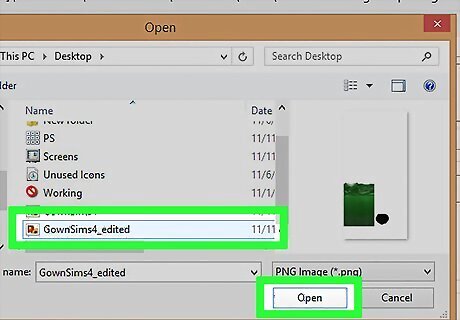
Select the edited texture image and click Open. Locate the image file you edited and exported from Photoshop or GIMP and click it to select it. Then click Open to import the image. The model in Sims 4 Studio should now be wearing the clothing you designed.
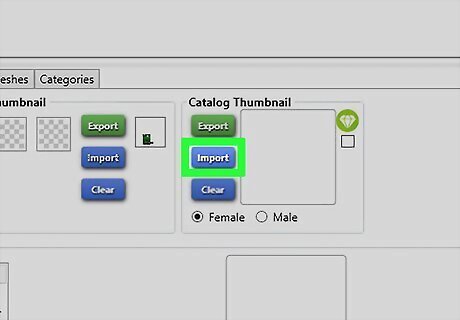
Click Import below "Catalog Thumbnail". It's the blue button next to the thumbnail image to the left.
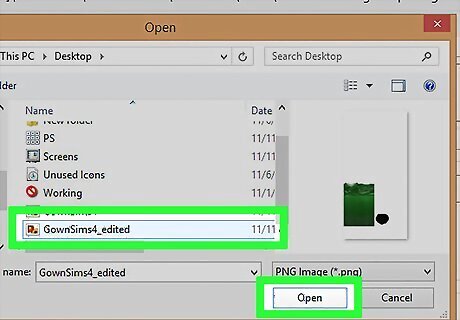
Select a PNG image and click Open. This is the thumbnail image that will help you identify your clothing item in the Sims Create-a-Sim catalog. It can be any image you want. It can be the image you copy and paste to a t-shirt. You can even get a screenshot of the model wearing your clothing item. If the image you want to upload isn't in PNG format, you can use Photoshop or GIMP to convert a JPEG image to PNG.
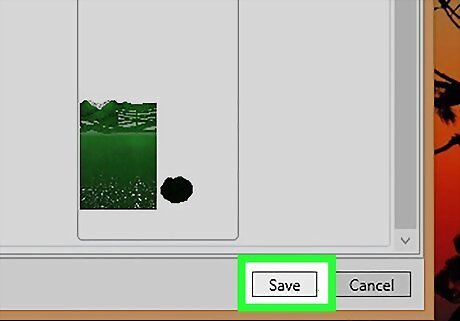
Click Save. This saves the Sims 4 Studio file as a package file that can be installed as a mod for The Sims 4.
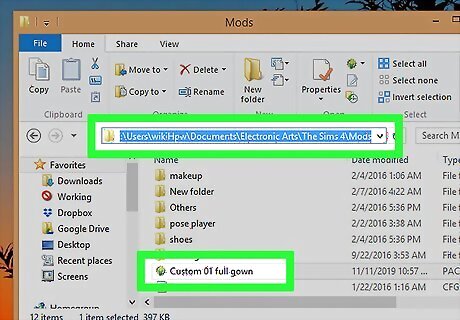
Copy the Package file to The Sims 4 mods folder. If you didn't save the .package file to The Sims 4 mods folder, locate the file you just saved and right-click it and copy and paste it into The Sims 4 mods folder.
Enabling Custom Content in The Sims 4
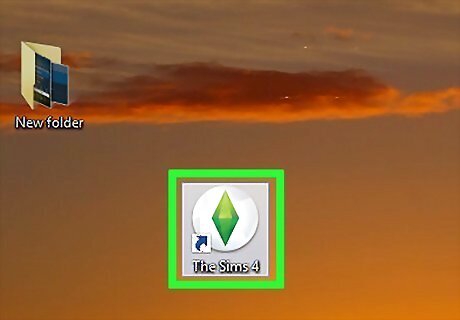
Open the Sims 4. Click The Sims 4 icon on your Desktop, Start menu, or Applications folder.
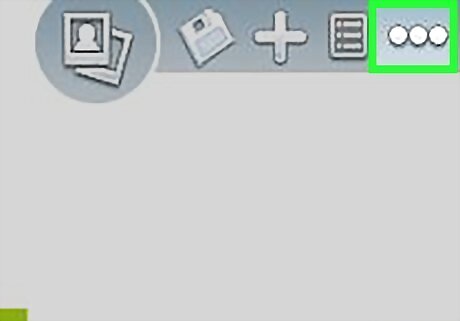
Click …. It's the icon with three dots in the upper-right corner of The Sims 4 title screen. This displays the menu.
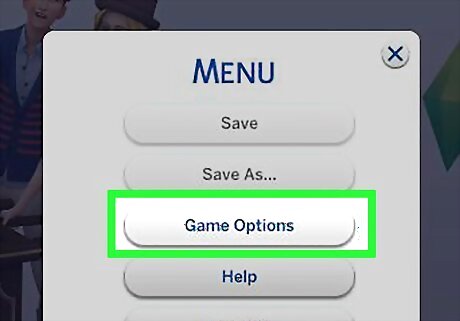
Click Game Options. It's in The Sims 4 Menu.
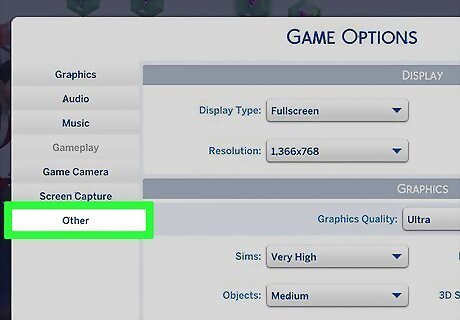
Click Others. It's at the bottom of the Game Options menu.
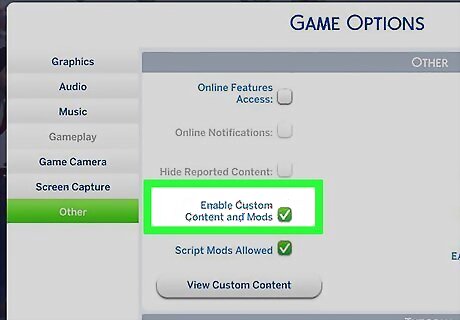
Check "Enable Custom Content and Mods". It's in the "Others" menu of The Sims 4. This allows you to access custom content in The Sims 4.
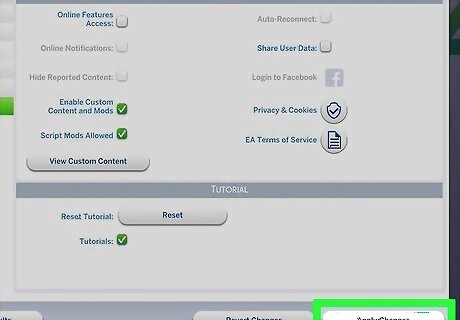
Click Apply Changes. It's in the lower-right corner. This saves your changes.
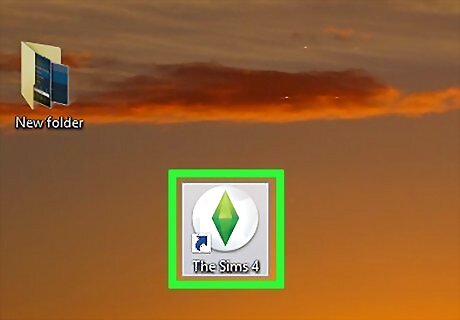
Restart the game. In order for mods and custom content to take effect, you must restart your game. Exit out of the game and click The Sims 4 icon to restart your game. You can find your custom clothes in Create-a-Sim on The Sims 4. You will need to enable Custom Content and Mods every time The Sims 4 updates. To access your custom clothing, click the Manage Households icon on the map screen. Then select the household with the Sim you want to edit to edit the Sims in Create-a-Sim.





Comments
0 comment