views
Soaking the Barley
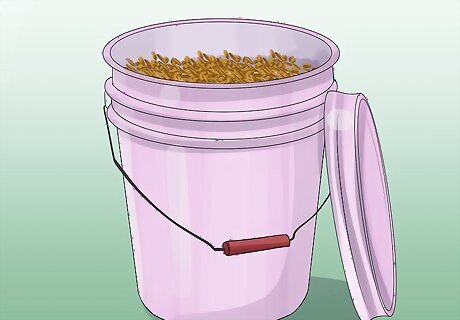
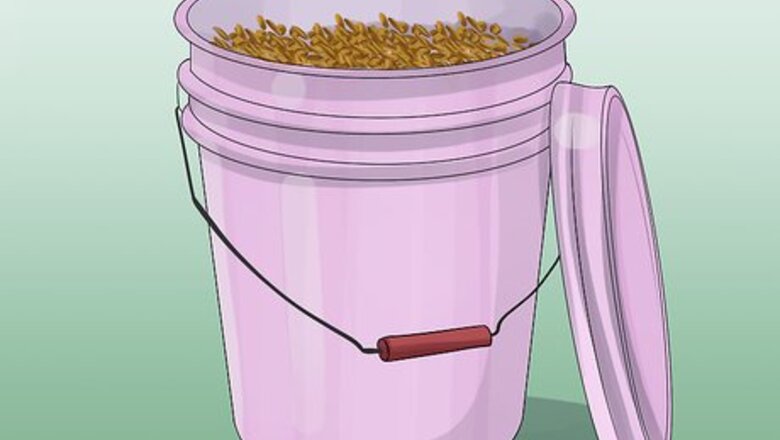
Transfer the barley to a large food-safe bucket. You can malt as much barley as you like. It’s important to work in manageable batches depending on your equipment. Malting barley requires a large bucket, a strainer, baking sheets, and a dehydrator. A good quantity of barley to start with is between 1 and 4 pounds (450 and 1,810 g). Don’t fill the bucket more than halfway; otherwise, there won’t be room for water and expansion as the grains absorb water. Make sure to use whole raw barley, and not pearled, hulled, or other types of grain that have been processed.
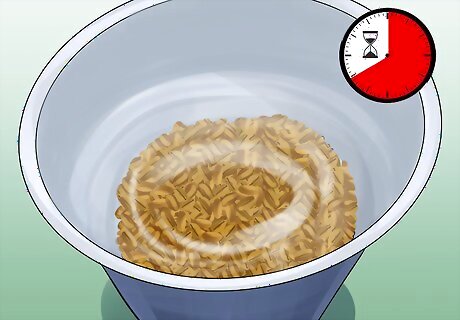
Fill the bucket with cool water and soak the barley for 8 hours. Add enough water to completely cover all the grains. The water will kick start the germination process. During soaking, store the barley, uncovered, somewhere cool. The temperature should be between 50 and 60 °F (10 and 16 °C). During soaking, dirt and components from the husk will dissolve in the water, and these will be drained out later. Getting rid of these particles will make for a better tasting malt. You can soak the barley for longer than 8 hours if necessary, but don’t soak it for longer than 16 hours at a time. The barley can drown if you leave it in the water for too long.
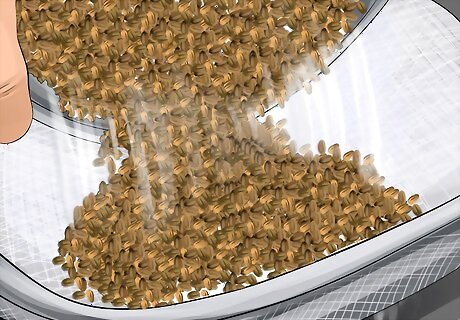
Drain the water. Pour the barley into a large strainer or colander to strain out the water. As the barley is draining, clean the soaking bucket with hot, soapy water. Rinse the bucket well to remove any soap residue. This will help to prevent the growth of bacteria and fungi. It’s important to drain and air dry the barley between soakings, because the barley will die if it doesn’t get enough air.
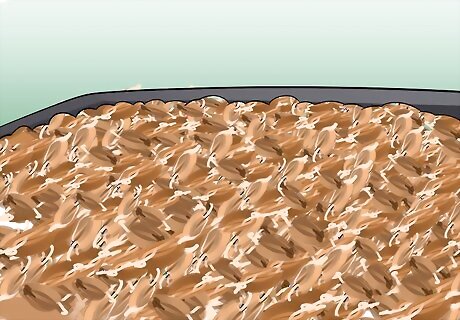
Air rest the grains for 8 hours. Transfer the drained barley from the colander back to the cleaned soaking bucket. Leave the barley to air dry in the same cool location for 8 hours to give the grains access to plenty of oxygen. While the grains are air resting, clean the colander with hot, soapy water.
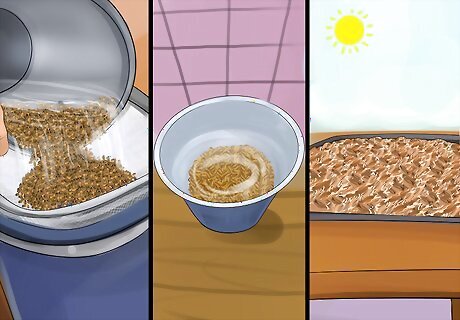
Repeat the soaking and drying process. When the barley has been air rested for 8 hours, fill the bucket with enough cool water to completely cover the grains. Leave the barley to soak for another 8 hours. After that time, drain the barley in the colander and transfer it back to the bucket to air rest for another 8 hours. Be sure to clean the bucket and colander with hot, soapy water between uses.
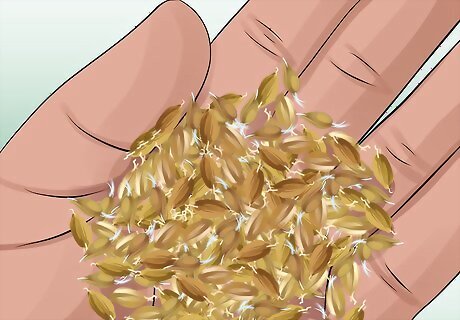
Examine the barley for chits. Pick up a handful of grains and look for small white protrusions growing from the bottom of the grains. These are chits, and they're rootlets that appear when the barley has absorbed enough water. The soaking and air drying cycles are complete when about 95 percent of the grains have chitted. Continue soaking and air resting the barley in 8-hour periods until most of the grains have chitted. Chitting could require between 2 and 3 soaking and air-drying cycles. If the barley doesn’t chit after 3 or 4 soaking and drying cycles, it may not be viable, which means it won’t sprout. Discard the barley and start again with a new batch.
Germinating the Barley
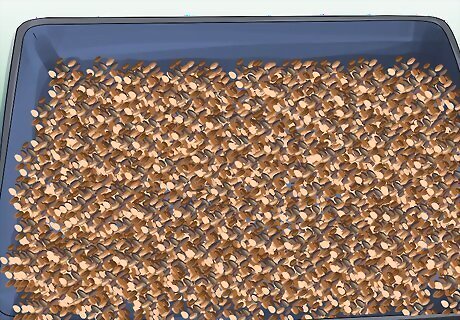
Spread the barley out in a single layer on baking sheets. Transfer the barley to 1 or more clean baking sheets. Use your hand to spread out the grains. The grains can be touching, but make sure they're not piled on top of each other. For large batches of barley, you'll need to use multiple baking sheets.
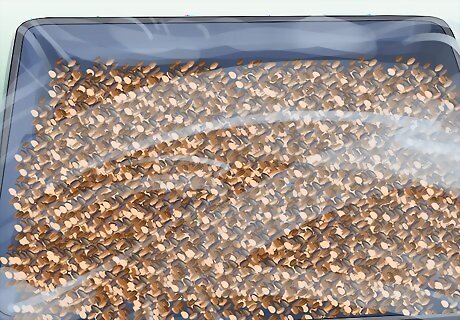
Place the baking sheets inside plastic bags. Open up a large plastic garbage bag and lay it down flat. Insert a baking sheet filled with barley inside the bag, and fold the opening of the bag under the baking sheet. The plastic will keep the barley moist as it germinates. Repeat with the other baking sheets.
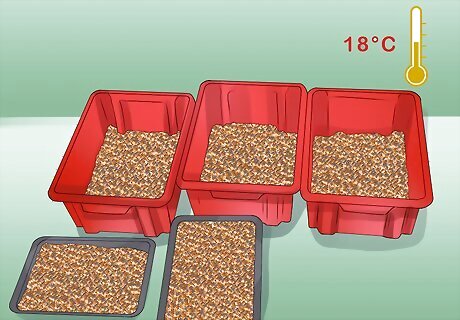
Store the barley in a cool and well-ventilated area. The ideal temperature for germination is 64 °F (18 °C). Good places for germination include well-ventilated root cellars, garages, and basements. Barley that gets too hot or wet will be susceptible to mold growth. Barley that’s too cold or dry won’t germinate properly.
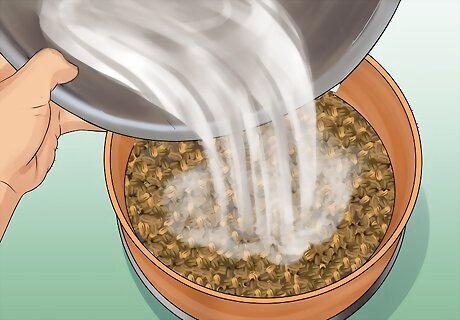
Mist and flip the barley every 4 to 8 hours. The barley will produce heat as it germinates, so you must keep it cool and moist. Remove the baking sheets from the bags and mist the barley with cool water. Turn each grain over by hand as you mist. Return the baking sheet to the garbage bag and refold the opening of the bag under the baking sheet. Repeat the misting and flipping 3 to 6 times a day. If the barley is being germinated somewhere warm or dry, you may have to mist 6 times a day to keep it cool. However, if the barley is somewhere cool or damp, you may only have to mist 3 times a day.
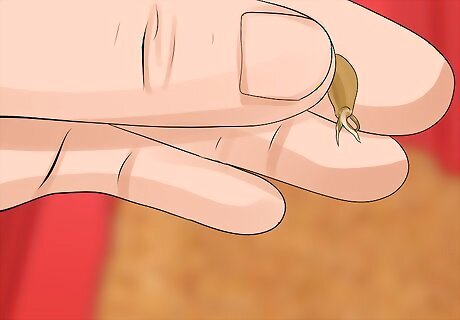
Monitor the size of the acrospire. Each time you mist and flip the barley, take a few grains and inspect the acrospires for growth. Flip the grain to the smooth side and use a knife to cut open the husk lengthwise. Look for the sprout at the bottom growing upward (away from the roots). The germination process is complete when the acrospires are about as long as the barley grain itself. The full germination period typically takes 2 to 5 days. The acrospire is the first sprout that appears during the germination process. Don’t confuse the acrospire with the roots, which are visible and growing out of the bottom of the barley grain. Return the grains you tested to the baking sheet with the other barley.
Drying the Barley
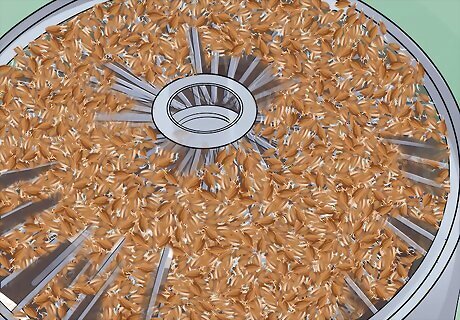
Spread out the barley on food dehydrator racks. Unfold the garbage bags and remove the baking sheets from the bags. Transfer the barley to the dehydrator racks. Spread the grains out with your hands so they're in a single layer. Drying the barley at a low temperature will stop the germination process and remove excess moisture from the grains.
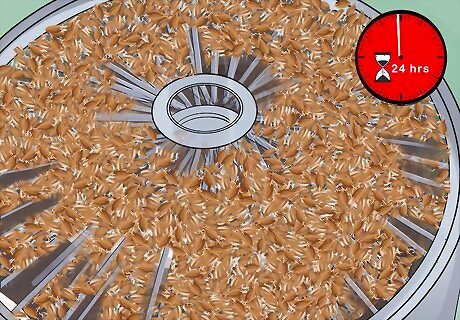
Dry the barley for up to 24 hours in a dehydrator. Set the dehydrator to 120 °F (49 °C) and turn it on. Leave the barley to dry for 6 to 8 hours, and then test it for doneness. Pull the rootlets attached to the grain. If they separate easily from the grain, the barley is sufficiently dry. Otherwise, continue dehydrating the barley until the rootlets start to fall off easily.
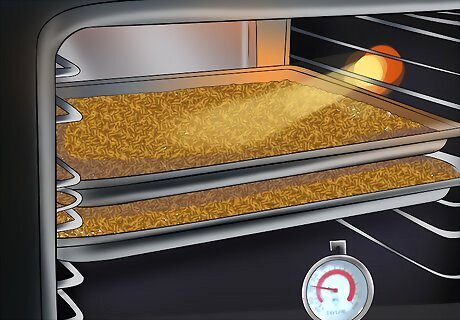
Dry the barley in an oven as an alternative. Set the oven to 125 °F (52 °C). Transfer the barley to clean baking sheets and spread the grains out into a single layer. Place the baking sheets in the oven and dry the grains for 6 to 8 hours. Test the rootlets to see if they fall off easily, and continue drying the barley until they do. Don’t dry the barley in an oven that can't go as low as 125 °F (52 °C), because drying the barley at too high a temperature will destroy the enzymes in the grain.
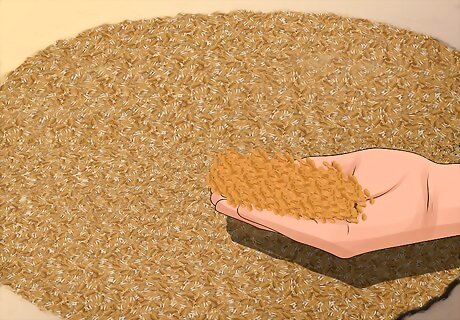
Sun-dry the grains in warm climates if necessary. If you don’t have a dehydrator or suitable oven, you can dry the barley in the sun in warm, dry climates. Spread the barley out in a single layer on baking sheets. Place the barley in direct sunlight and leave it out to dry all day. Bring the barley in at night to protect it from predators, and return it to a sunny location in the morning. The drying process could take 2 to 3 days, depending on the outdoor temperature. Bring in the barley immediately if it starts to rain.
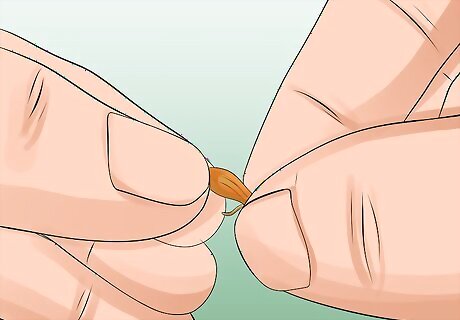
Remove the rootlets. When the barley is sufficiently dry that the rootlets fall off easily, turn off the dehydrator or oven, or bring the barley in from outside. Transfer the dried barley to a colander and shake the colander to remove the rootlets. To avoid having rootlets fly everywhere, shake the grains outside.
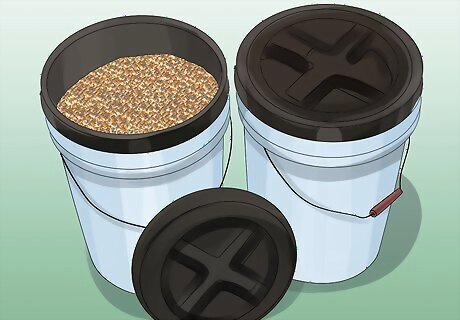
Store the barley in an airtight container. Transfer the malted and dried barley to an airtight container, such as a mason jar, food storage container, or freezer bag. Store the grains in a cool, dry location, for up to a year. A good place for barley storage is a dry root cellar, or the refrigerator if you have room.




Comments
0 comment