views
Using a Digital Multimeter
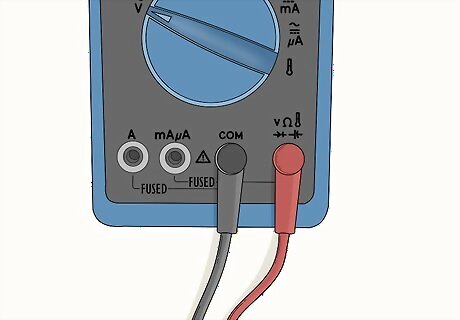
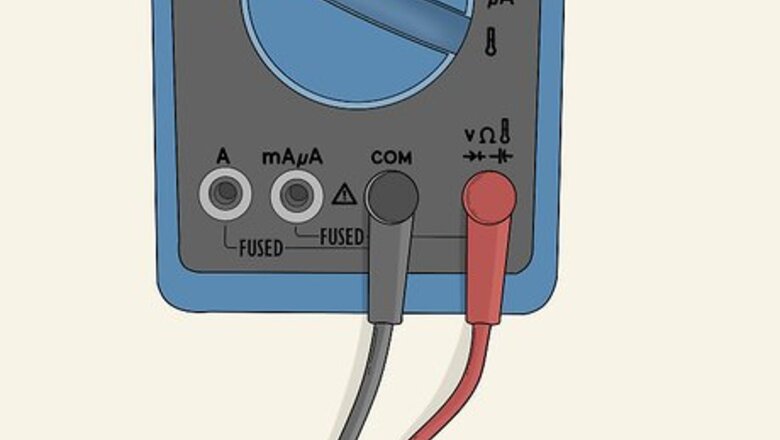
Put the red lead into the V slot and the black lead into the COM slot. Digital multimeters are considered to be the easiest device to measure voltage, as well as other electrical measurements such as amps and ohms. Plug the red lead into the slot marked with a V on the multimeter, and plug the black lead into the slot marked COM. Don't reverse the wires, or you could risk destroying the circuitry of the multimeter. Make sure you coordinate the colored wires correctly.
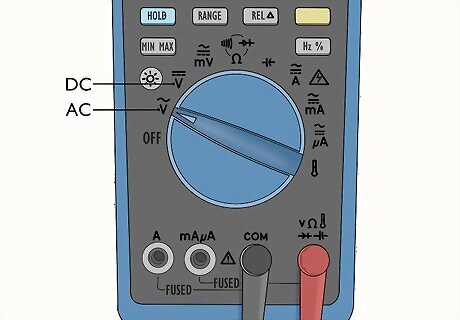
Select the mode for DC or AC voltage with the center selection dial. The symbol for DC is generally indicated by a straight line and three dots beneath it, while the symbol for AC is a wavy line. Some multimeters alternatively display DC voltage as DCV, and AC voltage as ACV— find these symbols on the dial, turn the knob to the type of voltage you wish to measure. DC is commonly used in batteries and small electronics, whereas AC is most commonly used in household electronics and outlets. Set the multimeter to measure voltage, not amps or ohms. If you try to measure voltage without the correct setting you could damage the multimeter.
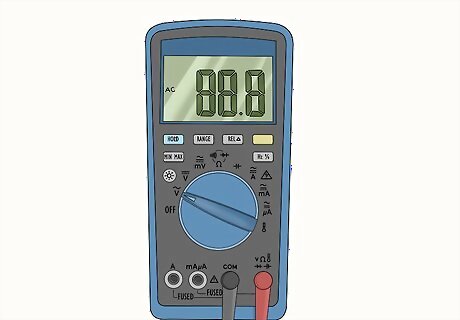
Choose the range of the voltage you plan to test. Most digital multimeters are autoranging, so they adjust the range automatically. However, you may have to adjust the range yourself. Check what the regular voltage of the electronic device is — it is usually indicated either in the user manual or somewhere on the battery or appliance itself. Set the range to one level above the voltage you plan to measure, so if you are measuring a 12v battery, turn the dial to 20v to get an accurate reading. If you choose a range that is too low for your test, the multimeter will display a "1", indicating that you need to choose a higher range. If you don't know the operating voltage you can set the meter on its highest range setting and work your way down until you get an accurate reading.
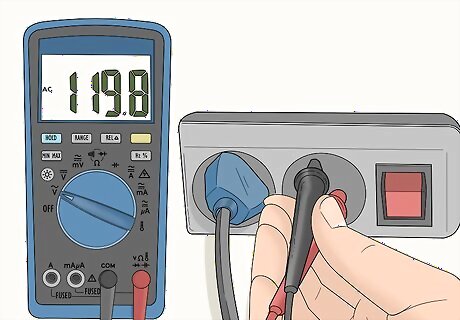
Test the multimeter on a battery before anything else. Place the red lead on the positive terminal and the black lead on the negative terminal, and choose the higher range of the battery's regular voltage with the center knob. Make sure to only hold the plastic coverings on each wire. If you place the leads on the wrong terminals, the multimeter will display a negative version of the correct measurement, so a 20v measurement would read -20v. Avoid doing this to avoid malfunctions in your multimeter. To test the voltage on other electrical components, identify the positive and negative terminals in the manufacturer's guide to attach the probes to the correct place.
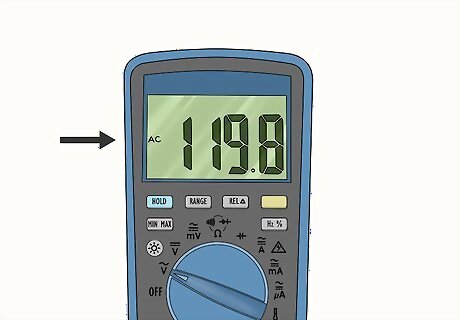
Read the display to find the voltage measurement, and make adjustments if needed. If you have placed the leads on the right terminals and have set the multimeter to the correct voltage setting and range, it should display the correct voltage reading quite quickly. If it reads "1" or has a negative symbol next to the reading, you need to either adjust the range or reverse the lead connections.
Using a Voltmeter
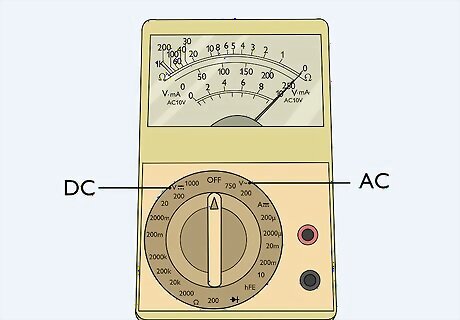
Select the voltage type on the voltmeter knob. DC is usually represented by DCV, while AC is usually represented by ACV on a voltmeter. Sometimes, DC is represented by a straight line while AC is represented by a wavy line. Make sure you choose the right setting, because voltmeters are particularly prone to damage if you measure DC with the AC setting and vice versa. DC is usually the type of voltage associated with small electronics and batteries, while AC is usually associated with grids and outlets.
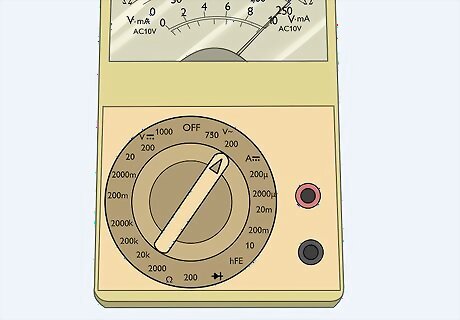
Set the voltage range to one setting higher than the voltage you plan to measure. Similar to multimeters, voltmeters have a central knob that lets you choose the upper limit of the voltage you plan to measure. Find out the normal voltage for the thing you want to measure, and set the meter one level above that. Voltmeters often have more options than a multimeter, and they can generally measure much more powerful circuits than a general-purpose multimeter.
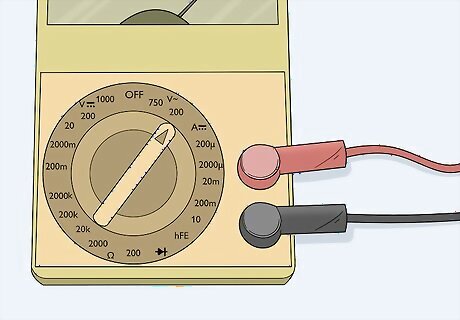
Place the red probe in the positive connection and the black probe in the negative one. There should be two ports to plug the probes into — find the negative one and plug in the black probe, then find the positive one and plug in the red probe to the device. Double check to make sure your probes are in the correct place, or you could risk damaging your voltmeter.
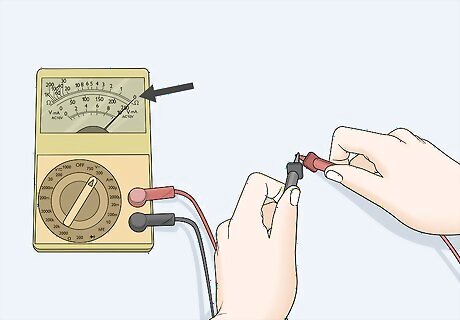
Touch the probes together to check if it reads 0. Turn on the device and touch the end of the black and red probe together, making sure to hold them by the protective plastic coating. The voltmeter should read 0, because there is no electricity to measure. If it doesn't, your voltmeter may have malfunctioned and needs to be replaced.
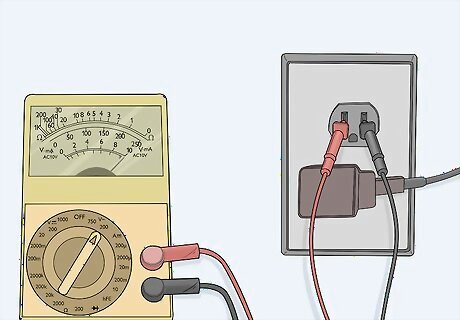
Connect the probes to their corresponding terminal and read the display. Once again, connect the red probe to the positive terminal and the black probe to the negative terminal on the electronic that you want to measure. Take the reading, and unplug the probes from the connection. Batteries are the easiest to measure for first-time users, but voltmeters can easily measure outlets and higher-power electronics too. To measure an outlet with a voltmeter, plug in each probe to the rectangular holes of the outlet. It doesn't matter where you plug in each probe, it should still get an accurate reading, provided that you set the range to one level higher than the outlet's voltage.
Measuring Voltage with an Analog Multimeter
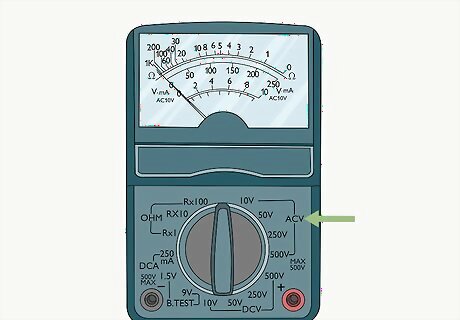
Select the AC or DC voltage mode on the multimeter. Select the AC or DC voltage mode, depending on the circuit you want to test, which is indicated by a straight line with dots for DC or a wavy line for AC. Electricians and beginners tend to prefer digital multimeters because they are faster and easier to use. DC and AC are also commonly represented by DCV and ACV, respectively.
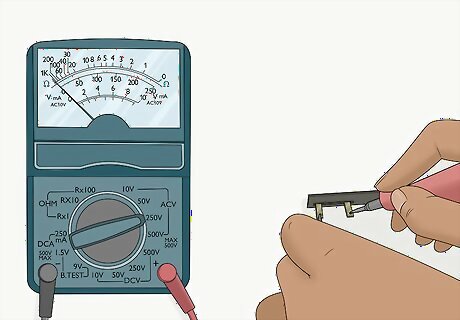
Choose a high range to start with, then lower it until the needle reads accurately. Find out the regular voltage of the thing you want to measure and set the middle dial one level above that. So, if you want to measure a 120v outlet, set the dial to the AC side at 200v. Choosing a high range prevents damage from having too low a setting for a high voltage. Damage is uncommon when measuring low voltages, but if you set your multimeter to 20v and try to measure a 220v outlet, you might destroy it and have to replace it entirely. If your analog multimeter is set too high, the needle will barely move. Lower the setting if this is the case to get an accurate reading. If your analog multimeter is set a step too low, the needle will fling to the right. Quickly remove the probes from the connection to sever the circuit and prevent damage to your multimeter if this happens.
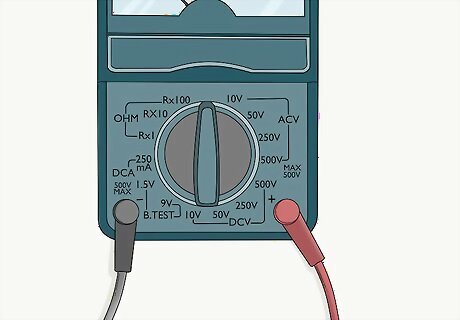
Attach the black probe to the negative terminal and the red probe to the positive terminal. Hold each probe by the protective plastic coverings and plug them into the corresponding terminals. This is best tested with a battery, if this is your first time using a multimeter, as the positive and negative sides are clearly labeled. It is sometimes recommended to attach the black probe but only touch the red probe to the positive terminal, as if there is an error you can quickly lift the probe and break the circuit.
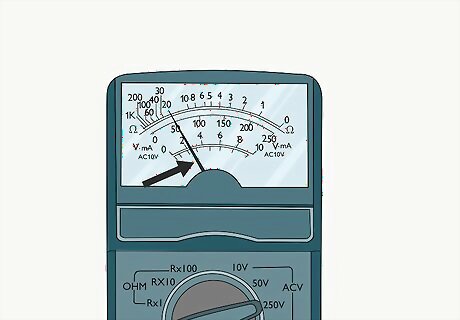
Check the needle to see if it displays the right voltage, and make adjustments. Look at the needle to see if it moves to around the middle of the display. There are various levels of voltages displayed behind the needle, so find the row that corresponds with the range you chose earlier. Take down the measurement, and consider repeating the test a few times to make sure the needle is reading accurately. Remember to start at a high range and work your way down. If the needle barely moves, select a lower range to get an accurate reading. If the needle flies off to the right, you need to break the circuit and select a higher range. If it flies to the right too hard, it might damage the needle, so try starting at a high range.


Comments
0 comment