
views
Preparing Your Wood

Cover the surface you’ll be working on. No matter how careful you are, it’s best to cover any surfaces that you don’t want to spill on. This process involves water, dust, primer, paint, and finish, so there are plenty of opportunities to make a mess. Throw down an old towel or some newspaper on the table or floor you’re working on.
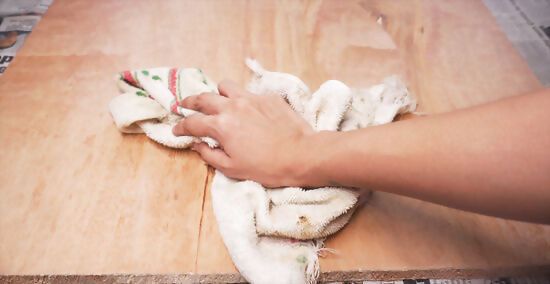
Clean the wood. Even if it looks clean, you want to give the surface a quick wipe-down. Dampen a rag with some warm water, and sweep it all over the surface. If you are painting a piece of furniture or a sign that has any sort of hardware on it, go ahead and remove it before you get started. If there are any holes or big indentations where you want to apply paint, you should apply wood filler at this time.

Sand the wood. This is an important step for several reasons. If you are working with a piece of furniture that has a gloss or lacquer on it, you will use the sand paper to remove it. This will allow your paint to adhere to the surface. If you are using a bare piece of wood that is bumpy and uneven, this will help to create a smooth canvas for painting. Use light pressure, going with the grain of the wood. Do not go against the grain or across the grain, or the wood will look scuffed and rough. Use 100-grit sandpaper to remove any finish on the wood. Once that is removed, you can use a higher grit sandpaper to soften the surface.
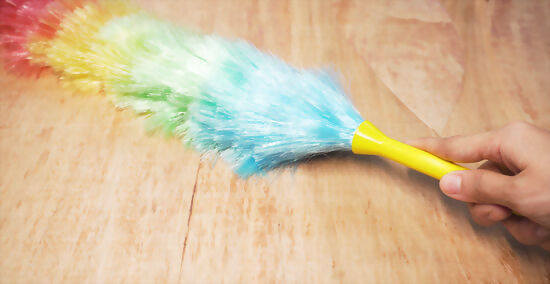
Dust the wood. After you’re finished sanding, there will certainly be dust on your wooden surface. Even if it looks perfectly clean, it’s important to dust it off anyways. Use a large, clean paint brush to brush away any dust on the surface, or grab a spare rag to do the job. Dusting the wood thoroughly will allow the paint to adhere to the surface, not any particles on top.
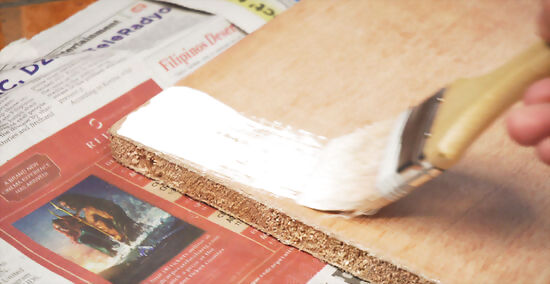
Apply a primer to the wood. Before you start using the fun colors you’ve chosen, it’s important to use a primer. A paint primer creates the perfect base for paint by sealing the pores of the wood and giving the paint something to securely stick to. It will help keep your paint from chipping and fading. If you’re going to be painting a background color, you can use a white or gray primer. If you are only painting letters, grab a clear primer.
Using Tracing or Stencils
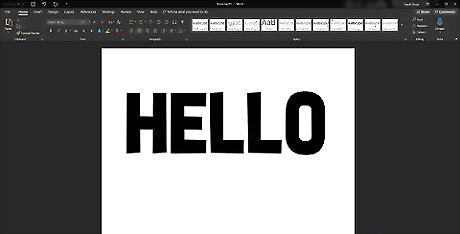
Design your lettering. If you are someone who is confident in their freehand ability, you can certainly skip this step. However, if you aren’t confident in your freehanding and want to ensure that you get perfect, even letters, you can design them on a computer. Using Microsoft Word, you can type in your letters and then trace them onto the wood. Open Microsoft Word, click on the “File” menu, and select “Page Setup.” Select the paper size that matches the size of the wood you’ll be painting, or enter in your own custom size. Type your lettering in the document, however you want it to look on the wood. Because the page is set to the size of the wood, you can design it with the proper measurements in mind. Print your document.

Trace your letters onto the wood. There are a variety of ways that you can trace your printed lettering onto the wood, and some will yield more precise results. One method is to cut out your letters from the paper and trace around them. This will only work if your letters are big and easy to cut out. The second method will work for any types of letters. Flip your printed page over, so that you are working on the blank side. Use a pencil to color everywhere that there is ink on the reverse side of the paper. In other words, you will be rubbing pencil lead onto the back of all your printed letters. Turn the page back over, and put it on your piece of wood. The printed letters should be facing up. Using your pencil again, trace over every line of every letter. When you are all done, remove the paper. The lead that you put on the backside of the paper will have transferred onto the wood with the pressure of your tracing. Now, you have lines to fill in with paint, and you can create perfect lettering.
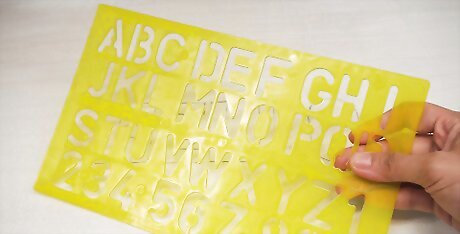
Purchase some letter stencils. You can find pre-cut stencils at your local craft store, and they are perfect for painting letters on wood. You can also order these stencils online if you are looking for a very particular size or font. For best results, you will also need a stencil paintbrush, as well as spray adhesive. Take your time to line up the stencil onto the wood, exactly as you want your lettering to line up. Use a pencil to mark up the stencil to show where it should lay on the wood. Shake your can of spray adhesive, and then spray a light coat on the stencil. This will allow it to stick to the wood, ensuring that it doesn't shift or smear during the painting process. Once your stencil is stuck to the wood, use your stencil brush to gently dab acrylic paint onto the wood, through the stencil. Allow your paint to dry for a few minutes before peeling the stencil off the wood.
Painting Freehand Letters
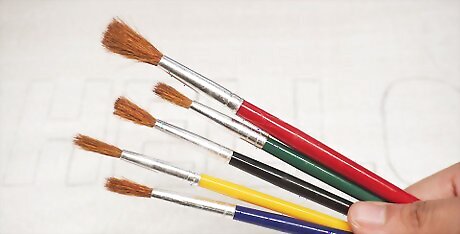
Have an assortment of brushes. When it comes to freehanding, it's good have a variety of different brush sizes and textures to choose from. Brushes with firm, square bristles are great for creating the thick, straight outlines of letters, while small brushes are great for details. If you feel more comfortable writing your letters, you can purchase acrylic paint pens at most craft stores.
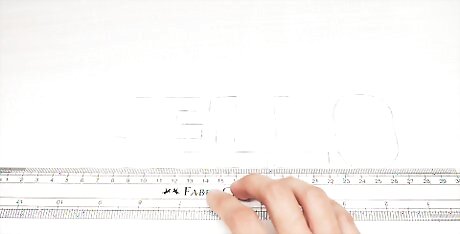
Use a ruler to ensure your letters are straight. If you want your letters to be even across the wood surface, it's a good idea to use a straight-edge first. With a pencil, you can outline a soft line to follow, like lined notebook paper. You can create a top line as well, so you know exactly how big each letter should be. You can create any demarcations you think will help you make evenly-sized, straight lettering.

Paint your letters carefully. Squirt a little bit of paint at a time onto a paper plate or a sheet of paper, and begin painting. Take care to follow any lines or marks you've put on the wood to help – unless you're going for a more whimsical look! Keep a cup of water nearby to rinse your paintbrushes between colors. If you make a mistake, use a clean, damp rag to gently wipe it away. This will remove paint if it is still wet.
Finishing Your Wood

Let your lettering dry. Acrylic paint will dry pretty quickly, but it’s best to give it a few hours just to ensure it’s completely dry. If you need to apply a second coat to any of your letters, go ahead and do that after the first coat is dry. Typically, second coats are needed for any light paints, like white or pastel colors.

Apply a clear acrylic polyurethane finish. This is basically a clear topcoat that will seal your painted letters onto the wood. It will help keep them from getting chipped or scratched, and ensure that your handiwork lasts for a long time. You can buy this finish at craft stores or home improvement stores.

Let your clear finish completely dry. It’s good to let your completed, sealed project sit for about 24 hours before doing anything with it. After it’s completely dry, you’re all set! Whether you give it as a gift or keep it for yourself, you can take pride in your wooden DIY project.




Comments
0 comment