views
Fixing Openings on the Wood's Surface

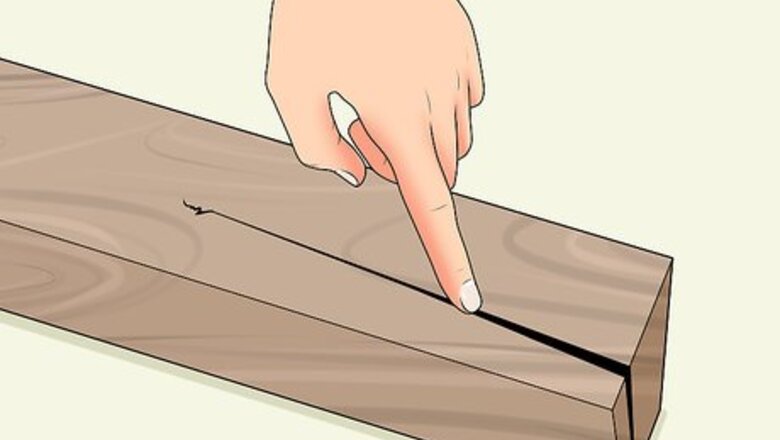
Inspect the wood for defects. Splits, holes, crevices, and other openings will make it difficult for you to get a smooth stain on the wood. Carefully check every surface of the wood you'll be staining. Make note of any such openings that need filling. Some wood types with an open grain structure, like mahogany or oak, are especially susceptible to these openings.
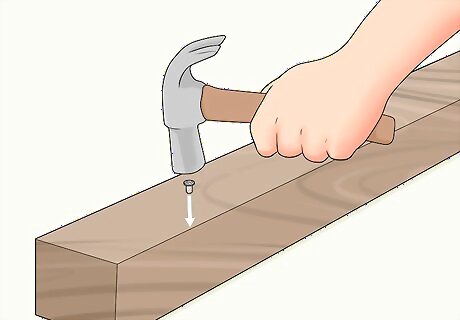
Drive all nails below the wood's surface. Check the wood's surface for any nails that are sticking out. If you leave these in place, you won't get a smooth finish for your stain. If you find any nails sticking out, take a hammer and a nail set to tap the nails until they're below the surface.
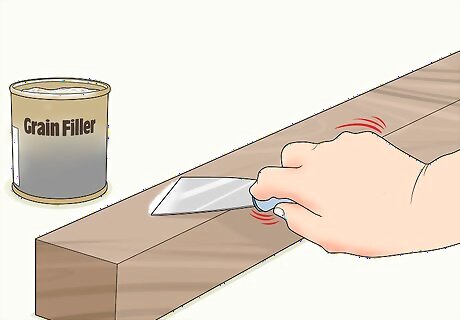
Apply grain filler to the openings. After tapping the nails down and locating any holes or openings, you need to fill them. With a grain filler from a hardware store, you can fill these holes easily. Scoop some of the filler onto a putty knife and press the filler into the hole. Then use the edge of the knife to scrape away any excess filler. Grain fillers come in several colors. Try to match the color of the grain filler you purchase to your wood as closely as possible. You can also mix some sawdust from your wood with the grain filler to match the color more exactly.

Allow the grain filler to dry, then sand it with 200-grit sandpaper. Wait several hours or overnight for the grain filler to dry. Then, take a piece of 200-grit sandpaper and sand down the excess filler until it's smooth and even with the wood's surface. Sandpaper ranges in grit levels from 40 to 600, which refers to the size of the pebbles on the paper. The lower the grit, the larger the stones. Lower grits are used for heavy-duty sanding jobs, while higher ones are for finer sanding.
Sanding for a Smooth Finish
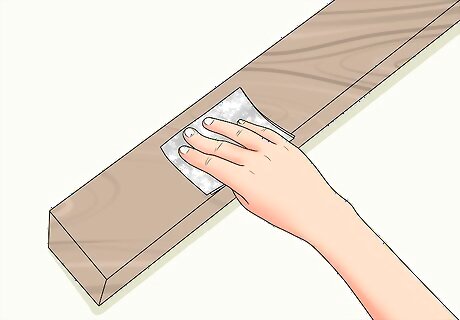
Start sanding with 100-grit paper. Always sand with the grain of the wood. That means you should follow the lines on the wood and sand in that direction. Sand in a straight line, back and forth, until you reach the end of the wood's surface. Repeat this process for every part of the wood you'll be staining. You'll want a grittier sandpaper to start out with. This is because non-sanded wood still has rough edges and splinters that will need to be removed before staining. Start at this grit for your first sanding session. Avoid using a belt sander. Belt sanders are used for larger staining jobs like wood floors. For a smaller job like a piece of furniture, a belt sander could damage the wood. For this job, you'll want to sand by hand instead.
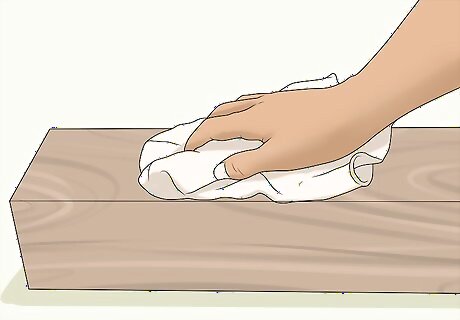
Wipe down the wood thoroughly in between sandings. Use a vacuum or a tack cloth to wipe down every surface of the wood. You could also use a paper towel lightly moistened with mineral spirits. This is important because the sanding process leaves behind a lot of sawdust. Leaving this debris behind will make the wood's surface rough after you stain it.

Sand two more times with a 150- and 200-grit sandpaper. The idea is to remove any marks that were left behind from the previous sanding session, so double check and make sure that you're removing these marks as you sand. Remember to wipe down the wood between every sanding. Working your way to a finer sandpaper will ensure you catch all of the fine imperfections of the wood before applying your stain.
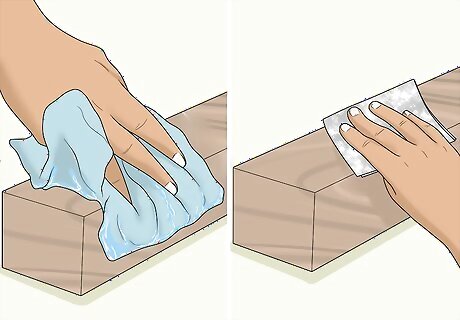
Wet the wood and sand it one last time with 200-grit sandpaper. Wetting the wood will raise the little fibers on its surface. Using a damp towel, wipe down the wood. When the wood dries, sand one final time with 200-grit sandpaper to catch all of the remaining fibers. If you don't remove these fibers now, they'll raise when you apply the stain, giving you an uneven finish.
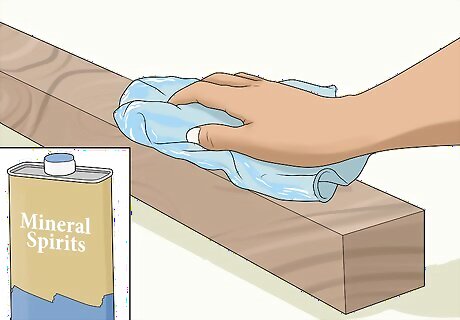
Wipe down the wood one last time. Make sure the surface is clean. Use a towel moistened with mineral spirits to catch any straggling debris that was left behind. Any remaining sawdust could ruin your stain. Remember to let the mineral spirits on the wood dry before moving on.
Conditioning the Wood
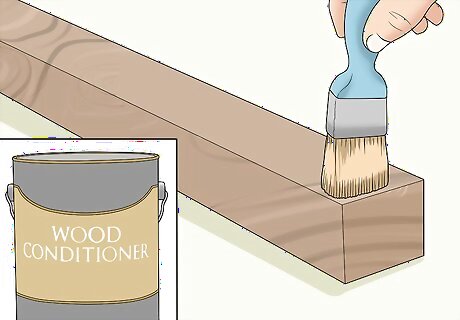
Apply conditioner to the wood to open the pores. Before staining, you want to make sure the wood's pores are open, which will allow for an even stain. This is what wood conditioner is for. Use a paint brush and apply an even layer of conditioner to every part of the wood's surface. You'll want a thin layer of conditioner. If puddles are forming, spread the conditioner around more so it doesn't pool in one spot. Wood conditioner is watery, not thick like paint, so let your brush drip over the can for a few seconds before you start brushing. Wood conditioner is easily available at most hardware stores.

Wet the wood if you don't want to use conditioner. Some experts recommend using water instead of conditioner to prepare the wood for staining for the same effect. This process is called popping the grain. If you choose this method, make sure you only use a wet rag to apply the water. Also don't apply the stain until the wood is completely dry. This could take several hours You should use distilled or sterile water for this. Tap water contains minerals that could affect the color of the wood.
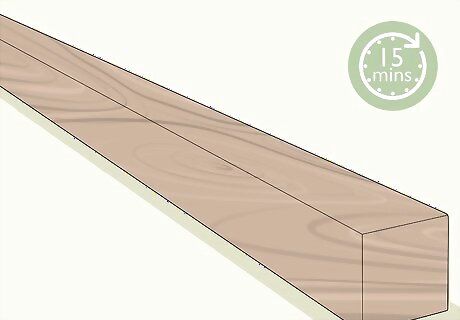
Wait 15 minutes after applying the conditioner. The conditioner has to sit for at least 15 minutes before the wood is ready for staining, so don't start staining before then. But also don't wait longer than 2 hours, or the wood pores will no longer be open. This means the wood won't absorb the stain as well.
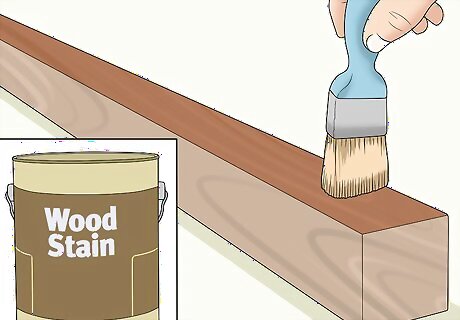
Apply the stain. Now the wood has been successfully prepared and it's time to apply the stain! Using a paint brush or a rag, apply an even layer of stain on the wood's surface. After this, use a clean rag and wipe off any stain that's pooling on the wood. You don't have to worry about being neat or applying stain in the direction of the grain. If the wood's pores are open, the stain will absorb no matter how you apply it. Allow the stain to dry for at least 8 hours before you apply finish.


Comments
0 comment