views
Cleaning the Countertop Surface
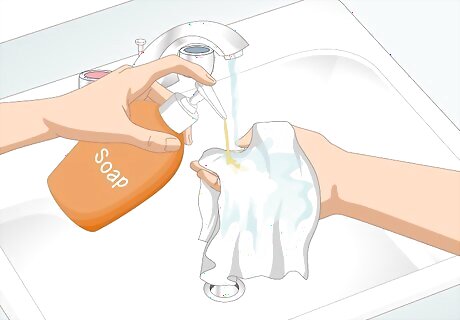
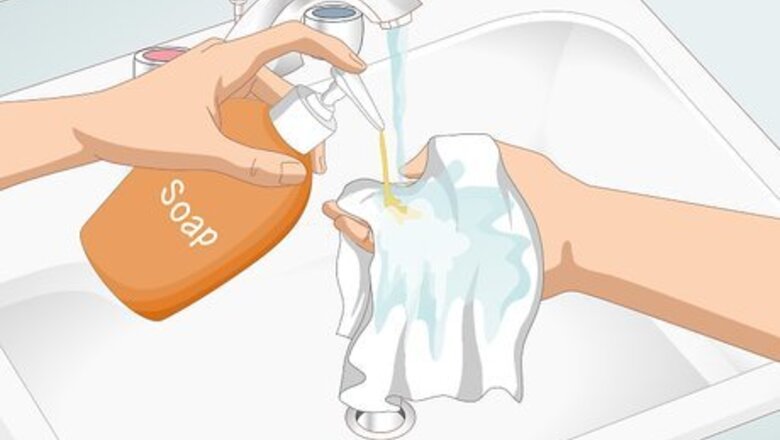
Dampen a clean rag with soapy water. Turn on warm water and place a clean, soft rag under the stream to dampen it. Pour a couple drops of soap onto the rag and massage the soap into the cloth to distribute it evenly. Use a dish soap if possible.
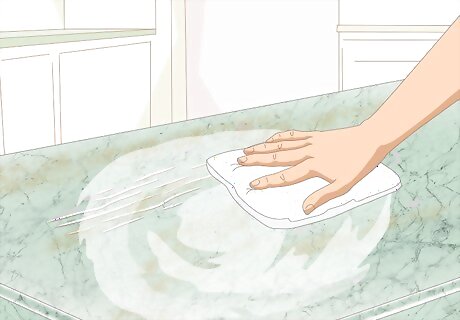
Wipe down the countertop using the rag to clean it. Use the rag to gently rub the entire countertop down with soapy water, paying special attention to the area with the scratch. Work the rag down into the scratch, wiping it in small circles and applying pressure, to make sure it’s clean. Cleaning any dirt or grease off of the countertop is important because the wax or filler won't bond well to the counter if it isn't clean.
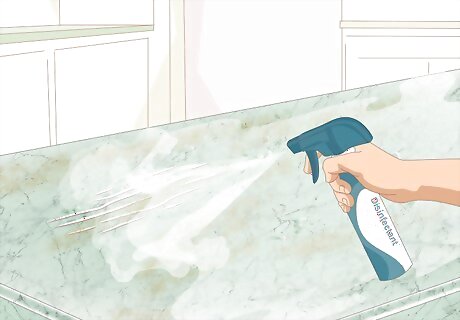
Use a disinfectant if the countertop is especially dirty. If your countertop hasn’t been cleaned recently or shows spots of dirt, spray it with a household disinfecting spray and wipe the entire counter with a clean rag. Wipe down the spot with the scratch a couple times to make sure the crevice is definitely clean. Avoid using harsh cleaning products that have acid in them on your laminate, as well as abrasive cleaning tools like steel wool.
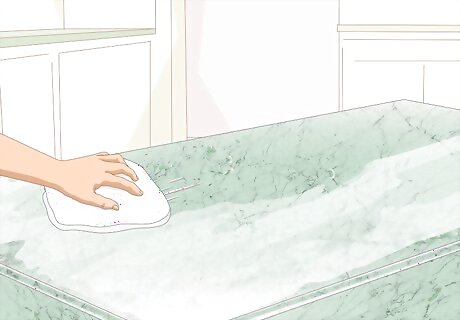
Dry the countertop using a clean towel. Wipe up excess moisture, soap, or disinfectant using a clean towel. It’s important that the countertop be completely dry before using polish or filler on it. Alternatively, let the countertop air dry for a couple minutes.
Buff away very light scratches. If you just have a small scratch on your laminate surface, wet a soft cloth and squeeze out the excess water. Apply baking soda over the surface of the scratch, then buff the area with the damp cloth until the scratch disappears. Baking soda is a super-fine abrasive, so it will gently buff out the scratch.
Covering Shallow Scratches with Wax
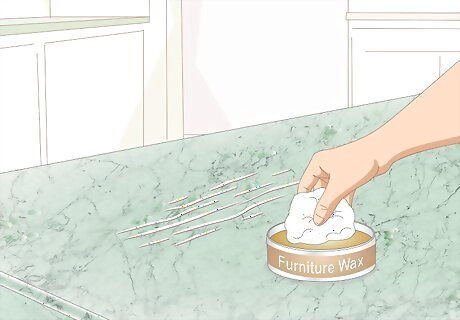
Dip a soft, cotton cloth in furniture wax. Cover your fingers with the cotton cloth and swipe it across the wax to get a small amount on the tip of your cloth-covered fingers. Gather enough wax to cover the entire end of the cloth that's on top of your fingers. A cotton T-shirt works as well. You can also use car wax instead of furniture wax.
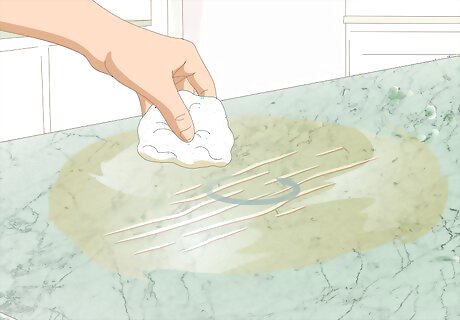
Rub the wax into the scratch gently using circular motions. Place the wax overtop the scratch, working it in gently using the cloth. Rub the cloth over the scratch using circular motions and applying slight pressure. Apply another layer of wax to the scratch, if needed. Don’t worry about adding too much wax to the scratch, as you’ll be wiping off the excess later.
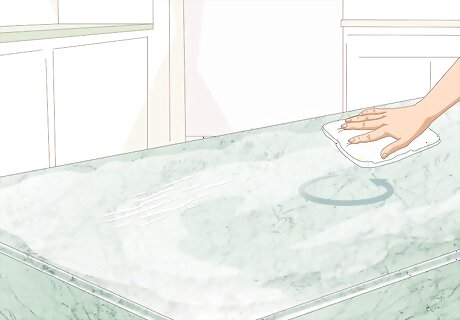
Use circular motions to apply a light layer of wax to the rest of the counter. The wax will have a slight sheen to it, making it important to apply a thin layer to the rest of the laminate so it all looks cohesive. Dip your cloth in the wax again and gently rub it onto the countertop using circular motions until the entire counter is covered in a thin layer. The layer of wax will also help protect the laminate from additional scratches.
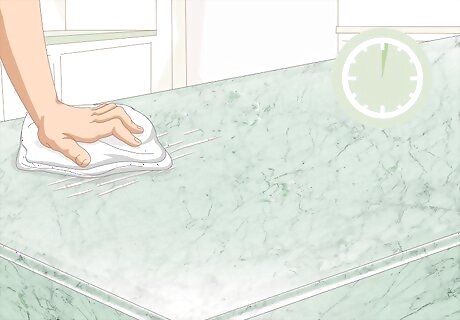
Buff the laminate after waiting a couple minutes for the wax to set. After you’ve let the wax sit for a few minutes, use a different clean cotton cloth to remove excess wax and buff the surface. Use even, circular motions going along the entire countertop, applying slight pressure to ensure the laminate has a level coating. Read the instructions on your container of wax to see if the countertop needs to sit for additional time before you place things on it. Wait roughly 20 minutes for the wax to dry and set on the countertop. The purpose of buffing the countertop after you've applied the wax is to cover the countertop with a very thin layer of wax while the scratch is filled in with a thicker layer of wax.
Filling in Deep Scratches with Laminate Filler
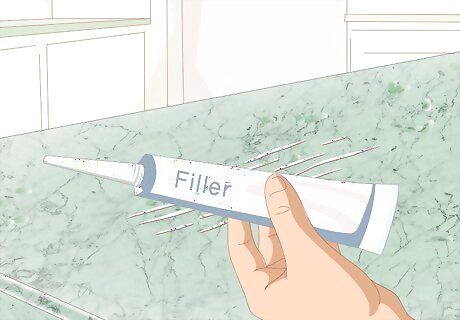
Pick out a laminate filler that matches the color of your countertop. Visit your local hardware store to find a selection of laminate fillers. Choose one that most closely resembles the color of your own countertop. Bring a picture of your countertop to help you match the color, if desired. You can also contact the manufacturer of your countertop directly for filler product recommendations or for help with determining the exact color of your countertop.
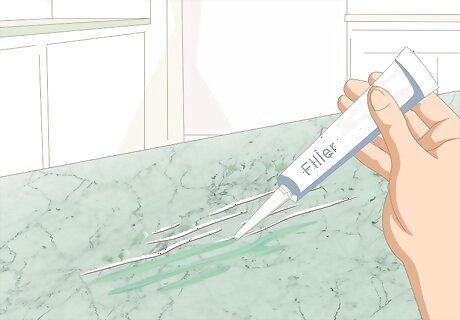
Squirt out the filler along the entire length of the scratch. Uncap the filler and squeeze it out on top of the scratch. Apply it to the entire length of the scratch. Don’t worry about applying too much, as you’ll remove any excess later on.
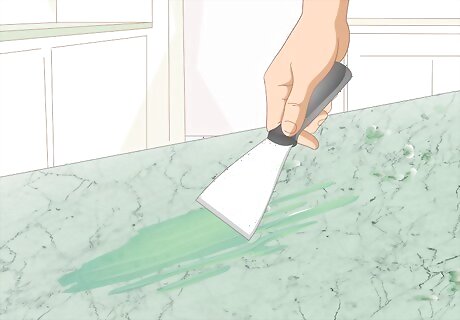
Use a plastic putty knife to work the filler into the scratch. Press the filler down into the groove of the scratch using the putty knife. Swipe over the scratch several times using the putty knife to create an even surface. Use a plastic putty knife instead of a metal one to avoid adding additional scratches to the laminate.
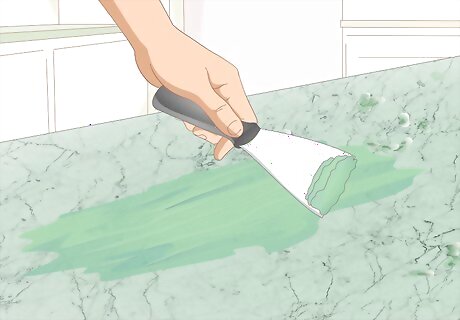
Remove the extra filler by scraping off the excess using a putty knife. Once the filler has completely filled up the scratch in the laminate, scrape the putty knife over the top layer to even it out. Continue swiping the flat edge of the putty knife over the countertop until the surface is completely smooth.
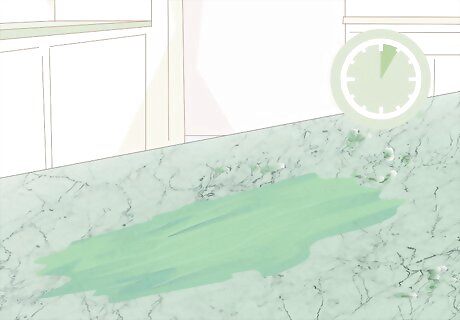
Let the filler set for 24 hours. Leave the area undisturbed for a full day so the filler can set. It may seem dry before then, but it will take that long to fully cure. Read the directions that come on the laminate filler for information about how long it will take to dry.
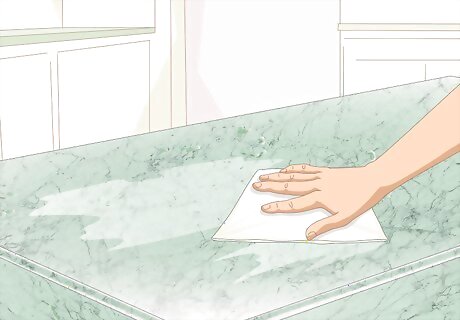
Wipe down the countertop using a paper towel for a final cleaning. After the laminate filler has dried for a few minutes, wipe down the countertop using a clean paper towel or rag. Swipe over the scratch several times using the paper towel to be sure you’ve removed all the excess filler.


Comments
0 comment