views
Using the App
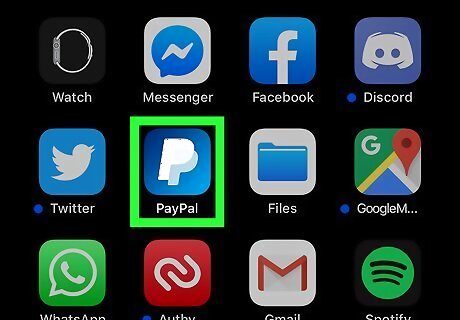
Open PayPal. This app icon looks like a white "P" on a blue background. You'll find this app on your Home screen, in the app drawer, or by searching. Log in if prompted.
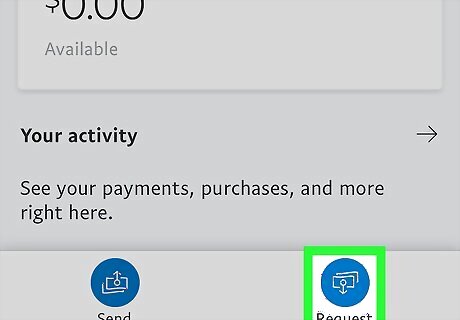
Tap Request. You'll see this centered at the bottom of your screen.
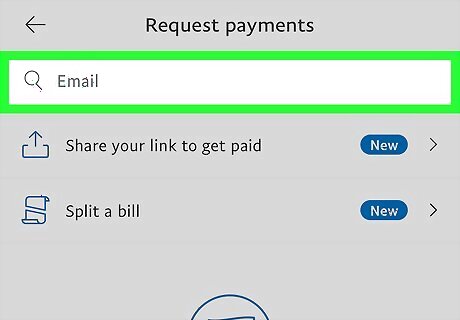
Tap the first text field to enter a name, email, or mobile number. As you type, suggestions from your contacts or recently contacted will appear; if you do, skip to the next step. When you're done typing an address or number not listed as a contact, you'll see a drop-down that says Request from. Tap that to continue.
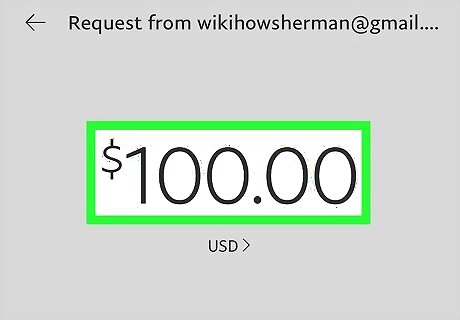
Enter the amount you want to request. Using the keypad offered, type the amount you want to request. If you don't want to collect the default currency type, tap USD > to change to a different currency.
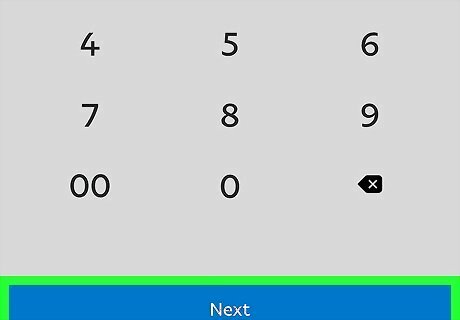
Tap Next. You'll see this below the keyboard. You can't proceed if the value is $0.00.
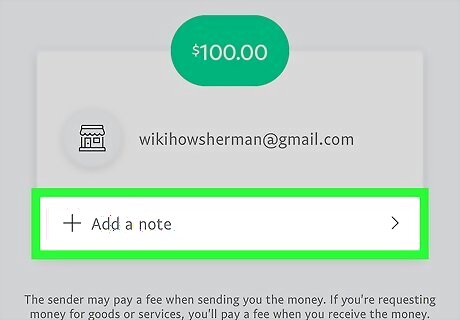
Customize your request. You can tap Add a note if you want to include details as to why you're requesting the money.

Tap Request Now. After you tap that, you'll be redirected to a confirmation page that the request has been sent.
Sending an Email Payment Request

Go to https://www.paypal.com/myaccount/transfer/homepage. You can also go to https://www.paypal.com/, log in, and click Send & Request. If you're using a mobile web browser, tap ☰ , and Send & Request.
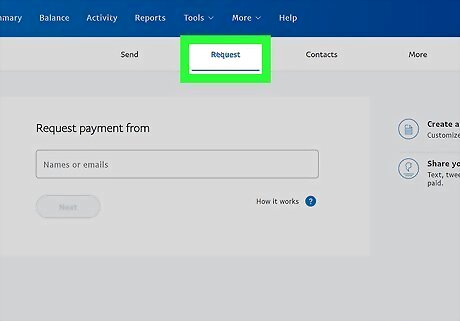
Click or tap Request at the top of the browser page. You'll see this at the top of the page, below the navigation menu that you used earlier.
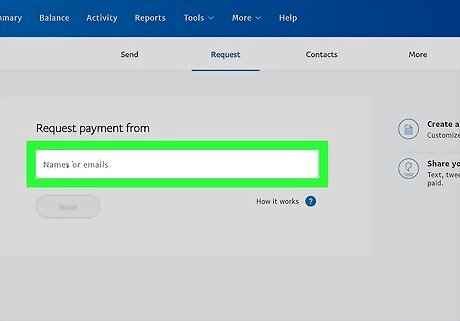
Click or tap the text box. You'll see this under "Request money from anyone."
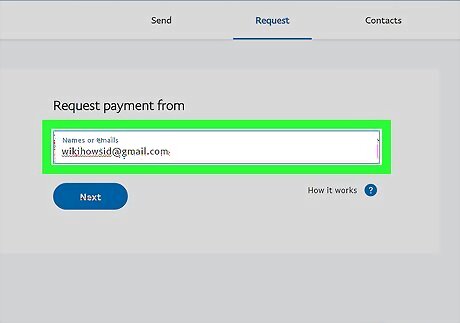
Type a name, email address, or phone number. You can type several contacts at once, but make sure you add a , between each entry. If the email or phone number you entered is not associated with a PayPal account, that person will be walked through the process of creating a PayPal account once they click the link sent to them.
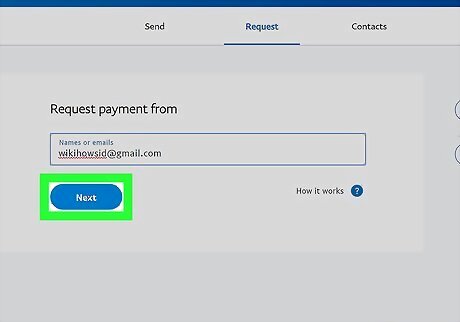
Click or tap Next. This button will appear after you enter a contact to request money from.
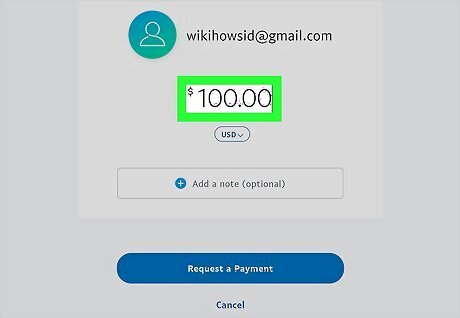
Enter the amount you'd like to request. You may need to click or tap in the number field to be able to enter a number. You can opt to choose Split a bill and exclude your portion of the total from the request. For example, if you are splitting a $100.00 bill and select the box "Include my share," your contact will see that you've already paid half of the bill and are requesting for the other half. You have the option to leave a note in the text field. Here, you can describe why you're requesting money, as this will appear in the message to the contact.
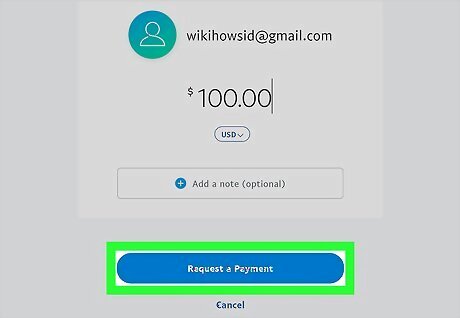
Press Request Now. After you click or tap that, you'll be redirected to a confirmation page that the request has been sent. You'll also get an email confirmation that the request was sent as well as an email after the payment has been made.
Sending an Invoice
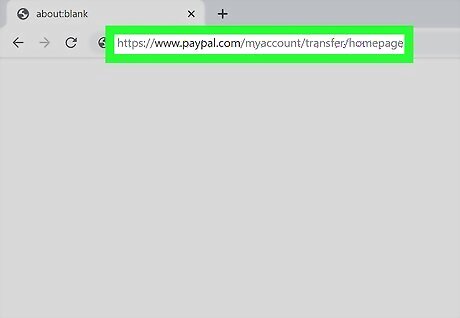
Go to https://www.paypal.com/myaccount/transfer/homepage. You can also go to https://www.paypal.com/, log in, and click Send & Request. If you're using a mobile web browser, tap ☰ , and Send & Request.
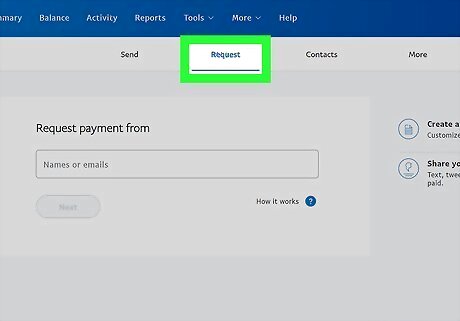
Click or tap Request at the top of the browser page. You'll see this at the top of the page, below the navigation menu that you used earlier.
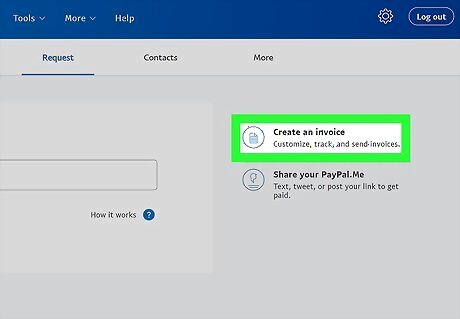
Click or tap Create an invoice. You'll see this on the right side of the page with an icon of a gridded piece of paper.
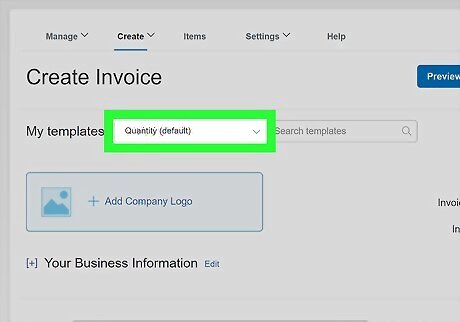
Create a new template or use a default. Click or tap the drop-down menu box next to "My templates" and either select a default template or "Create a new template." If you are creating a new template, you'll control what is displayed on the invoice more than if you selected to use a default one. If you have a specific format for charging, you can create a template to use each time you need to send an invoice to charge for that service. Upload your company logo if you don't have one on your template and include your company information, such as your name, and the details of the services you're charging for.
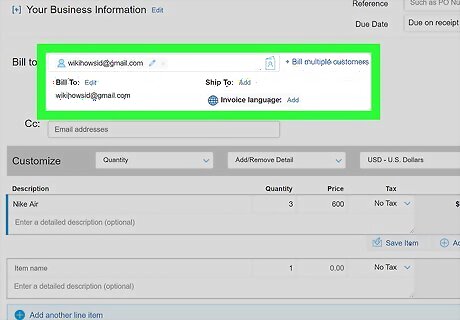
Fill out your client's information. You'll need to select the type of invoice you're sending (selecting Goods:Shippable will prompt the customer for their shipping address once they've paid the invoice, but Service will not) and who the bill is being sent to (email address or name). When you add the email address of a new contact, you are prompted if you want to save that information or if you want to mail the invoice instead of emailing it.
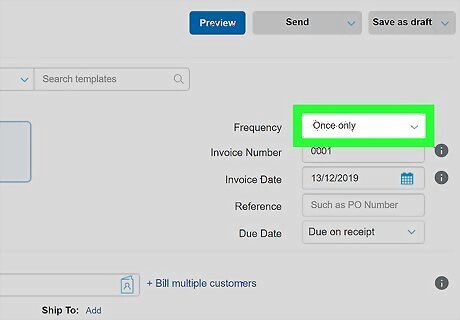
Customize the invoice. Choose how often you want to send the invoice from the "Frequency" drop-down. Select the invoice number (it will automatically increase in increments of 1 with each new invoice), the invoice date (PayPal will automatically set this to the current date, but you can change it to a future date if you're planning to send the invoice later), the reference number, and the due date. Scroll down to the "Customize" header and you can create an invoice including the products sold, the quantity, and the hours used. For example, if you created a Cat Statue in 200 hours, and you're charging $10/hr, type "Cat Statue Labor" in the item name box, "200" under the hours header and "10" under the rate header. You can opt to charge tax by clicking/tapping the tax drop-down menu and choosing to Add a new tax. The invoice will automatically calculate the final cost. You can click/tap the plus and X signs to add or remove rows as needed. If you add more items to the invoice, an updated total is displayed below. Decide if the customer can pay a partial amount or add a tip, then include any discounts or shipping costs in the totals area. You also can include a note to the recipient as well as your terms and conditions for returns or cancellations. You also have the option to attach up to five files that are formatted PDF, JPG, JPEG, GIF, PNG, TIFF, BMP, and XML. There is a file size limit of 4MB per file and an overall limit of 10MB.
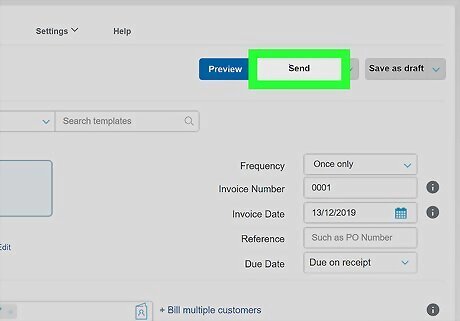
Click or tap Send. You'll be redirected to a page where you can manage your invoices. You can see what invoices have been sent and not paid as well as sent invoices that have been paid. You'll also get an email confirmation that your invoice has been sent.


Comments
0 comment