
Open the image file you want to edit in Photoshop. You can right-click the image file, hover over Open with, and select Adobe Photoshop or open Photoshop first, and import the image file.
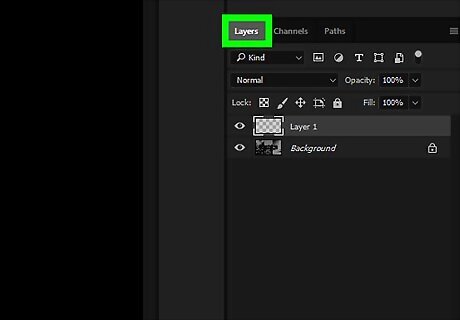
Click the Layers tab on the right sidebar. This button is located next to Channels and Paths below the Histogram/Navigator and Libraries/Adjustments sections on the right-hand side.
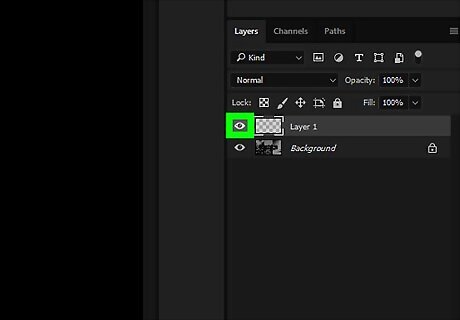
Click the eye icon next to a layer to hide it. You can later view and edit all the hidden layers by opening this image file in Photoshop. Hidden layers does not affect the final display of your saved image file, but they will increase the file size. If you're certain you don't want a layer anymore, you can right-click it, and select Delete Layer.
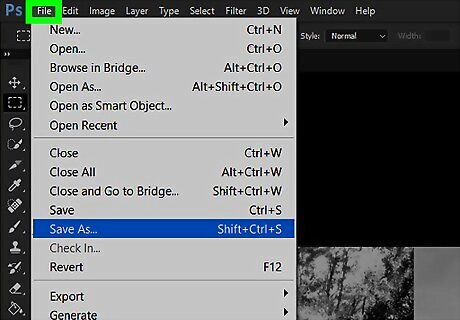
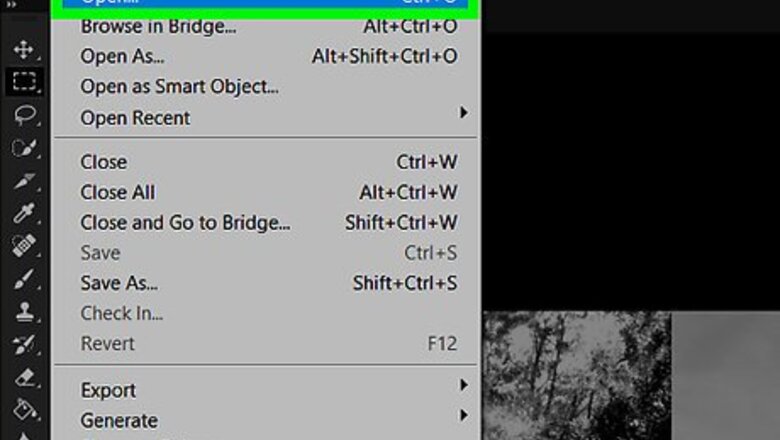
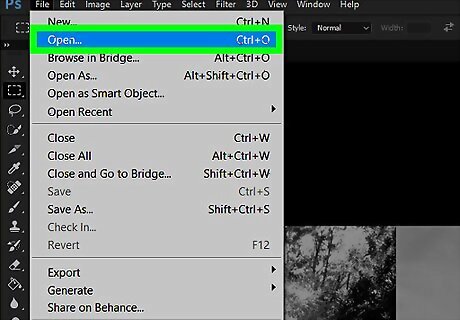
Click the File tab. This button is in the upper-left corner of your screen. It will open your file options on a drop-down menu.
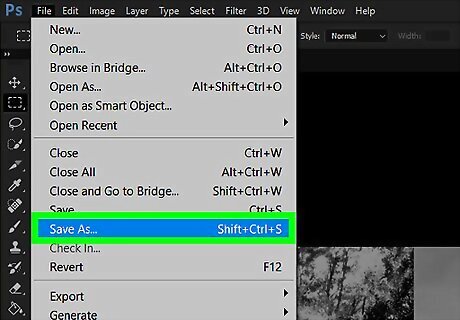
Click Save As on the File menu. This will open a file navigation window, and allow you to select a location to save your image file.
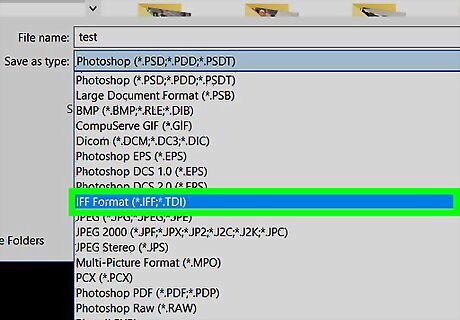
Select a file format for your image. Click the selector bar next to "Format" at the bottom of the pop-up window, and select an image file format from the drop-down menu. If you want to keep your hidden layers for later editing, select TIFF or Photoshop here. These formats will keep your hidden layers, and allow you to edit them later.
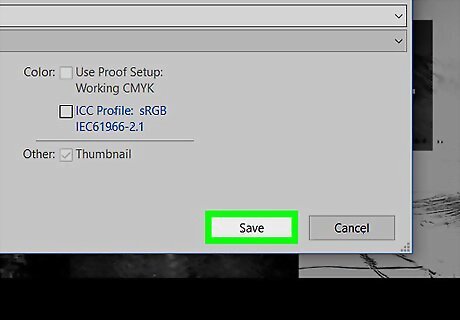
Click the Save button. This button is in the lower-right corner of the pop-up window. It will save your image file to the selected location. Depending on the file format you select, you may be prompted to adjust compression options in a new pop-up. In this case, click OK.


Comments
0 comment