
Applying Clear Wax

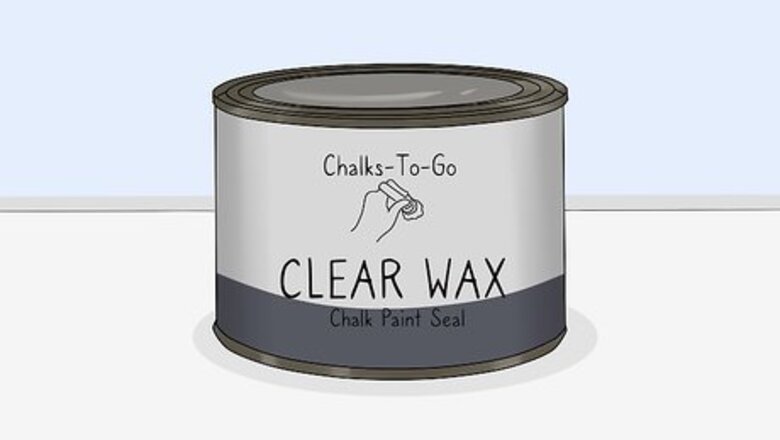
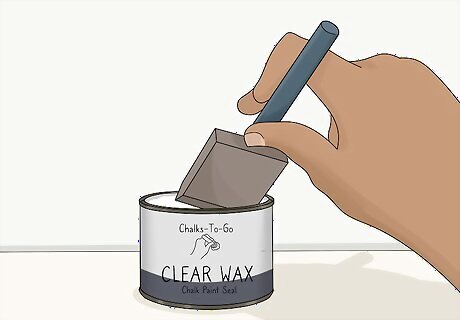
Get a container of clear wax from the hardware store. Wax is the most popular choice for sealing chalk paint. Find a can of clear wax sealer from the hardware or paint store. As a general rule, use 500 ml (16 oz) for every 3-4 liters (0.8-1 gal) of paint. Get the correct amount for the piece you’ve painted. Wax often comes in 1 pound (0.45 kg) containers, so 1 can should be enough for smaller pieces. If you’re sealing multiple pieces or a furniture set, get multiple cans. Wax isn’t a glossy finish, so your piece won’t shine as much as if you use a different sealer. If you do want a glossy shine, use polyurethane or a similar wax alternative.

Lay a sheet or cloth around your work area. Protect the surface you're working on in case any wax drips off the piece you're working on. Lay down a thick sheet to cover your work area. You can also put down a piece of cardboard for a firmer surface.

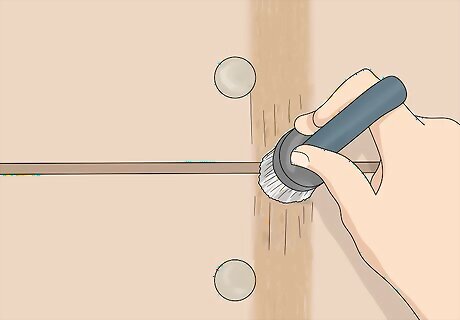
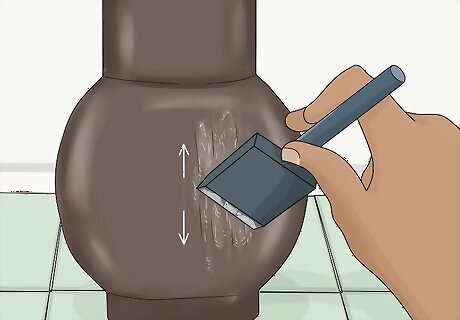
Dip a soft wax brush into the wax. A wax brush is the best tool to apply the sealer. Don’t try to get a lot of wax on the brush. Just cover the tips of the brush. There are several types of wax brushes available. For this project, look for a soft-bristled brush so you don’t leave behind a lot of brush strokes. Firmer bristles will leave more strokes, which might be what you’re looking for in your design.
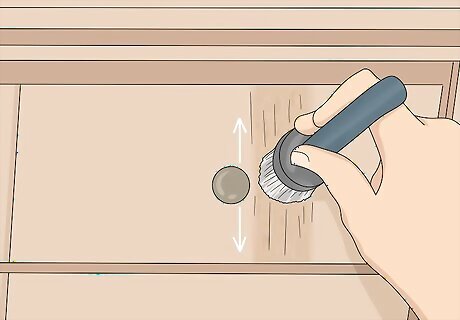
Brush the wax in one direction. Use an even, back-and-forth motion. If you're working on a piece of wood, work along the grain. Work over each spot a few times to apply a thin, even coat of wax. Continue until you’ve covered the whole piece, and add more wax as you need to. Don’t pile the wax on. A thin layer is all you need. If the coat looks uneven, then you’re probably running out of wax on the brush. Add more if this happens. If you do go in a few different directions, just brush over the area in one direction to even it out.

Touch up any uneven parts by brushing more wax on. Some spots may look lighter than the rest of the piece. This means that there isn’t enough wax here, and the finish will be uneven. Apply a bit more wax to the brush and touch up these areas. If you can see a lot of brush strokes, even out the coat, unless this is the look you’re going for.
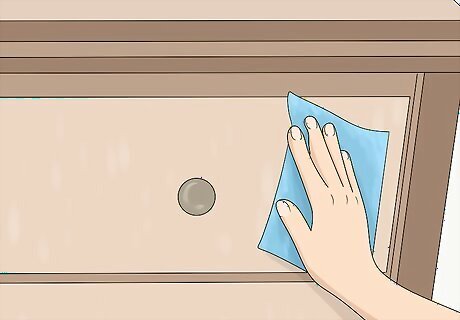
Rub the piece with a lint-free rag to remove excess wax. Clumps of wax will leave behind an uneven finish, so complete the job by rubbing off any excess. Take a clean, dry, lint-free rag and rub the piece in a circular motion. Rub until the rag glides smoothly. If you feel any stickiness, there is still excess wax on the surface.
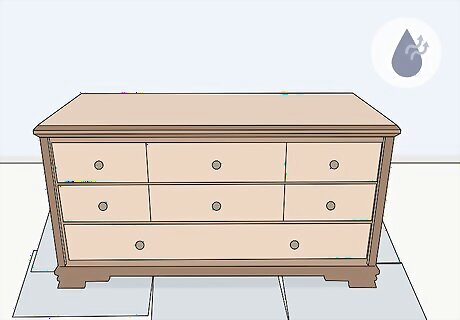
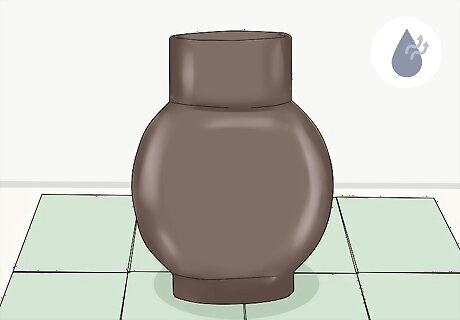
Let the wax dry for 24 hours. Wax usually dries within an hour, but leave the piece undisturbed overnight to ensure that it’s completely dry. After 24 hours, you can then use the piece. The wax can take an additional week or two to cure entirely, but the piece you painted is usable after the wax dries. Avoid leaving heavy objects on the piece until the wax has entirely cured. This can create an indentation.
Reapply wax to fix any scuffs or imperfections. Wax does require a bit of maintenance. The sealer could scuff or rub off over time. If you notice some areas lightening or looking dull, take a bit of wax on a rag and rub it over the trouble spots. Then remove any excess with a clean rag. You can also buff out indentations that might happen if you left a heavy object on the piece before the wax cured completely. Use the same touch-up process.
Using Wax Alternatives
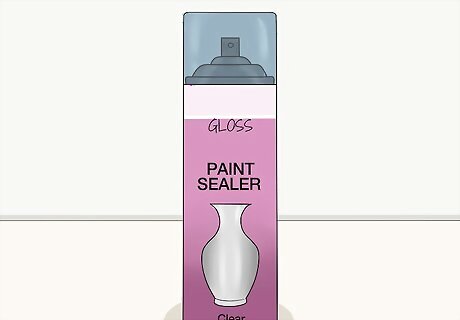
Get a clear paint sealer for a glossier finish. There are a number of other sealers you can use besides wax. Good alternatives are polyurethane, polyacrylic finisher, and spray-on sealers. They usually dry faster and require less maintenance than wax. They also provide a glossier finish than wax, which you might prefer. Whichever product you use, make sure it’s clear. Water-based products are best because they will preserve the paint’s color better. Note that if you’re sealing white or a similar light color, these alternatives darken the paint more than wax. If you want a pristine finish with no darkening, wax is a better option.
Lay a sheet or cloth around your work area. These wax alternatives are very watery and could drip. Protect the surface you're working on by laying down a thick sheet or cloth before you start working. You can also put down a piece of cardboard for a firmer surface. If you're using a spray-on sealer, then work in a well-ventilated area. Either work near an open window or go outside.
Dip a foam brush into the sealer. A foam brush is the best tool to apply these sealers because it won’t leave behind visible brush strokes. Wet the brush with the sealer, then wipe off any excess on the edge of the can. Some sealers need to be stirred before you apply them. Read the instructions to see if you should stir the product first. Work over a piece of cardboard or a sheet to prevent getting paint everywhere.
Apply the sealer in the same direction. Brush the sealer on with even, back-and-forth strokes. Work along the grain of the wood if you're sealing a wood piece. Use the same motion until you cover the entire piece and rewet the brush as you need to. Make sure the coat is thin and even. If any areas have a thicker layer, brush over the area to smooth it out.

Brush on a second coat after 24 hours. Let the sealer dry for a full 24 hours before applying a second coat. Then take the foam brush and brush on the second coat the same way you applied the first. Check that the sealer is dry first. Touch it lightly with your fingertips. If it feels sticky, then wait another few hours for the first coat to dry more.
Let the sealer dry for another 24 hours. After that time, the sealer should be completely dry. You can then move your piece to a different location and enjoy your handiwork. Some sealers, like polyurethane, take several weeks to cure completely. Avoid placing heavy objects on the piece until 30 days have passed. Some sealers instruct you to apply a third coat for the best results. In this case, let the piece dry for another 24 hours and apply the third coat.


Comments
0 comment