views
Readying the Bandages and Cat
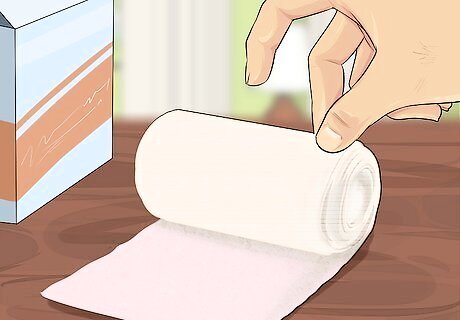
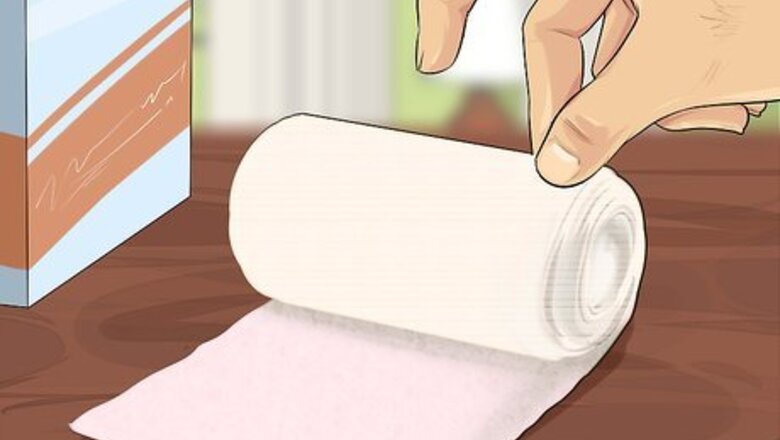
Remove all the bandages from their packaging. While this may seem like a straightforward step, it's an important one. It's a lot harder to open cellophane-wrapped bandages when holding down an injured and very angry feline. When they are all open, lay them out on the table, or at a work station near your table, so that you can quickly grab them when wrapping up your kitty's leg. It's a good idea to lay your materials out in the order that you will use them. If you are right-handed, you will lay the materials out from left to right as: cotton wool, gauze bandage, splint, Primapore (adhesive dressing tape), cotton wadding, a final bandage, and then Elastoplast (wide adhesive dressing).
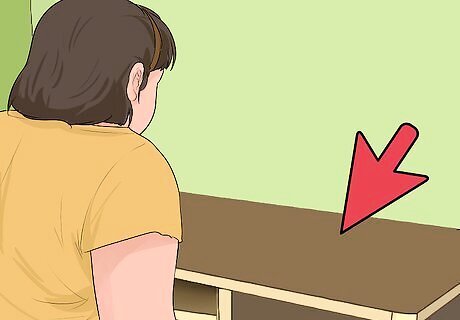
Pick out a table to work on. The table should be a comfortable height for you to work at and large enough to hold all of the materials listed above, as well as the cat itself. You should also make sure the table is sturdy; if it wobbles or tips at all, your cat may become even more scared and angry, leading to a higher-tension situation.

Make some cotton wool sausages. Yes, this is the medical term. Cotton wool sausages are little rolls of wool that you will stick between your cat's toes later in the process. To make one sausage, tear off a quarter of the cotton wool ball and roll it between your fingers and thumb until it gets thinner and, as you might have guessed, looks like a sausage. Make four of these so that you can keep your cat's claws from digging into their neighboring toes.
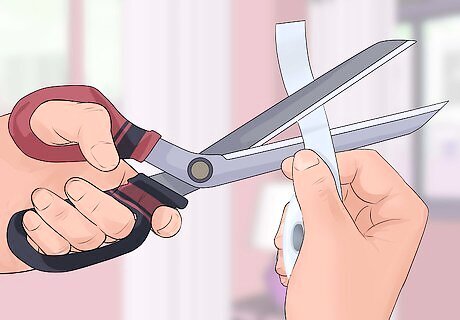
Pre-cut strips of the adhesive dressing tape. Doing this will make the splinting process a lot easier. Each strip should be long enough that it can wrap twice around your kitty's leg and the splint. Make four of these strips and then stick the ends of each on to the table so that you can quickly grab them when you are working.
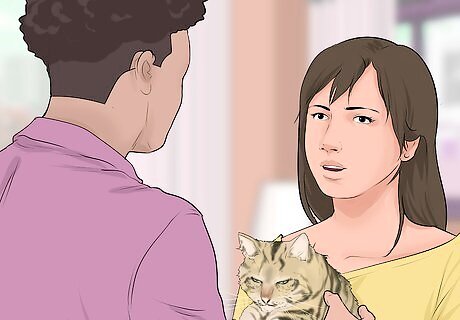
Ask someone to help you hold the cat. Having someone to help hold your cat down will make the splinting process a lot easier and a lot less painful. If someone else holds the cat, you will have both hands free to wrap the splint.
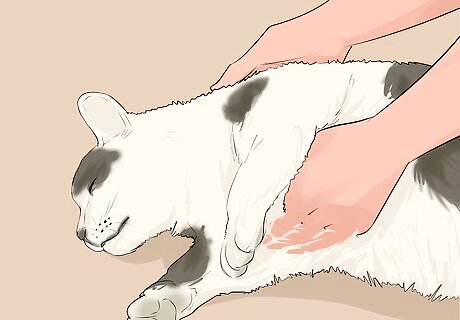
Place your cat on the table. Once you have found someone to help you, gently pick your injured cat up. Lay her on the table so that her injured leg is facing up. For example, if you cat has broken her front left leg, you would lie her down so that she is lying on her right side.
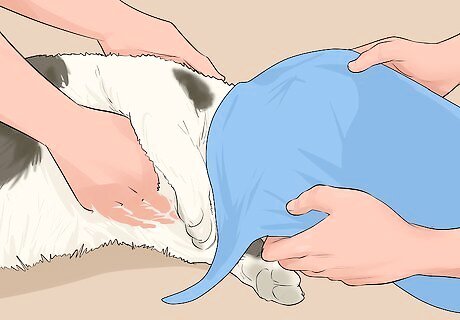
Restrain your cat. Don't take offense if your cat tries to swipe at you or bite. She is in a lot of pain and will not be her normal affectionate self. Because of this, it is important to take extra precautions to make sure that you and your assistant don't get hurt. Have your assistant hold your cat by the scruff (the folds of skin on the back of her neck). This is to make sure that she can't bite anyone, and will keep her from moving around. It is also a painless way to hold your cat — and her mother held her when she was a kitten. If your cat is really aggressive and doesn't calm down when held by her scruff, gently place a towel over her head. Doing this may soothe the cat and protect your assistant from bites.

Extend your cat's injured leg. Your assistant should hold your cat's scruff with one hand, while gently extending the broken leg with the other. How she does this will depend on which leg is broken. If the foreleg is broken, the assistant should place her forefinger behind the elbow and gently push the hand forward towards the cat's head, so as to extend the leg. If the back leg is injured, the assistant should hook her forefinger in front of the thigh bone, as close to the hip joint as possible. With gentle traction, pulling towards the cat's tail, the hind leg will extend.
Splinting the Cat's Leg
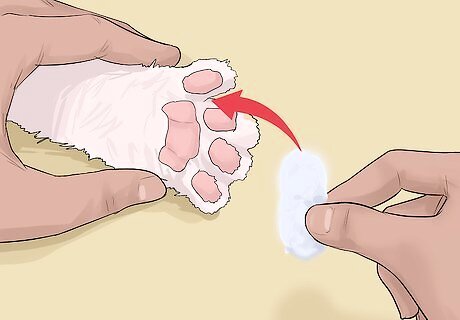
Put the wool sausages in between your cat's toes. To do this, pick up a pre-prepared cotton wool sausage and slide it in the gap between a toe and its immediate neighbor. Repeat this until all the toes have cotton wool separating them. Your cat's foot will look a little crazy, but doing this will help to keep the claw on one toe from digging into the next toe over when you wrap her leg.
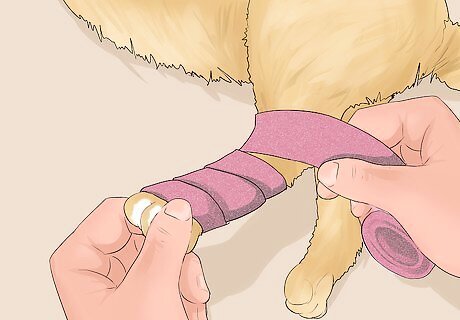
Create the first layer of bandage. You should apply the first layer of bandage directly to your cat's leg to create some padding between her leg and the splint so that she will be more comfortable. Use your dominant hand to wrap the bandage. Start at the tip of the toes, to work upward towards the body. Place the free end of the bandage over your cat's toes and hold it in place with your other hand. Wind the bandage in a circle around the paw and pull it tight enough that it will stay in place without you holding it. Continue to wind the bandage around the leg, traveling in a spiral manner towards the body. Each layer should overlap the previous by half a bandage width.
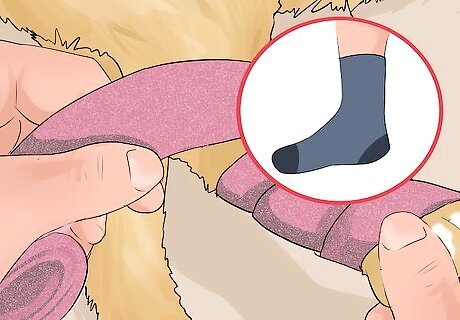
Keep the tightness of the bandage in mind. The tension on the dressing is important. The dressing needs to be firm, but not too tight. If it is too loose it will slip off the leg, but too tight and the circulation to the limb could be impaired. You are aiming for something similar to the feel of a firm sock on your leg, or the grip of a woman's stocking.
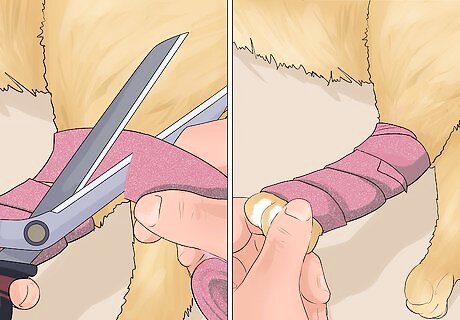
Secure the end of the bandage. Once you've adjusted the tightness correctly and have reached the top of your kitty's leg, cut the bandage with some scissors and tuck the end into a previous turn of the bandage so that it stays in place.
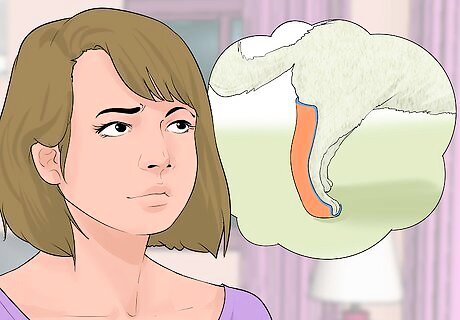
Pick out the right splint. The ideal splint is rigid, yet light. You can purchase plastic splints, but in an emergency you can improvise with wooden dowels, or similar rigid objects. The splint should be the same length as the broken bone, plus the length of the paw. For example, if your cat's forearm is broken, you measure the splint from the elbow to the tip of the toes.
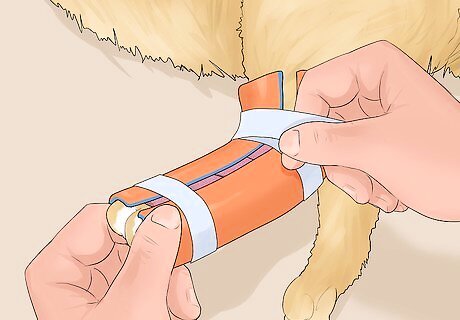
Secure the splint in place. Hold the splint against the underside of the bandaged limb. Line up one end of the splint with the end of your cat's toes. To secure the splint to your cat's leg, take a piece of pre-cut Primapore (dressing tape) and stick one end to the middle of the splint, perpendicular to the length of the bone. Applying firm tension, wind the Primapore over the bandage and around the limb, so that the splint is attached to the leg. Repeat this process and place tape at either end of the splint. Use the final piece of tape to add extra security anywhere it is needed.
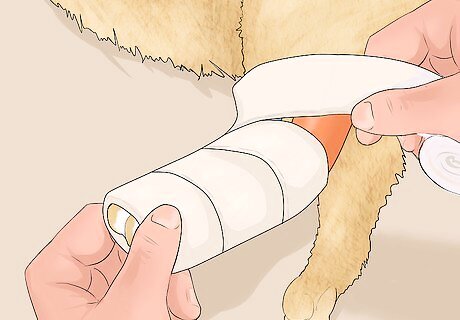
Pad your cat's splint and leg. Its important that your cat be as comfortable as possible after the ordeal she has been through. To pad the splint, pick up a roll of wadding and, just as you did with the bandage, start at the cat's toes and work in an overlapping spiral up towards the body. You can pull firmly on the cotton wadding without injuring the cat, since it will tear apart if you wrap your cat's leg too tightly.
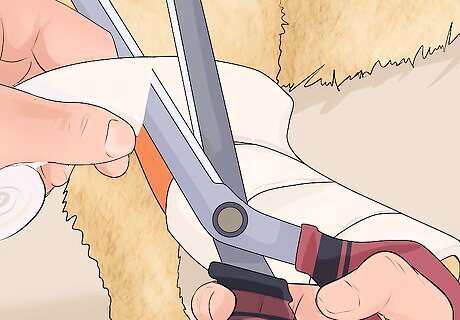
Secure the end of the wadding and add another layer. When you reach your cat's hip (or the elbow, depending on which leg is broken) use the scissors to cut the end of the roll free. Start again at the toes and repeat this process, until you have built up at least three layers of padding.
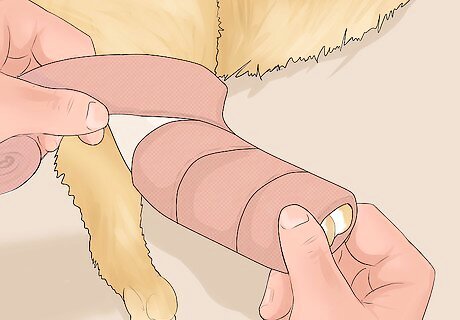
Add the finishing touches. After you have added the layers of padding, you should add another layer of bandage, and a final layer of Elastoplast, or wide adhesive dressing. Apply both of these layers in the same way as every other layer: start at your cat's toes and spiral upwards until you reach her hip or elbow. Cut the end of the bandage and secure it by tucking it into the previous layer of bandage.
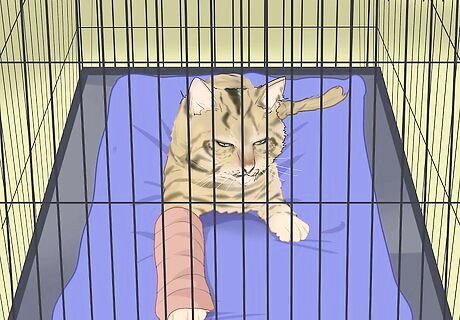
Keep your cat in a small space. The point of the splint you have applied is to make sure that the broken bone stays immobilized so that it can heal. However, even with the splint, when your cat walks or jumps, she may move the broken bone and delay, or even stop, the healing process. Because of this, you should keep her in a small room or a puppy crate.




Comments
0 comment