

Staining Softwood

Purchase commercially prepared wood filler in a color that matches your wooden surface. Before staining softwood like pine or another wood from an evergreen tree, take the time to fill any holes and defects in the wood. If you’re working with hardwood, or wood that comes from deciduous trees like oak, then fix protruding nails but wait until after you have stained the surface to apply filler in a color that matches the stain.
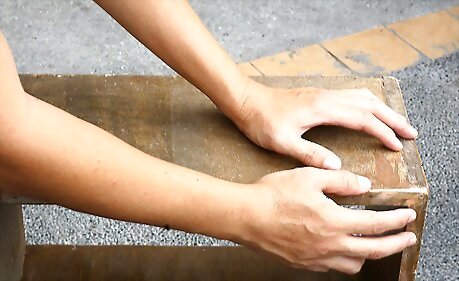
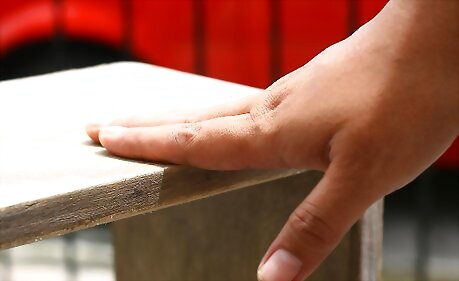
Inspect the surface of the wood. You are looking for knots, protruding nails, small cracks and miniature holes left by pests. You will also need to note the conditions of the edges of your wood. If the edges are rough, then you will need to use filler to make them even.

Place the small end of a nail set on top of any protruding nails. Hammer the wide end of the nail set to push the protruding nails below the surface.
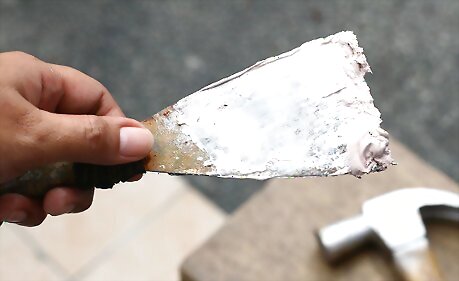
If you’re working with softwood, place a small bead of wood filler on the edge of a putty knife. Use the putty knife to apply the wood filler to the defects, smoothing the surface with the edge of the putty knife after you fill the defects with the wood filler.
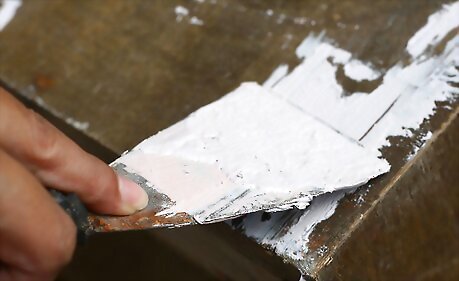
Continue adding more filler until the filler is smooth and even with the wooden surface. Allow the filler to dry before you sand the wood.
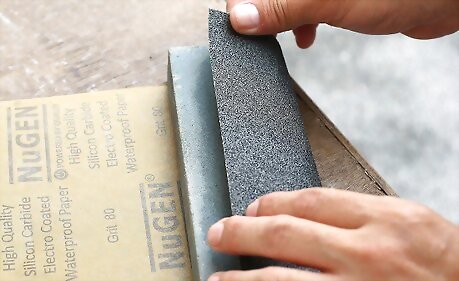
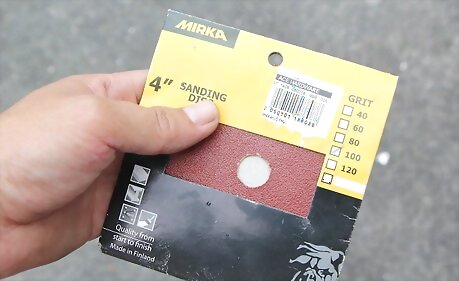
Clamp 100-grit sandpaper to your sanding block. Sand the edges of your wood until the surfaces are even. Set the sanding block aside when you are finished with the edges. Small pieces of furniture with intricate corners and designs, as well as the edges of large pieces of wood, should be sanded by hand. Use a sanding block when sanding the edges of wood to keep your work surface flat as you smooth it. Always try to sand the surface according to the stain packaging instructions.
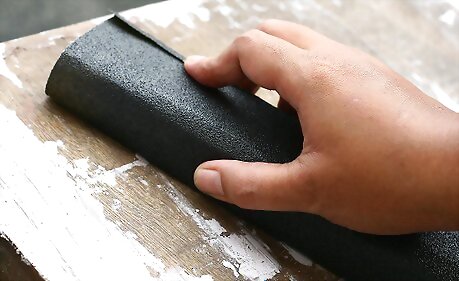
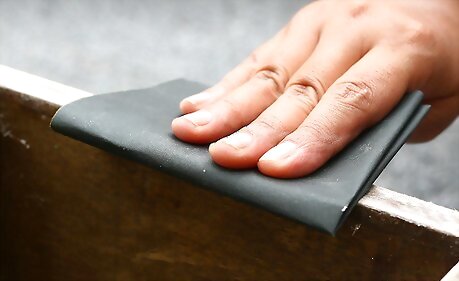
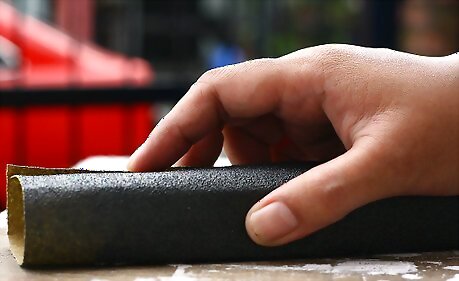
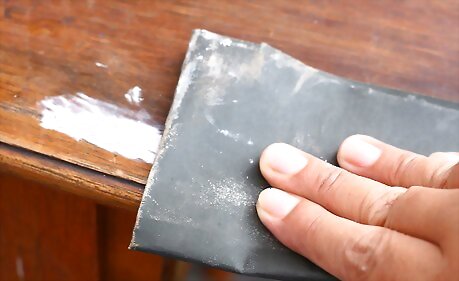
Hold a piece of 100-grit sandpaper in your hand so that the back of the sandpaper is in contact with your palm and fingers. Sand any hard-to-reach areas or curved surfaces by rubbing the sandpaper along the surface with your hand in the direction of the wood grain.
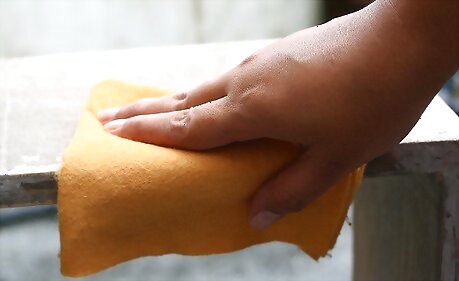
Wipe down the sanded surface with a tack cloth or with a paper towel soaked in mineral spirits.
Repeat the process using 150-grit sandpaper to sand the surface.
After you’ve cleaned the sanded surface again with your tack cloth or with mineral spirits, repeat the process a third time using 220-grit paper.

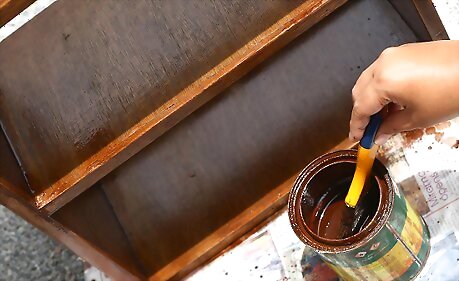
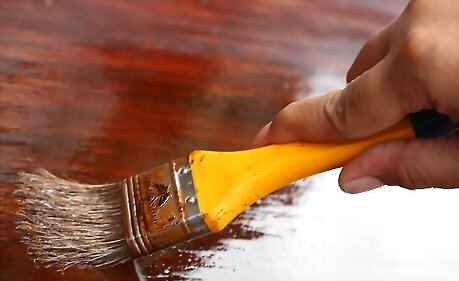
Clean your wood thoroughly, and clean your work surface with a soft, lint-free cloth (not a tack cloth). This will ensure that no dirt, debris or sawdust clings to your finished surface. Brushes with synthetic bristles are best for water-based stains, while brushes with natural bristles are best for oil-based stains like Varathane or Minwax. Use brushes for large, flat surfaces. You will have to use a cloth for more intricately carved, hard to brush surfaces.
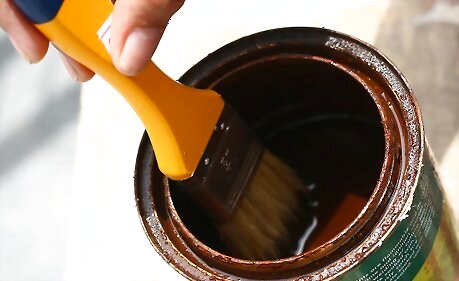
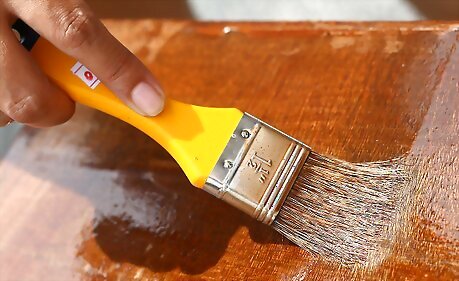
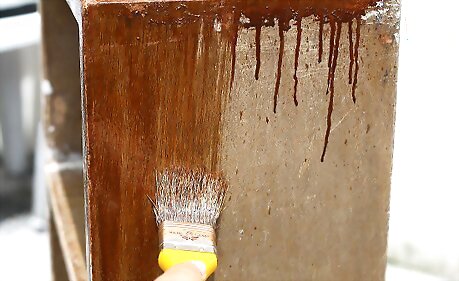
Dip the edge of your brush in the stain and apply a thin layer of stain to the surface of the wood. Always brush along the grain using long, even strokes. Work on one portion of the wood at a time instead of trying to stain the entire piece all at once.
Examine the surface. If you see any blotchy areas or areas where the brushstrokes did not blend well together, then use a soft, lint-free cloth to rub the stain until it looks more even.
Move to a different section of the wood and apply more stain with your brush.
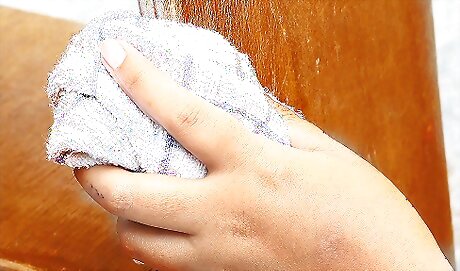
Use a cloth to even out blotches and to blend the edges between brushstrokes.
Repeat the process, continuing to work on one portion at a time until the piece is finished.
Allow the stain to dry overnight. If the color is not as deep as you would like, then apply additional coats of stain to the piece until you achieve the desired result. Make sure to let each coat dry completely before adding an additional coat.
Staining Hardwood

Roll a bead of wood filler onto the edge of a putty knife. Apply the filler to cracks, knots and nail holes until the surface of the filler is even with the wood surface. Use the putty knife to smooth out the filler. If you are working with deciduous wood, then you will need to fix the defects in your hardwood now before you apply your finish. Make sure that you choose wood filler that closely matches the color of your stain rather than using wood filler that matches the original color of the raw wood.
Sand the filler gently after it has dried to make sure that the surface is flush with the wood. Do your best not to damage the surface that you have already stained.

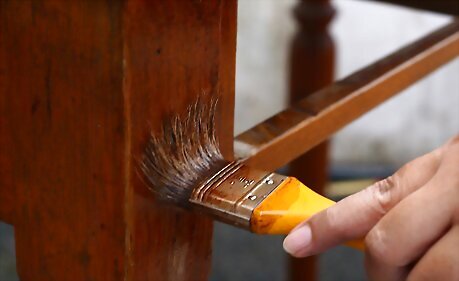
Apply a coat of polyurethane to your stained wood using a 2” (5 centimeter) brush. Brush the product on using long strokes, and work in the direction of the wood grain. Work in 6” to 12” sections. Most people choose a polyurethane finish for their stained furniture. Polyurethane comes in matte, satin and high gloss finish, so you should choose the appropriate product based on how glossy you want your furniture to look. Finish will also protect the surface of your furniture from water and other materials.
Blend the brush strokes between sections by lightly stroking the intersection with the brush. When you are finished, the sections should blend seamlessly together.

Allow the first coat of polyurethane to cure overnight. Sand the surface the next day using 280-grit or finer sandpaper.
Apply a second coat of polyurethane and allow the second coat to cure overnight. You do not have to sand the final coat.
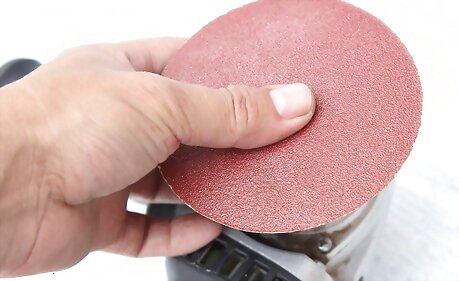
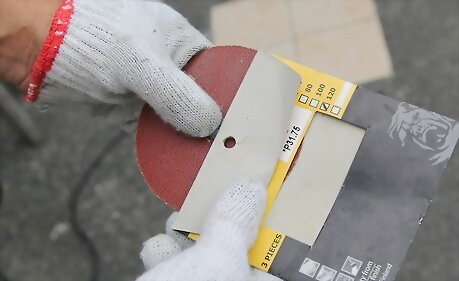
Wrap 100-grit sandpaper around the work surface of your electric sander. Clip the paper tightly in place, making sure that the work surface is taut so that your sandpaper doesn’t bunch up or loosen. Preparation is the most important step in staining because it determines the quality of the finished product. Use an electric sander for large pieces of furniture or for any large, flat wooden surface. An electric sander will save time—and muscle—as you prepare the larger portions of your furniture.
Plug the sander into an electrical outlet.

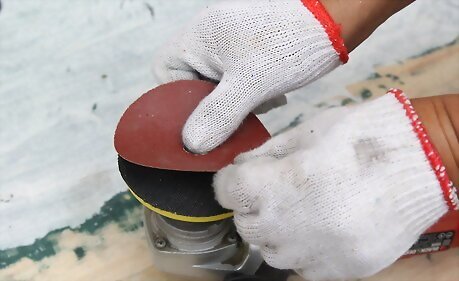
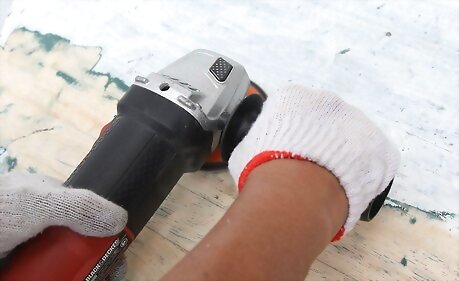
Grip the back of the sander with your dominant hand. Turn the device on and rest it on your work surface.

Move the electric sander back and forth in the direction of the wood grain until you have sanded your entire surface. Never sand across the grain; you will leave scratches that will show up when the stain is applied.

When you are finished, turn the sander off, unplug it and set it aside.

Wipe the surface of the wood with a tack cloth or with a paper towel that has been dipped in mineral spirits.
Remove your used 100-grit sandpaper from your sander and discard it.
Clip 150-grit sandpaper to your electric sander.

Repeat the process of sanding along the grain and wiping down the surface.
Discard your 150-grit sandpaper and repeat the process again with 220-grit paper. If you’re working with hardwood, then wipe the surface with a damp cloth before you sand it with the 220-grit paper. This will raise the grain of the wood and allow you to create a very smooth surface.


Comments
0 comment