views
Checking Temperature in BIOS
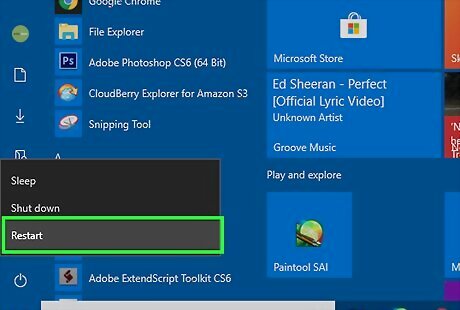
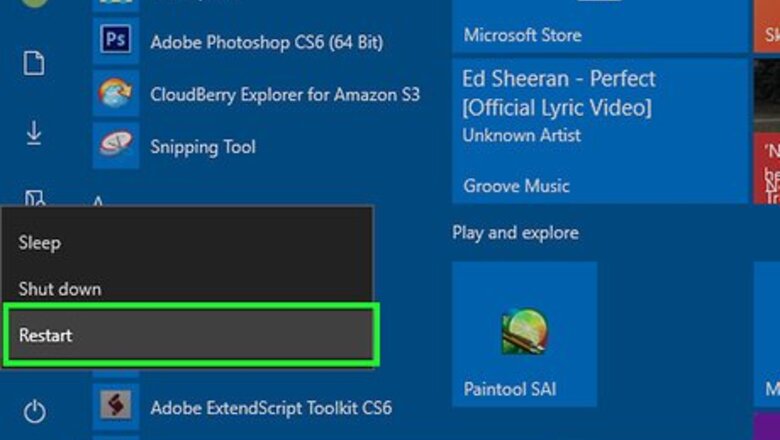
Reboot your computer. Press the appropriate Setup key as the computer is booting. You can see the key displayed when the manufacturer’s logo appears. Common keys are F2, F10, F12, and Del. Pressing this key will open your computer’s BIOS menu. This won’t work with every computer since some motherboard manufacturers don’t list temperature info in the bio, but most modern computers do.
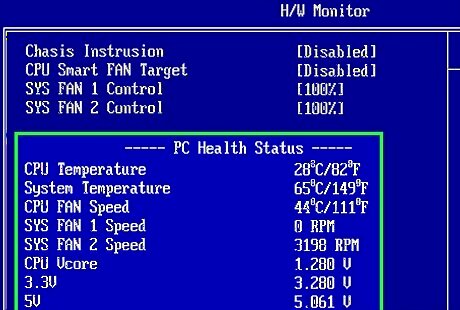
Navigate to your computer’s system monitor. Every BIOS is different, but they all share similar characteristics. You should be able to find your temperature readings under the Monitor, Health Status, System Health, Sensor etc.
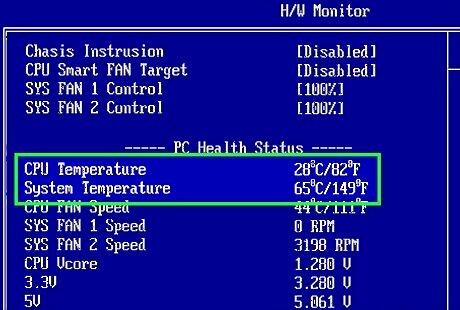
Make note of your temperatures. You will see several different temperatures listed for the different components in your PC. You may not be able to see your GPU temperature from this menu. If that’s the case, try a hardware monitor software program.
Checking Temperature with Software

Install a hardware monitor. Some motherboards come bundled with hardware monitoring software. There are also a variety of free and paid temperature monitors available online. One of the most popular is SpeedFan, due to it being freeware and light on system resources. SpeedFan has many advanced features that could potentially damage your system if used improperly. Use the program to monitor the temperatures of your components only if you are unsure what the other functions are for.

Check your temperatures. Open SpeedFan or the hardware monitor of your choice. In SpeedFan, you will see a list of temperatures in the right frame. There will several different temperatures being measured. Temperatures are recorded in Celsius. GPU: This is the temperature of your graphics card. Using graphic-intensive programs such as 3D games and HD video will cause the temperature of your graphics card to increase. HD#: This is the temperature of the hard drive, with multiple entries for multiple hard drives. Temp#: This is the ambient temperature of your computer’s case. Different cases will have a different number of ambient temperature sensors. Core#: This is the temperature of your CPU. If you have multiple cores, there will be multiple entries here. Most computers are dual- or quad-core, so there will be two or four entries.
Why Temperature is Important

Understand that high temperatures can damage components. To prevent damage, the cooling system needs to be carefully regulated. The more stress you put on the components, such as the processor, video card, and hard drive, the more heat they generate. For the average user using a factory manufactured computer, heat build-up isn’t usually a major issue. When you’re building your own computer, or upgrading an existing one, temperature and cooling becomes an important concern. The older the computer becomes, the more prone to heat failure it becomes. Cooling systems will degrade and fail with age, and dust can seriously hamper heat dispersion. If components become too hot, they can become permanently damaged. This can lead to system failure and data loss.
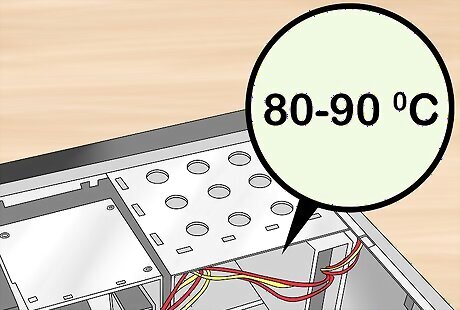
Know that the acceptable upper limit for component temperature is generally around 80–90 °C (176–194 °F). The temperature threshold varies from component to component. Average temperatures in a well-cooled system should be in the 40–60 °C (104–140 °F) range.

Improve your computer’s cooling. There are a variety of ways to improve your computer’s ability to cool itself. The easiest method is blowing out dust from the inside of the computer using compressed air. Dust will cause fans to slow down and hinder the cooling properties of heat sinks. Dust your computer regularly to keep it running as cool as possible. If you are using a desktop computer, you may be able to install more fans. This will require opening the case and connecting fans to the case and the motherboard. Check out our guide on installing fans for more information.


Comments
0 comment