views
Using the Diode Check Function
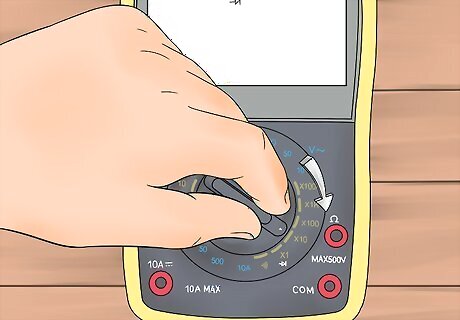
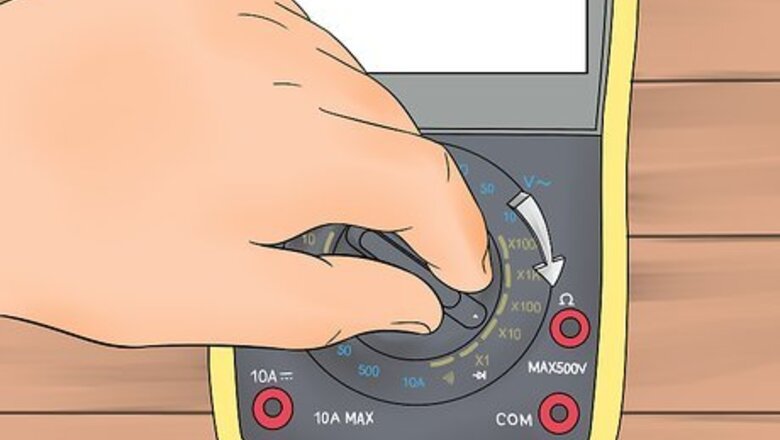
Check for a diode check mode. Most digital multimeters have a diode check mode. To enable this mode, turn the dial to the symbol for "diode:" a black arrow pointing to a vertical line. If your multimeter does not have this mode, test resistance instead.
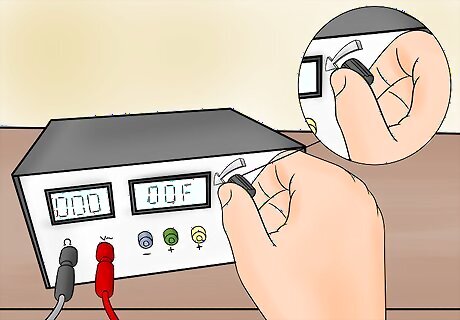
Shut off power to the circuit. Turn off all power to the circuit. Test voltage across the diode to confirm there is no charge. If the voltage reading is zero, continue to the next step. If the power is off but there is still voltage, you may need to discharge capacitors in the circuit. This is highly dangerous and should not be attempted by novices. If the diode is connected to other components in parallel, you may need to remove the diode from the circuit completely. This usually requires desoldering, then soldering it back once you're done testing.
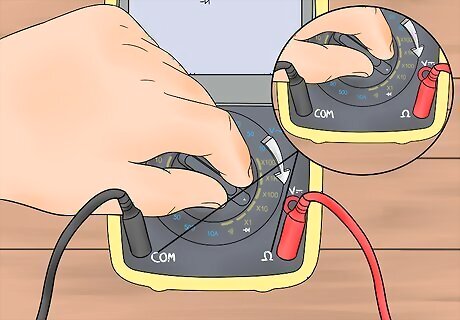
Select the diode check function. Turn the dial back to diode check mode. Confirm that the black (negative) lead is plugged into the port marked COM, and the red (positive) lead is plugged into the port marked V, Ω, and/or R. Touch the leads together and listen for a tone that indicates continuity. If you do not hear anything, double check that your multimeter is on and set up correctly. If you do hear a tone, the function is working. Continue to the next step. This mode produces a current in order to measure the diode's voltage, but this current is too small to damage any typical component.
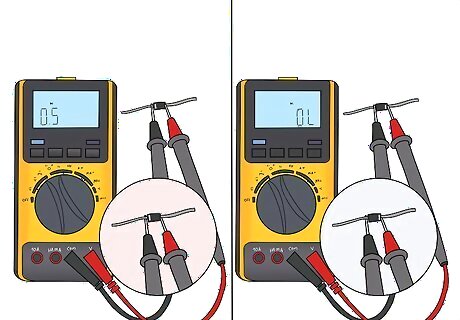
Identify the positive and negative sides of the diode. The two ends of the diode have opposite polarity. The cathode, or negative end, is usually marked with a stripe. The anode, or positive end, is usually left unmarked. If your diode uses a different labeling system, look up the manufacturer's guide. Alternatively, conduct the tests and examine the results to determine which is the cathode.
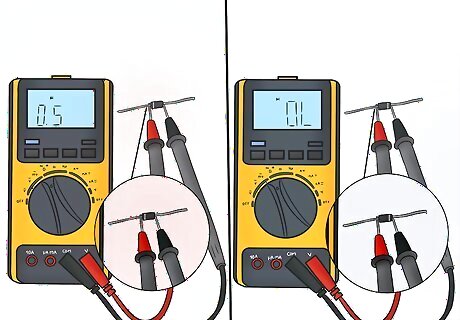
Test the forward bias of the diode. A forward-biased diode has a positive charge flowing from the anode to the cathode. Touch the red (positive) lead to the wire on the anode side, and the black (negative lead) to the wire on the cathode side. Interpret the results: A result between about 0.5 to 0.8 volts means the diode is working. Some multimeters will also beep to indicate continuity. A result of OL (open loop) means the diode is opened, blocking all current flow. This diode needs to be replaced, but check the next test first. You may have hooked up your multimeter in the wrong direction. A result of 0.4 volts or less means the diode may be shorted. Confirm this with the next test.
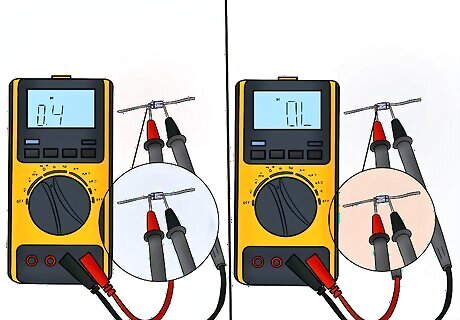
Test the reverse bias. A reverse-biased diode has a positive charge on the cathode side, and a more negative charge at the anode. Diodes are designed to prevent current flowing in this direction. To test whether this is working, just switch the position of the leads. The red (positive) lead should be next to the striped cathode, and the black (negative) lead should be next to the anode. Read the multimeter display: A result of OL (open loop) means the diode is successfully blocking the current. A result of 0.5 to 0.8 volts means you've made a mistake. You are actually testing the forward bias. (The previous test you did should have a result of OL.) If the forward-biased result was 0.4 volts or less, and this test gives the same result, the diode is shorted and needs replacement. If the forward-biased result was 0.4 volts or less, but this test is successful (OL), you may be working with a germanium diode, not a silicon one.
Testing Diode Resistance
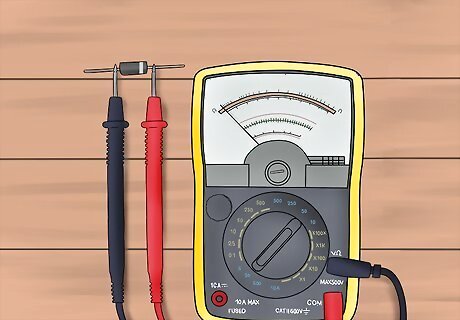
Use this method when necessary. This method of testing diodes is less accurate than the diode check function. Follow these instructions if you have an analog multimeter, or if using a digital multimeter without a diode check function.
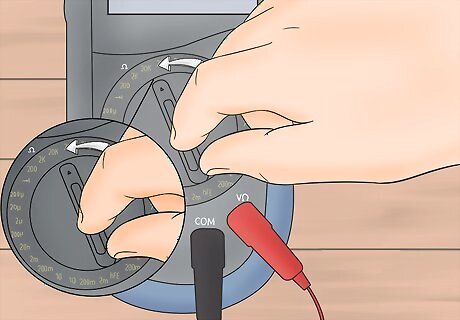
Set your multimeter to resistance mode. Turn the dial to resistance mode, usually marked with the ohm symbol Ω. On some older models, this may be labeled R. Choose a low range, such as 2KΩ or 20KΩ. Some digital multimeters are auto-ranging, and will only have one Ω setting.
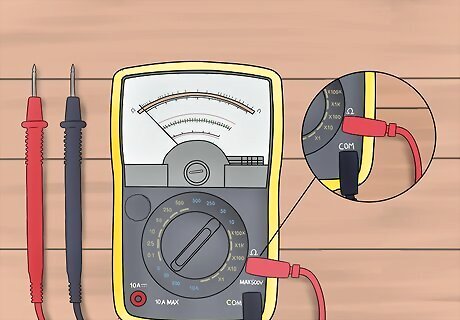
Plug in the leads. Plug the negative lead into the COM port. Plug the positive lead into the port labeled Ω or R. On almost all digital multimeters, the red lead is positive and the black lead is negative. An analog multimeter may use the red or the black lead as the positive lead. Check your manual to find out which setup your multimeter uses in resistance mode.
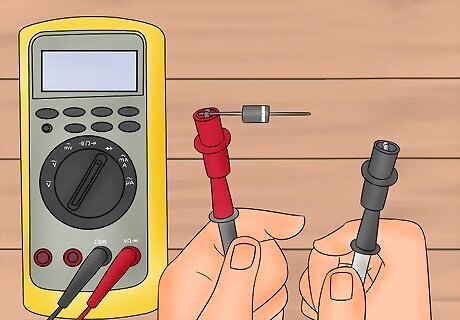
Disconnect the diode. A resistance test can give faulty results if the diode is connected to a circuit. Desolder the diode from the circuit for independent testing.
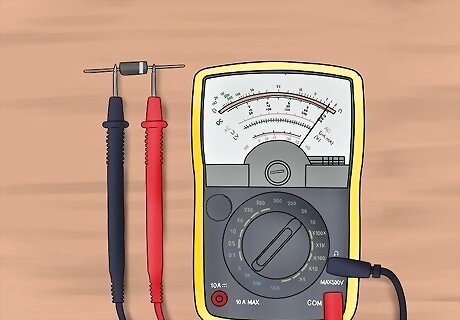
Measure the forward bias. Touch the negative lead to the cathode (the negative end of the diode, marked with a stripe). Touch the positive lead to the anode. A working diode should have a low resistance value in this direction (usually below 1KΩ). If the result is 0, try lowering the resistance range on your multimeter dial. If the result is still 0, your diode may have broken down. The remaining tests can confirm this or rule it out. The exact quantity displayed has no useful meaning for circuit design, as it is influenced by multiple factors. You may get a different result on a second multimeter, but it should still be in the same low range.
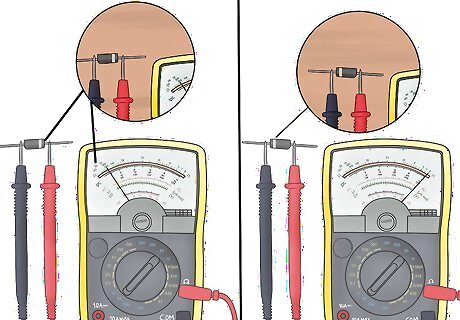
Measure the reverse bias. Set your multimeter to a high resistance range, 200KΩ or higher. Reverse the position of the leads, so the negative lead touches the anode. Since diodes are designed to block current in this direction, the resistance should be very high. Most working silicon diodes should display a resistance in the hundreds of KΩ, or an over limit reading (OL) meaning it is too high to measure. A result of 0 means the diode needs to be replaced. No matter what the results are, the diode is broken if you get similar results in the forward and reverse direction.
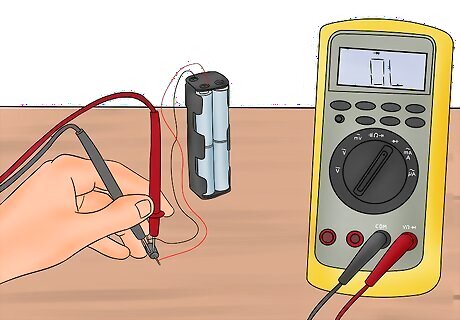
Compare to a working diode. For best results, test a new silicon diode or a silicon diode you know is working correctly. If you get similar results, the diode is most likely functional. If you still encounter issues with your circuit, consider buying a multimeter with a diode check function for a more accurate test. If your forward-bias result is 0 for both diodes, then your digital multimeter most likely isn't producing enough current for an accurate test. Try again with an analog multimeter.
Miscellaneous Tests
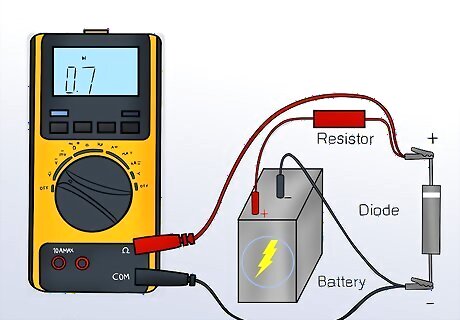
Measure the forward voltage accurately. The diode check function does not give enough current to find the actual forward voltage your diode will have in a circuit. To confirm that your silicon diode has the intended forward voltage (about 0.7V), set up a simple circuit to test it: Connect the positive terminal of a battery to a resistor. Connect the other end of the resistor to the anode of the diode. Connect the cathode to the negative terminal of the battery. Measure the forward voltage across the diode.
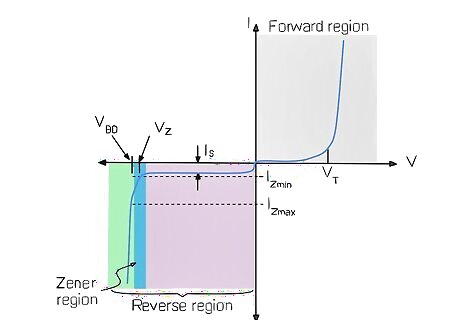
Understand Peak Inverse Voltage. The PIV of a diode is the maximum reverse voltage the diode can withstand before it breaks down. Breakdown permanently destroys most diodes, so it is not practical to test this quantity. The exception is zener diodes, which are specifically designed to withstand excess current and regulate the voltage. A typical silicon rectifier diodes has a PIV around 50V, but models are available that can withstand hundreds of volts.
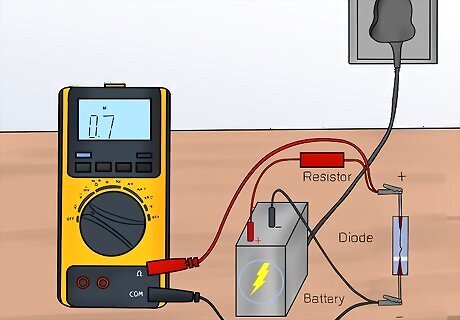
Test a zener diode's PIV. Zener diodes are used to maintain a specific voltage — so they aren't too useful if you don't know what that voltage is. Set up this circuit so you can identify this value: Find a variable power supply and confirm that it is turned off. Connect the positive terminal of the power supply to a 100Ω resistor. Connect the other end of the resistor to the cathode of the diode. Connect the anode to the negative terminal of the power supply. Connect the multimeter leads to measure reverse voltage across the diode (with the positive lead next to the cathode). Set the variable power supply to its lowest setting and turn it on. Gradually increase the power supply while watching the multimeter's voltage reading. Once the voltage stops increasing as power increases, you've found the breakdown voltage. Do not continue increasing the voltage, or the diode could be destroyed.


Comments
0 comment