
Mastering the Technique

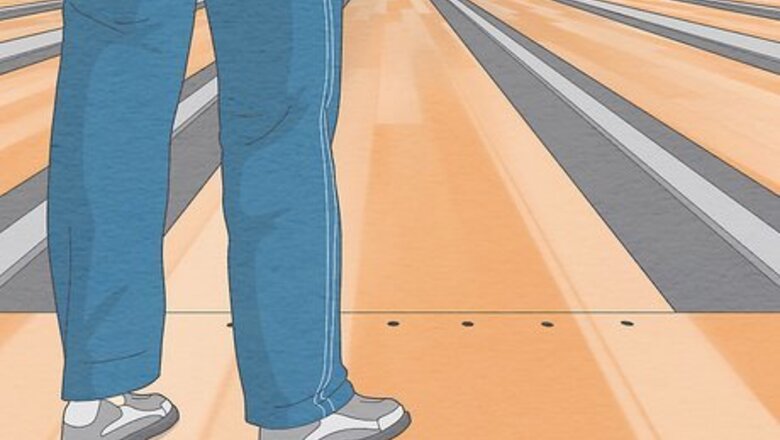
Line up your feet slightly to the left-hand side of the lane. Try to visualize the steps you'll take across the lane when you're throwing the ball. Then, start with your right foot on the middle dot for your approach. Be sure to keep your feet close together to maintain alignment. Depending on the way your ball reacts to different lane conditions, you may need to adjust your foot placement, as needed, as you get comfortable with your hook.
Stand with your heels several inches from the foul line. Take the usual 4-step approach away from the lane to determine your starting position (don't throw the ball yet). Aim to throw your ball at one of the arrows on the lane. The easiest way to aim is to use the arrow markings or the dots that are just before the arrows on the lane. For this tutorial, start off aiming somewhere around the second arrow on the right, allowing the ball to roll over this arrow, move out to only a few boards from the gutter, and then hook from the dry spot of the lane (about 38 to 40 feet down on a house shot) all the way back to the 1-3 pocket. For a left-hander, this would be the 2nd arrow on the left, and the ball would hook to the 1-2 pocket.
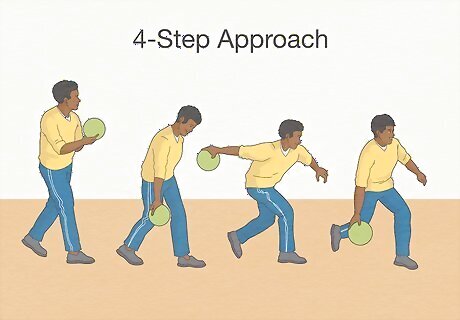
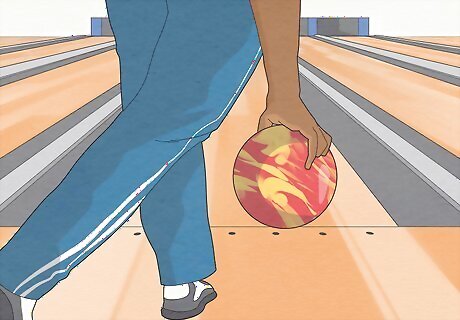
Hold the bowling ball and use a 4-step approach to throw your hook. To do a basic 4-step approach: Swing the ball forward on your first step, stepping with your right foot first for right-handed players. Line the ball up parallel to your ankle at the second step, and bend at your knees. Be at the top of your backswing by your third step and bring the ball back through and release by the end of your final step. A 4-step approach is recommended, but you can use as little as 1 step and as many as 8 (though most steps over 4 are basically just timing steps where your ball doesn't move). A 5-step approach is basically the same except you start with your left foot instead, and the ball won't move for that first step. Remember not to force the swing; allow gravity to dictate the movement. If you need more or less ball speed, hold the ball higher or lower before push-off (higher for faster, lower for slower).
Keep your arm completely straight during the entire swing. Tucking your arm too far behind you or too far away from your body creates a bad angle when you release the ball. It's best to keep your arm straight and your elbow and wrist close to your body. There are many different styles, like bending at the waist (a la Walter Ray Williams Jr. or Wes Malott) or opening your shoulders (a la Tommy Jones or Chris Barnes) when you bring your arm up for the backswing, but sticking to the basics is a good idea for a beginner. Remember, try to get the ball to hook when it gets to the dry area at the back of the lane, but until it gets there, the ball is traveling a relatively straight path, varying only a few boards at most. Everyone has a different style, so adjust as you get comfortable.
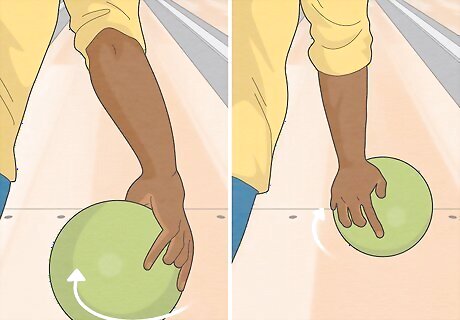
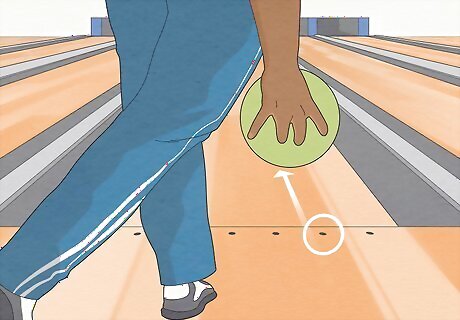
Rotate the ball slightly as it leaves your hand to create spin. As you drop the ball out of the backswing, keep your palm directly underneath the ball, facing upwards. When the ball starts to approach your ankle, rotate the ball so that when you release your hand, it's on the side of the ball and slightly under it. Avoid twisting your wrist as you release; keep your hand under the ball and lift with your fingertips. Then, follow through like you're going to shake hands with the pins. A good way to practice this technique is to throw an underhand spiral with a football; similar physics are involved. You can also practice with a tennis ball. If you get it right, it'll go straight and then bounce drastically to the side. Keep the ball close to your ankle at release. The closer the ball is to your ankle, the more your fingers can be under the ball and provide upward force, thus creating spin.

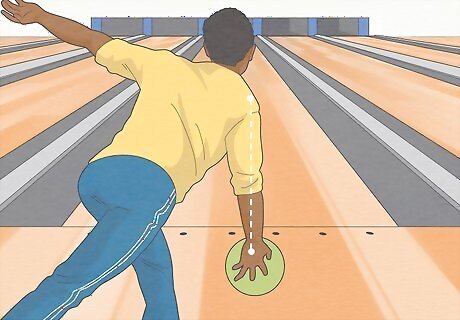
Follow through with your swing after you release the ball. Following through is just as important as the release itself since it helps maintain consistent ball speed and accuracy. Be sure to follow through outward onto the lane, not upward. Your fingers will create the upward lift without you having to lift upward on the ball. An easy way to remember this is the old ESPN advert: "Roll the ball, then answer the phone." Though, hopefully you have better form than the guy in that commercial. And remember, fluidity is essential: don't do the hand-shake, pause slightly, and then do the follow through. Aim for one smooth motion.
Make adjustments as you get comfortable with your hook. Once you're comfortable with your release and can execute it properly on a consistent basis, tweak your approach and adjust your footwork in tandem with your release. On a house pattern, remember to move in the direction you're missing. For a right-hander: if your ball hits high (to the left of the headpin), then try moving your feet a couple of boards to the left and keeping your target on the lane the same as before. If you hit the pocket light (to the right of the 3 pin), try moving your feet a couple of boards to the right and keep your target the same. Always move your target on the lane when you move your feet.
Customizing Your Bowling Ball
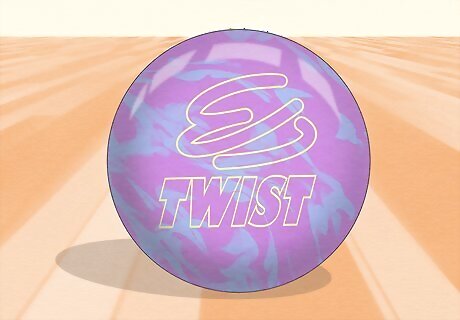
Invest in a reactive resin bowling ball. No matter what you do, if the bowling ball can't catch any friction on the lanes, it won't be able to hook. It's best to bowl with a ball made of reactive resin or better (e.g. particle-load or newer epoxy resin cover stocks) for anything but the driest of lanes. These balls are easy to find and affordable. Though most bowling centers do offer "house balls," they're usually plastic (polyester) and won't hook very much (though they're good for most spares since they travel very straight). Getting your own plastic ball for spares and a resin ball for strikes (and some spares) is a good idea since house balls don't usually fit your hand perfectly and won't carry pins very well.
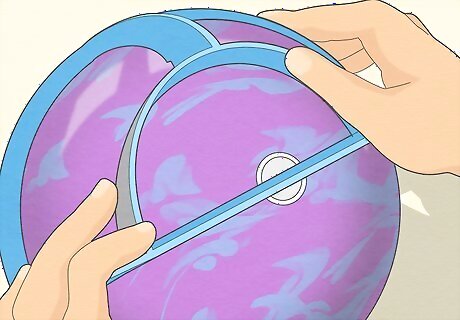
Get the ball custom fitted for your dominant hand. When you're getting your ball custom-fitted to your hand, it's important to know how you hold the ball, your point of axis, and how your grip lies. Grip the ball with the two middle fingers (the middle and ring fingers) of your dominant hand and place your thumb the whole way into the thumb hole. There are 2 main types of grips: Conventional: the middle and ring fingers are inserted up to the second knuckle (this is seen in most house balls) Fingertip grip: the same fingers are inserted only up to the first knuckle (fingertip grips will give you more revs than a conventional grip and are easier to hook)
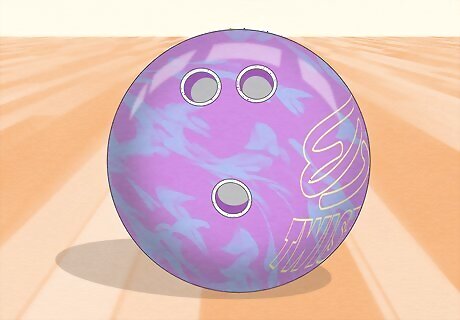
Get your ball holes drilled properly by a pro when your buy it. This is a personal thing depending on how and where you bowl, so talk to your local pro-shop operator for advice on this one. The drilling for the ball is crucial so the holes are properly fitted to your hand. Once you become a more serious bowler, you may want to learn how to drill your new bowling balls yourself. Talk to your pro-shop guy about your wants; they may be able to recommend things you don't realize you need. Maybe a fingertip grip? A lower or higher RP differential (lower differential hooks on pearl or matte coverstock, higher on resin)? Or even a different ball or different weight completely!


Comments
0 comment