views
Tying a Patka
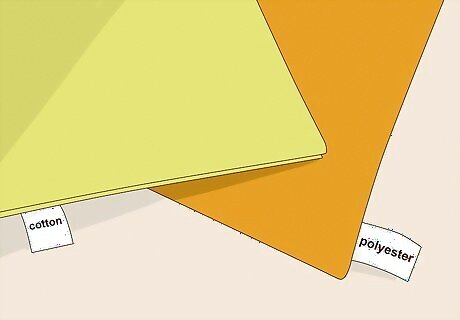
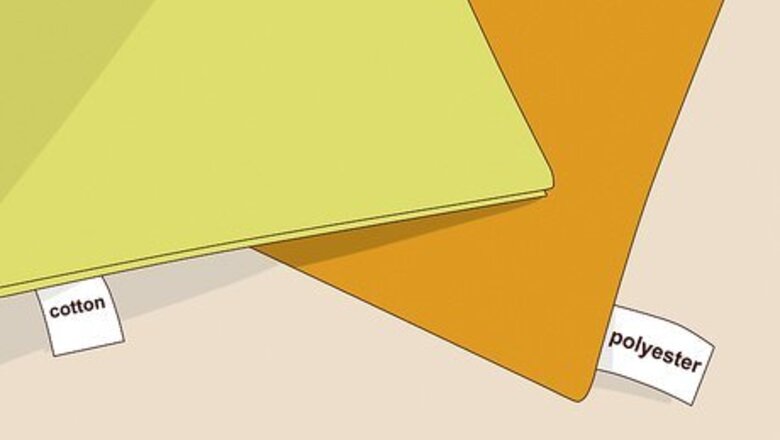
Choose a square cotton or polyester cloth designed to be a patka. A Sikh patka is considered a turban for children, but it can work well to help secure your hair and provide a surface for your full pagh turban to fit on smoothly. Patkas can also be worn as turbans for sports. Most patka cloths are made of a light cotton, but you can also find polyester sport patkas that are sweat-wicking. Patka cloths are square and have strings attached to each of the four corners. Some sports patkas have a built-in headband.Tip: Play around with color schemes using your patka. If you plan to do a full turban, your patka can use the same color as your turban fabric to blend in or you can use a different color (maybe even a print) to contrast against your full turban.
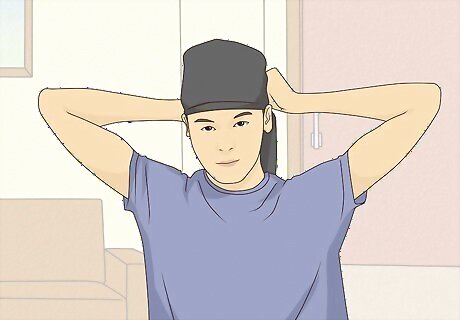
Line the edge across your forehead and tie the strings behind your head. Keep the patka cloth centered as you place it over your forehead. Then pull the strings hanging from the corners of the cloth at the front into equal lengths behind your ears so that they meet at the back of your head. Tie the 2 strings together in a snug knot, and gently pull on the cloth underneath so that it lies flat. The cloth should cover all your hair, but not your eyebrows or ears. Tuck any loose hairs under the cloth once it has been tied.
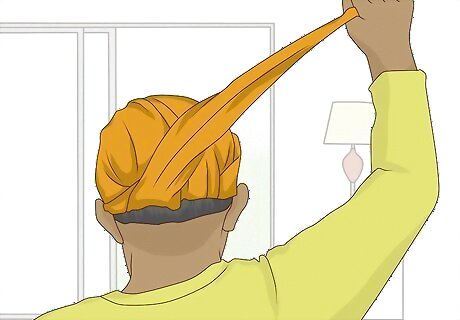
Tie the strings hanging from the other corners around your top knot. Take one of the remaining back corners and wind it around the base of your top knot until you only have a little bit of string loose. Repeat with the other back corner. Once both back corners have been wrapped around your top knot, secure the patka by tying them together. If you don’t have a top knot, wrap the remaining length of your patka around your head and tuck it into the knot at the back. Tuck any remaining string into the folds to keep it from hanging loose.
Wrapping a Pagh
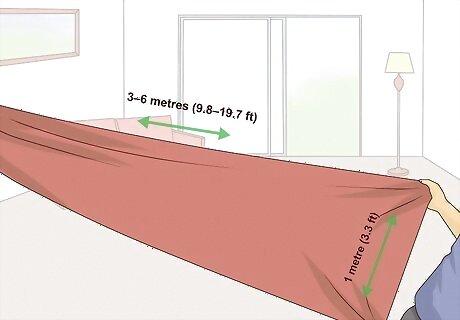
Use a cotton cloth 3–6 metres (9.8–19.7 ft) long and 1 metre (3.3 ft) wide. A pagh, or dastar, is a wide Sikh turban wrapped using fabric that has been folded into a long and thin wrap called a pooni. Light cotton fabric is easier to use than dry or starched material. You can sprinkle some water on the length of the fabric to loosen it up, and even add scented oil to the water to make it smell nice. The longer the cloth, the larger the turban will be. Most Sikh turbans are wrapped over turban caps or smaller turbans called patkas. Use a double wide cloth that is 3 metres (9.8 ft) long and 2 metres (6.6 ft) wide for a larger turban with fewer wraps.
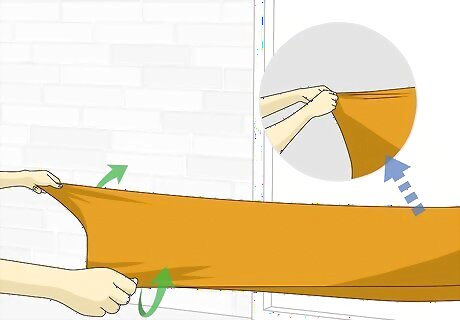
Stretch the cloth diagonally and fold the 2 corners into the center. Folding the turban material is also known as “making the pooni,” and helps the turban stay neat and secure. Tie one corner of the cloth to a solid structure or have someone hold it to stretch it out diagonally. Hold the opposite corner taut and tuck the last 2 corners into the middle of the cloth so they won’t unfold while you are wrapping your turban. You will end up with a wrap that is very long and only a few inches wide.
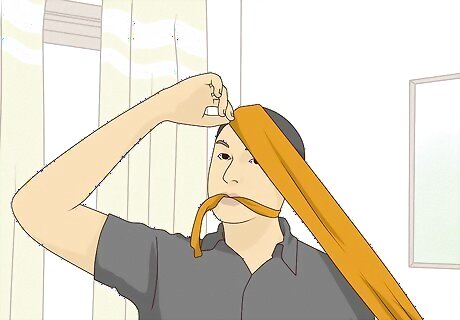
Wrap one end of the pooni around your head at an angle. Anchor the pooni in your mouth to keep the fabric neatly folded together and leave both your hands free to wrap the turban. Wind the pooni up the back of your head and around the front of your top knot. Bring the cloth down the other side of your top knot and to the back of your head again, completing one loop around your head. Smooth any wrinkles or folds as you go. Make sure to cover your earlobes with the turban.
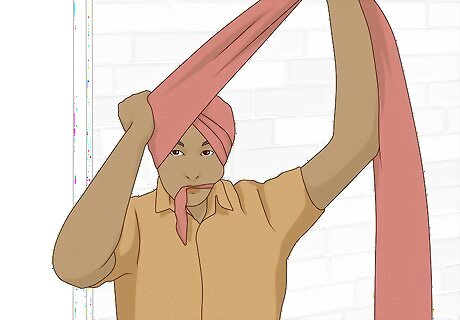
Loop the material diagonally around your head again on the other side. Bring the fabric around your head, going up and around your top knot. Adjust the material so that it is even on both sides of your head. Make sure you don't pull the sides of the turban down too low over your ears or eyebrows. Keep tension in the cloth but don’t wrap it so tightly that it constricts your head.
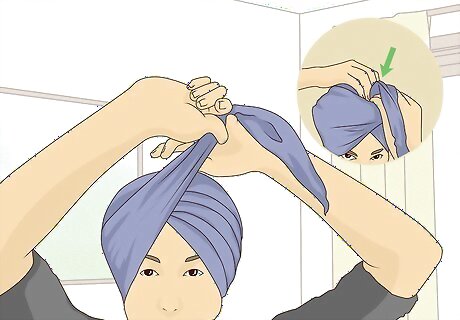
Wrap the rest of the cloth around your head in staggered layers. Continue to wrap the pooni around your head in the same fashion as the first 2 layers, but with slight changes to the angle each time so the layers overlap to form a staggered, stair-step effect. Cover the rest of your head, leaving your hair knot exposed. If you don’t have a hair bun, leave a small opening at the top of the turban. This turban will be wider at the sides rather than rounded.
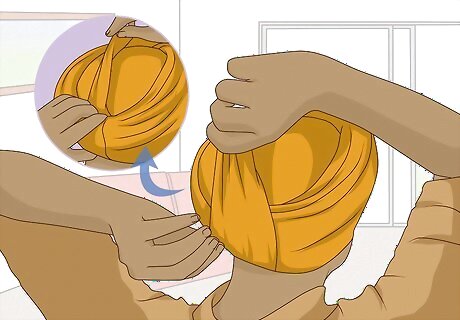
Tuck in both ends of the cloth to complete the turban. When you have finished wrapping the length of the cloth around your head, tuck the ends of the cloth into the top folds of your turban. Smooth out the cloth so there aren’t any wrinkles and the folds are uniform. Tuck the ends tightly into the turban so that they don’t come out and your hair knot is covered.Tip: For a more complex or classic design, try tying a fortress turban or a vintage turban.
Trying a Dumalla
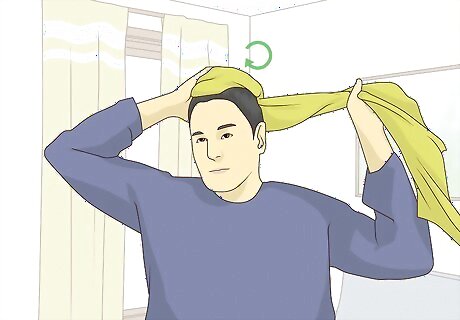
Wind a keski cloth around the top of your head to create a base. A keski is a miniature turban that winds around the top of the head to create a base structure for the towering dumalla turban (sometimes called a fortress turban). Holding one edge of the keski to your head, begin to wind the rest of the cloth around the top of your head in even circles. If you have long hair, wrap the keski around your top knot. Tuck the end of the keski into the folds of the fabric. Not all of your hair needs to be covered by the keski, but the cloth does need to sit securely on your head. Use semi-transparent cloth that is roughly 10 metres (33 ft) long and 35 centimetres (14 in) wide. The keski needs to be even and round on top of your head, and this may take a few tries!
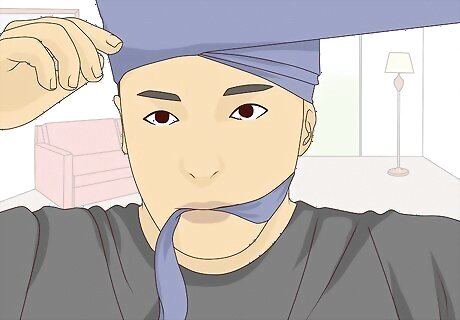
Anchor the edge of the material in your mouth before winding it. Dumalla turbans are wound using very long cloth, typically 10 metres (33 ft) or more. In order to wrap all the fabric tightly and keep your dumalla from collapsing, you need to anchor one end of the cloth. This way, you will have both of your hands available to help wind the turban tightly and get it into the right shape. Did you know? Dumalla turbans were worn by Sikh warriors in battle. The many turban layers acted as protection for the head!
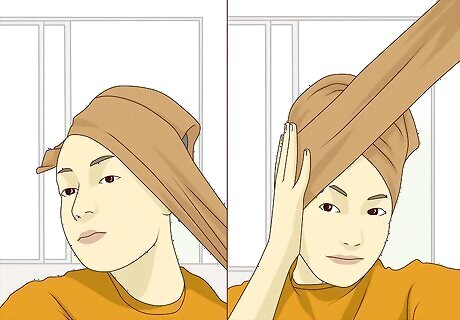
Wind around the base of your head in angles to create a “V” pattern. Once the end of the turban is anchored, use both hands to wind the cloth tightly around your head, making sure to cover your ears. When you bring the turban to your forehead, angle it slightly so that the highest point is in the center of your forehead. Then wrap the turban straight across the back of your head, keeping it level. When you reach your forehead again, angle the turban downwards from the center of your forehead to complete the “V.” Make sure that your turban doesn’t slip by winding it close to the base of your head and working your way up. You can use the wound keski base as an anchor to create a smooth, even shape.
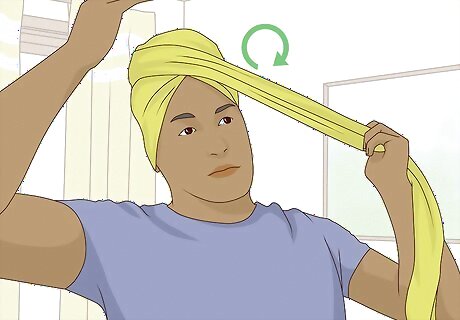
Loop the cloth around your head in circles to create a tall, even turban. Once the base of your turban is even and secure, wind the cloth around the circle of the keski. Work your way up the keski, using the entire length of the turban cloth to create a tower of cloth. Since you have so much material to work with, your focus should be on making sure that the cloth is tightly secured, and work your way up gradually. Tuck the remaining ends of the turban into the folds of the fabric at the back of your head to complete the turban. This type of turban is even on all sides and sits much higher than other turbans.
Making a Head Wrap
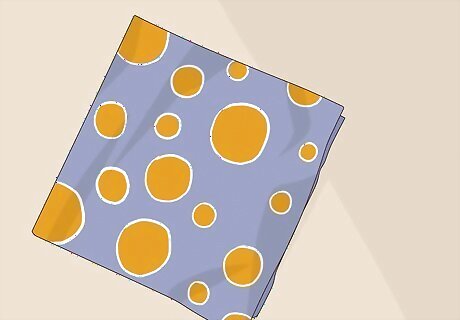
Use a square scarf made out of soft material to tie a fashion turban. Tying a turban using material like silk or soft cotton that is bright and colorful is a great way to accessorize your outfit and keep your hair up. Use a square scarf for easy folding and tying. Choose material that is soft but also breathes to keep your head from sweating. You can use any material to make a fashion turban. Try playing with colors that complement your outfit as well as colors that contrast it.
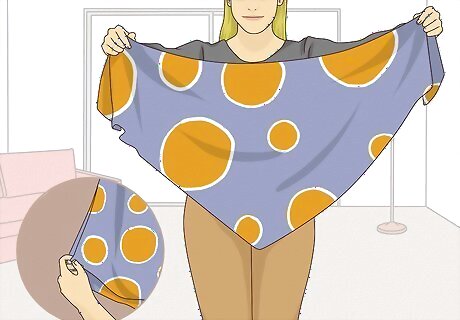
Fold the square scarf to form a large triangle. Smooth out the fabric of the square scarf and bring one corner of the square to the opposite corner. This should form a long triangle that you can use. Make sure the edges of the fabric line up and are even.Tip: The bigger the square scarf, the more material you can use to form a turban.
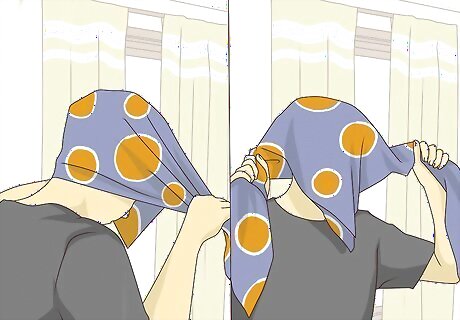
Place the center of the folded fabric on the back of your head. Pick up the scarf and wrap it around the base of your head. Center the long edge of the fabric against the back of your head and position the point of the triangle on top of your head. Don’t stretch the material, but keep it taut so the edges stay lined up.
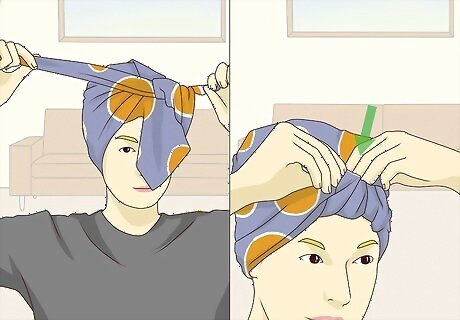
Tie the scarf into a knot on the top of your head and tuck in the tip of the triangle. Take the 2 ends of the scarf and bring them over the top of your head and tie a knot. Make sure the knot is centered and tight enough to stay in place but not so tight that the fabric slides off. Tuck in the tip of the triangle beneath the knot to hold it in place. Tie a single knot to allow for easy adjustments. If you tie a double-knot, you may have to completely untie the fabric it if your turban is uneven later in the process.
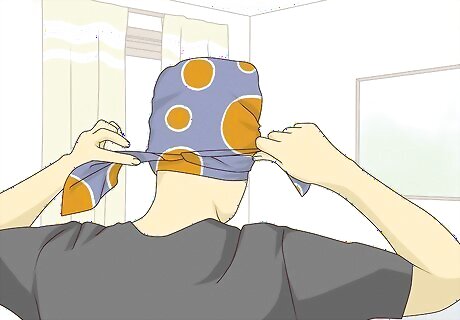
Bring both sides of the scarf together to the back of your head and tie another knot. Take the 2 loose ends you used to tie a knot on the top of your head and bring them around tight to the back of your head. Tie another knot to secure the scarf to your head. Tie a tight and secure knot to keep your turban fastened to your head. Make sure the front tip of the triangle stays neatly tucked under the knot at the front.
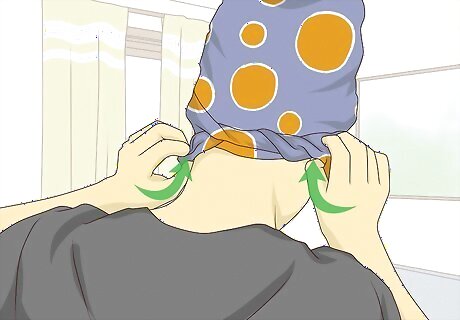
Tuck the excess fabric into the underside of the scarf. With the scarf secured to your head by the knots, take the excess fabric hanging from the back and tuck it into the underside of the scarf. Make any necessary adjustments to keep the material smooth and uniform so the turban doesn’t look wrinkled and uneven. Tuck in any loose strands of hair that may be hanging out of your turban.






Comments
0 comment