
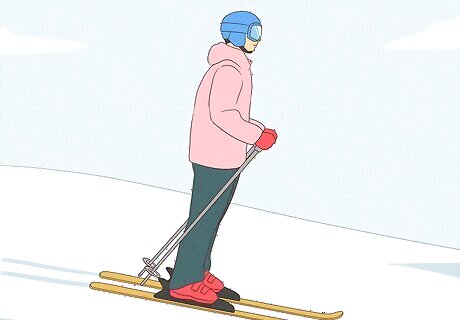
Completing a Snow Plough Turn
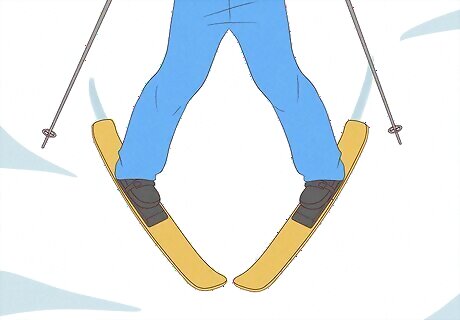
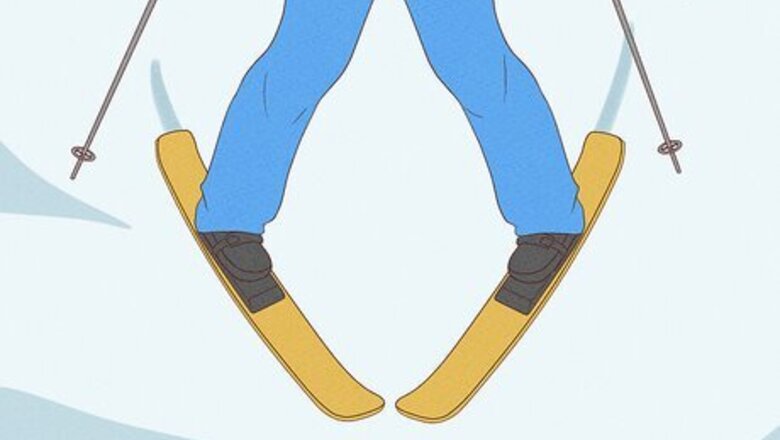
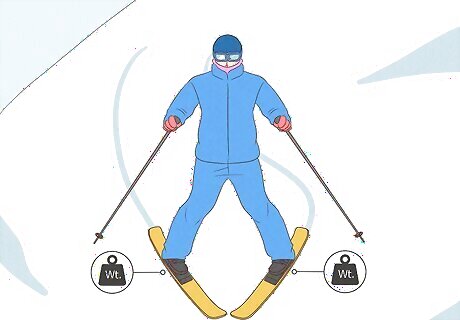
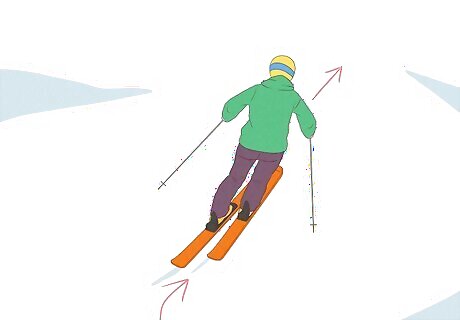
Position your skis in a “V” shape. Angle the front tips of your skis toward the middle so the back end of your skis are spread wider than the front, and apply light pressure on the inside edges of your skis by pushing your heels slightly outward. With this position, you point the right ski in the left direction and the left ski in the right direction. If you are just learning how to turn, the snow plough turn is a great place to start. The position also resembles a slice of pizza, so some people refer to it as the “Pizza Slice.”
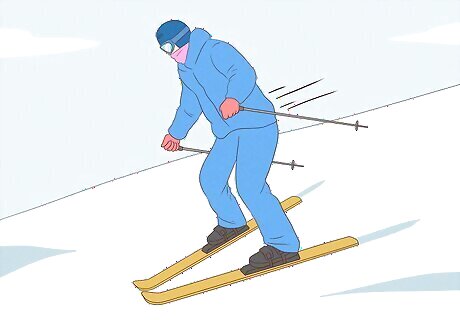
Slide forward with your weight evenly distributed to start moving. Bend your knees slightly, keep your feet centered, and angle your shoulders slightly forward. As you do this, you will start to slide down the slope. This allows you to gain speed so you can easily make your turn.
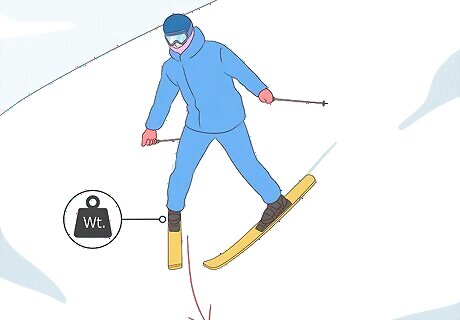
Push with the right leg to turn left, and push with the left leg to turn right. Distribute your weight onto the right (or outside) ski as you slide down the slope. Since your right ski is slightly angled toward the left, you'll slide toward the left side. Your left (or inside) ski should still stay on the snow, but it will carry less weight on it. To ski toward the left, simply push with your left leg instead of your right. The ski that has more weight on it will have more control than your other ski, which you can use to control the direction and make your turn.
Distribute your weight evenly on both skis again to initiate a new turn. If you want to change directions, shift your weight back onto both skis by pivoting your hips so they are straight. This slows down your speed, so you can transition into the next turn. Maintaining pressure on the inside edges of your skis and keeping your weight slightly forward can also help you control your speed.
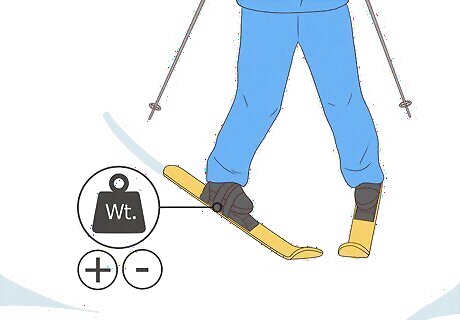
Change your weight distribution to travel quicker or further. Take some weight off of the right ski if you want to pick up speed and turn sharply. If you want to slow down and come further across the slope, put more weight onto one side of your ski. By adjusting your weight, you can change the speed of your turn. Look forward, instead of down at your skis, to help you turn easily and change directions.
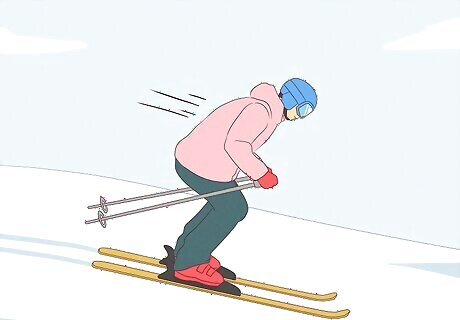
Doing a Parallel Turn
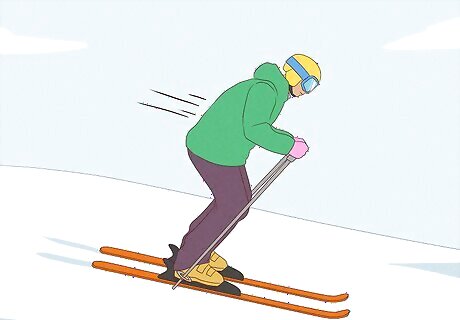
Lean forward and distribute your weight across both skis to start your turn. Stand with your skis parallel and hip-width apart. Bend your knees and move your shoulders toward the front of your skis. This repositions your body weight and starts moving you down the slope. During a parallel turn, your skis stay parallel to each other the entire time, and you use your body weight to increase your momentum and make your turn.
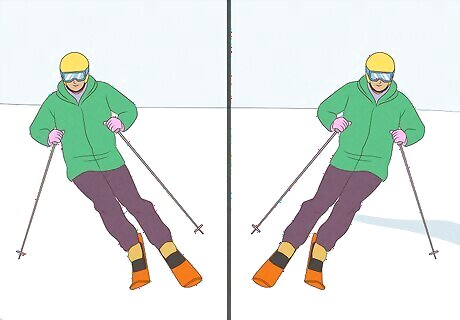
Match the direction of your skis and your body to orient your turn. When parallel skiing, your skis should always face straight toward the front. This determines your direction of travel. To go toward the left, move your hips toward the left. To turn toward the right, reposition your body to the right side.
Push to one side to redistribute your weight and make your turn. To turn, roll your knees and ankles in the direction you want to turn. Move both of your feet toward the same direction to keep your skis parallel. You can then switch your turn by adjusting your weight to the other side of your foot. The more you tilt, the sharper your turn will be. Keep your shoulders slightly rotated toward the direction you want to turn, and stretch and soften your legs throughout the turn. If you want to turn to the right, for example, adjust your weight toward the right side of your feet. Then, put your weight on the left side of both feet to make a turn toward the left.

Ski at a constant speed until you want to come out of your turn. Ski with your knees slightly bent and your weight distributed to the side you want to turn toward. When you finish your turn, distribute your weight toward the front center of your skis by leaning your shoulders forward. This realigns you to the forward parallel skiing position. The momentum you build up as you ski controls your speed. Avoid leaning back and stay forward on the balls of your feet.
Using the Carve Turn
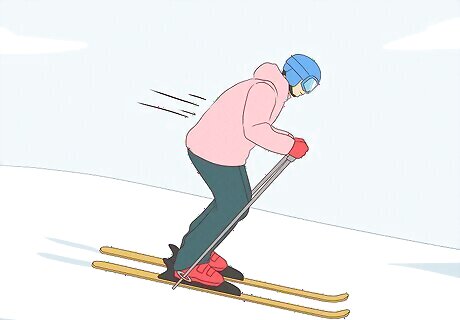
Start to slide down the slope to gain momentum and speed. Position your feet hip-width apart, and place your hands on the poles in front of you. Then, lean forward slightly to move down the hill and gain momentum. Continue going straight down the slope to get more speed. When carving, gravity and momentum make the turn for you. If you’re a beginner, practice on a super flat slope to minimize your speed. A carving ski is thinner in the middle compared to the tail and tip of the ski. This makes it possible to make a carve turn, which is a technique when the ski shifts from one side to the other.
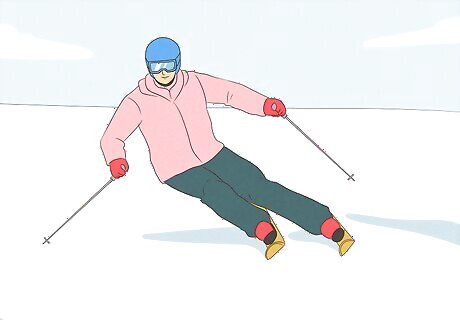
Roll onto the edge of the ski to start your turn. When you want to turn, move your knees and ankles to the side to roll onto the edge of your skis. If you want to turn toward the right, move your ankles toward the right side. To move toward the left, position your ankles onto the left edge. Move both ankles toward the same side in either case. Applying pressure to the skis makes them naturally curve as you move.
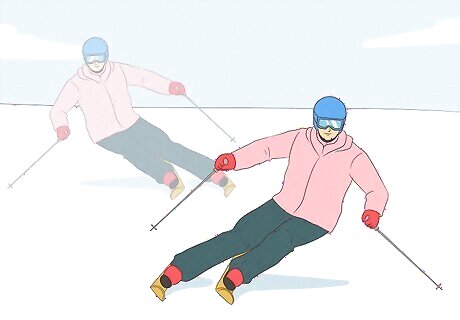
Move your knees and ankles from side to side to change direction. To move from left to right and carve down the slope, quickly roll from one edge to the other by shifting your ankles and knees to the opposite side. Keep your upper body stable and don’t try to force the turn. As you tilt your knees and ankles, it will naturally create a curve.
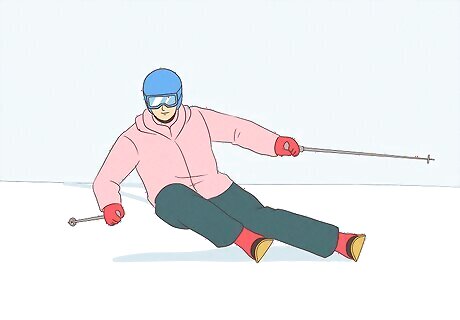
Put more pressure on the edge of your ski as you complete your turn. When you are coming to the end of your turn, apply more pressure to the edges of your skis. This applies pressure to the middle of the board, which helps you slow down and ease out of the turn.
Lean forward to redistribute your weight and increase your speed. Repositioning the weight onto the front of your skis helps increase your speed, so you can move down the slope even faster. To do this, move your shoulders toward the front of your skis. Do this after you’ve nailed the turn, as you already will go rather quickly with this turn option!
Straighten your knees and ankles to finish your turn. Once you’ve finished carving down the slope, move your ankles back to the center of your skis to start going straight again. This will slowly decrease your speed. Then, you can continue going straight or use your poles to start to slow down.


Comments
0 comment