
Creating an Account
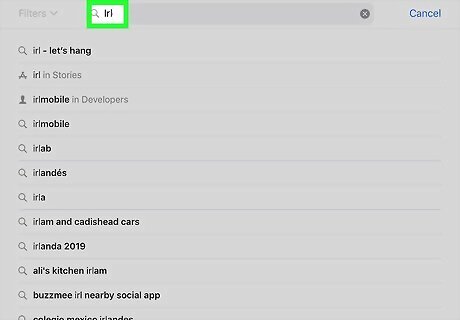
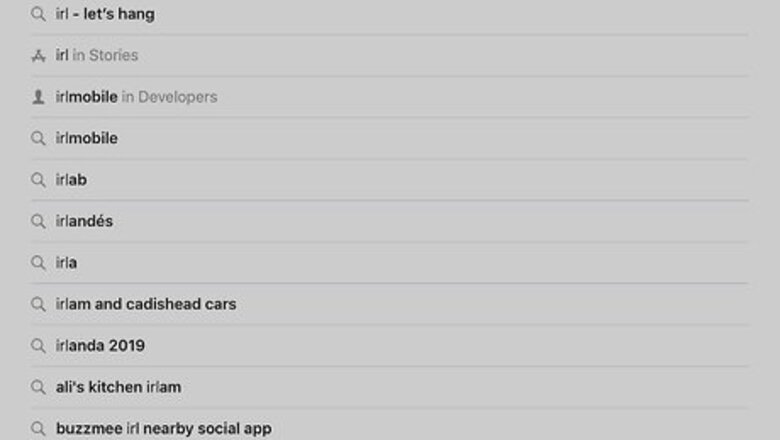
Install IRL from the App Store. Here’s how to get this free app for your iPhone or iPad: Open the App Store iPhone App Store Icon. You should find it on the home screen. Tap Search at the bottom-right corner. Type irl into the search bar and tap the Search key. Tap IRL – Let’s Hang. Look for the icon that says ″irl″ in rainbow cursive letters. Tap GET and then follow the on-screen instructions to install.

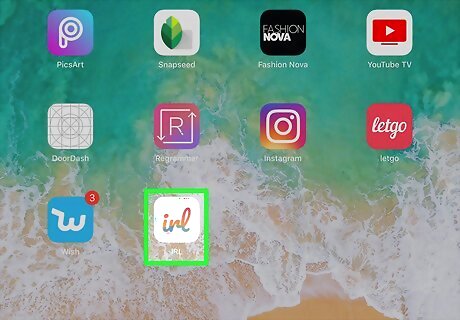
Open IRL. It’s the white icon with the word ″irl″ in rainbow cursive letters. You should find it somewhere on the home screen.

Tap Get Started. It’s the green button at the bottom of the screen.
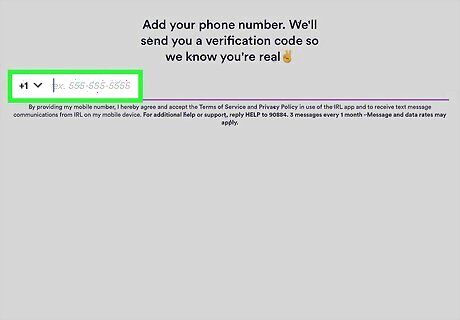
Enter your phone number and tap Agree & Accept. IRL will now send you a text message containing a 5-digit verification code.
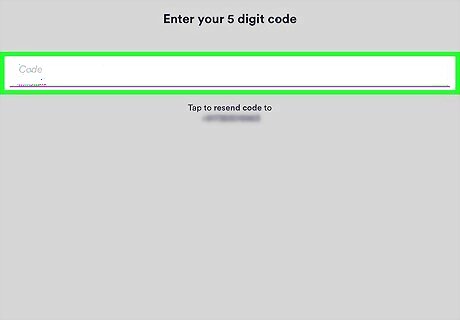
Enter the code and tap Next.
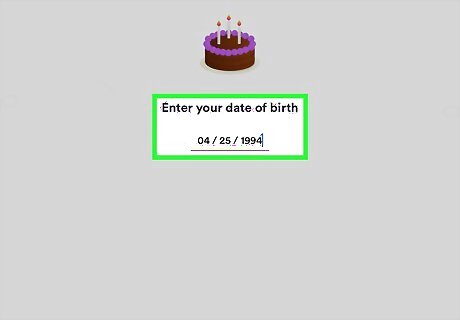
Select your birthday and tap Next. You must be 13 or older to use IRL.
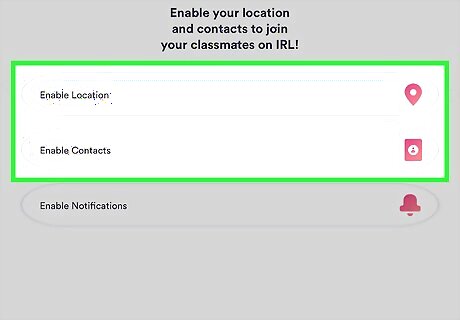
Enable the features that help you connect to others (optional). If you prefer not to enable these features, tap Skip at the bottom of the screen. Otherwise, here's how to find people to connect with: If you’d like to be able to connect with people nearby, tap Enable Location, and then tap Allow. To allow the app to access your contacts, tap Enable Contacts.

Enter your school (optional). If you turned on ″Location,″ you’ll be prompted to connect with people from your school. Enter your school name and then select it from the search results, or tap Suggest School if you don’t find yours listed. If you’re not a student or don’t want to do this, tap Skip at the bottom of the screen.
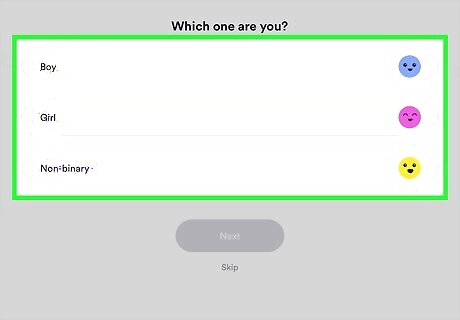
Select your gender and tap Next. If you prefer not to provide this information, tap Skip.
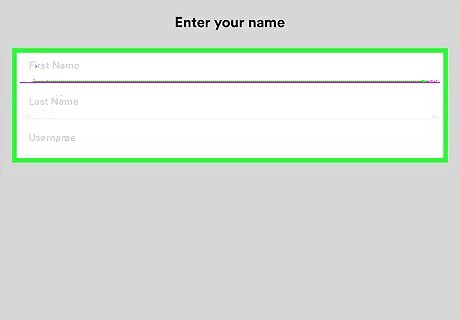
Create your username and tap Next.
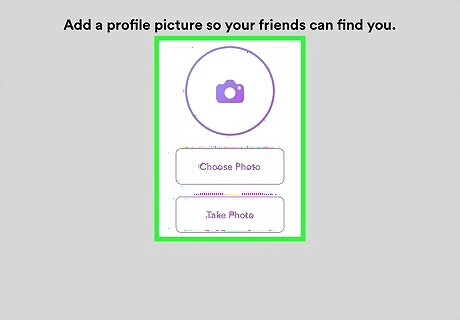
Add a profile photo (optional). This makes it easy for your friends to identify you on the app. Tap Choose Photo to select a photo from your iPhone or iPad. Tap Take Photo to snap a new photo. Tap Skip if you’d prefer not to add a photo.

Scroll through the welcome screens and tap Enter IRL.
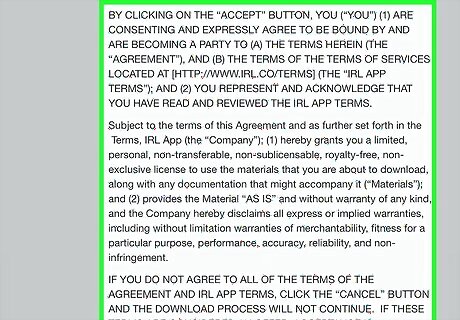
Tap Accept to agree to the terms. If you invite or interact with someone in the app who isn't a member, IRL will send them a text message inviting them to join. You must agree to this to use the app. If you didn’t link your contacts to IRL, you’ll see a pop-up message that says ″Whoops… You do not have enough friends and or contacts to send noms.″ Tap OK to proceed.Use IRL ‐ Let's Hang on iPhone or iPad Step 13.jpg
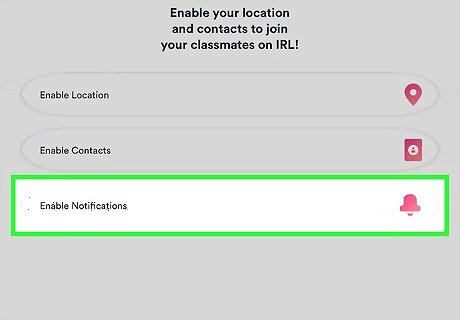
Enable notifications (optional). If you’d like to receive notifications for new activity in the app, tap Enable Notifications, and then follow the on-screen instructions. If not, tap Skip.

Nominate your friends (optional). The final setup step is to ″nominate″ your friends for superlatives (e.g., ″Always first on the dance floor″). Tap Skip to complete the setup now, or follow the on-screen instructions to send nominations. When a statement appears, tap the friend who best fits the description. If the friend has IRL, they’ll receive a notification that they’ve been nominated. They won’t know who sent it at first, but they can open it up and tap Request a reveal (you’ll have to approve that part). If your friend is not on IRL, they’ll get a text message inviting them to join.
Creating Invitations
Open IRL. It’s the white icon with the word ″irl″ in rainbow cursive letters. You should find it somewhere on the home screen. Use this method to create an activity for you and a friend (or group) can do in real life.

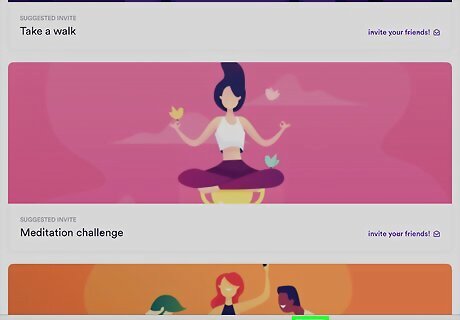
Tap the Invitation button. It’s the purple and white envelope at the center of the bottom toolbar. You can also create invitations by selecting activities from the suggestions on the home tab (the house icon).

Type the name of the activity. This doesn’t have to be lengthy; a word or two about the activity you’re planning will suffice. If you choose an activity from the home tab, it should already have a name.
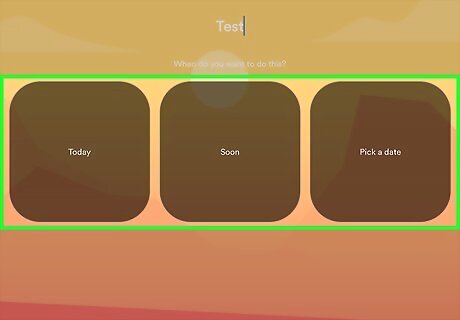
Select a date. After you type the event name, three date options will appear on the screen. Tap Today for today, Soon if you don’t have a date in mind, or Pick a Date to specify a date in the future.
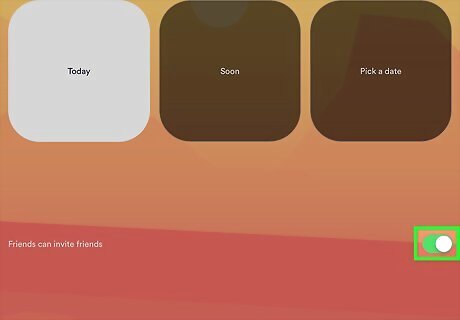
Allow invitees to invite others (optional). IRL allows the people you invite to also invite their contacts. If you’d prefer not to allow others to join, tap the green switch next to ″Friends can invite friends″ to turn it off.
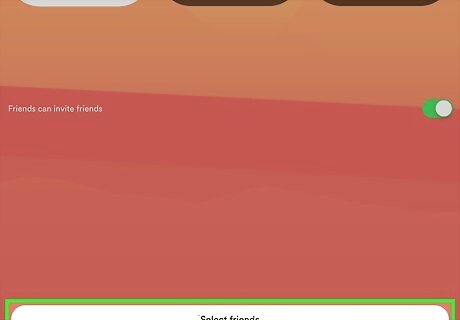
Tap Select friends to choose who to invite. A list of your contacts will appear, whether or not they use this app. Tap each friend you want to invite. If someone you invite does not have the IRL app, they’ll receive a text message asking them to join. If someone does have IRL, they’ll receive a notification of a new invitation.
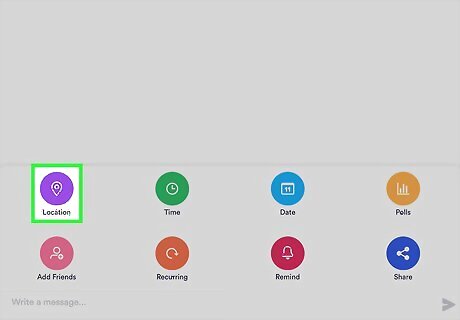
Tap Location to enter the location. It’s the purple icon in the menu at the bottom of the screen. Search for the address or landmark using the search bar on the map, tap the correct location, and then tap Select.
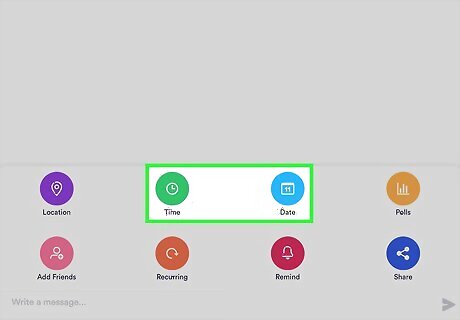
Enter the time and date. Tap Time (the green icon with the clock), enter the time everyone should meet, and then tap Set Time. Tap Date (the blue calendar icon), enter or modify the activity date, and then tap Set Date(s).
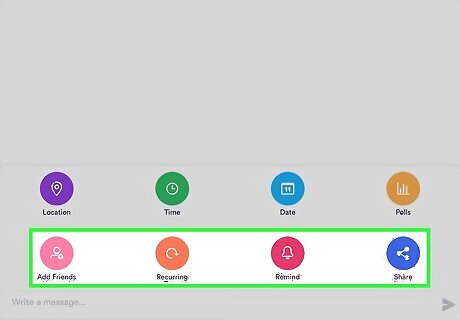
Enter additional details about the activity (optional). If you’d like, tap each of the remaining icons in the menu to make changes before sending the invitation. Tap Poll to allow invitees to vote on something, such as the activity, date, and/or time. Tap Add Friends to invite more people. Tap Recurring if you want this event to happen more than once. Tap Remind to set a reminder as the event draws near.
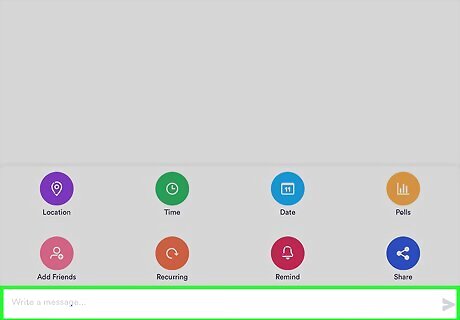
Enter a message. Include some text about the activity, such as any details invitees need to know before attending.

Send the invitation. Tap the paper airplane icon to send the invitation to everyone you invited. The invitation also serves as a chat for invitees. You and your friends can access the chat by tapping the bell icon at the bottom of the app, and then selecting the invite.
Viewing and Responding to Invitations

Open IRL. It’s the white icon with the word ″irl″ in rainbow cursive letters. You should find it somewhere on the home screen.

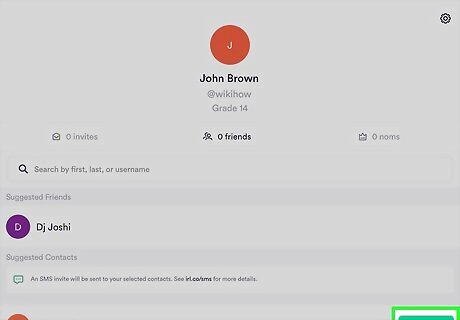
Tap the profile icon. It’s the outline of a person at the bottom-right corner. This displays the ″Invites″ screen by default, which shows a list of everything you’ve been invited to attend.
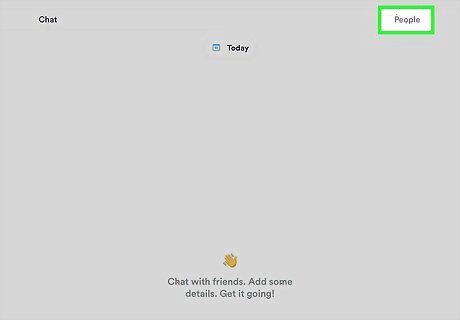
Tap an invitation to open it. Now you can check out the details of the invitation and decide if you want to go. Tap the People tab at the top to see who’s going. Tap the Chat tab to see what others are saying about the activity. You can also ask questions or comment on the activity if you’d like. If the person who created the invitation added a poll question, it’ll appear at the top-left corner. Tap the question to enter your response.
Using Nominations

Open IRL. It’s the white icon with the word ″irl″ in rainbow cursive letters. You should find it somewhere on the home screen. Nominations are anonymous compliments from your friends.
Send a nomination (optional). Nominations ideas appear at the top of the home screen (e.g., ″Always first on the dance floor″). Tap a statement, and then select the friend who best fits the description. If the friend has IRL, they’ll receive a notification that they’ve been nominated. They won’t know who sent it at first, but they can open it up and tap Request a reveal (you’ll have to approve that part). If your friend is not on IRL, they’ll get a text message inviting them to join.
View your nominations. There are three ways you check out what you’ve been nominated for by others: Tap the notification on your iPhone or iPad that alerts you to the nomination. This opens the app to reveal the compliment. Tap the bell icon to see all recent app activity, then tap one of the notifications that display a purple and gold crown. Open your profile and tap ″noms″ link (the tiny crown below your username), and then tap the nomination.
Request the name of the person who sent the nomination (optional). You can tap Request a reveal if you want to know who nominated you for this topic. If the person approves the request, you’ll be notified.


Comments
0 comment