
Open Adobe Lightroom on your computer. The Lightroom icon is "Lr" on a blue background. You can find it on your Start menu or in your Applications folder.

Click the Develop tab. It's in the upper-right corner of your screen.
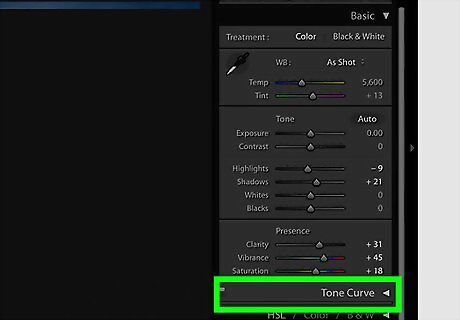
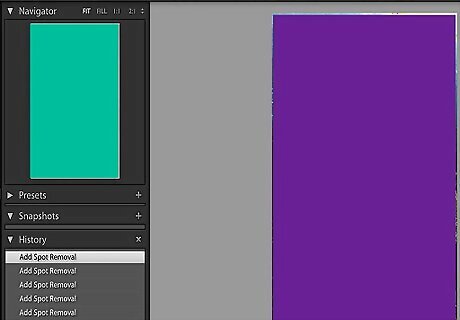
Select the photo edit you want to view. This will open the selected picture in the preview window.
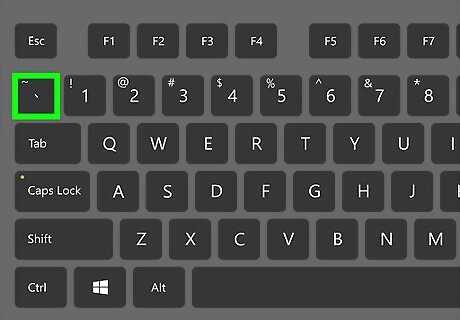
Press the \ button on your keyboard. The backslash button will allow you to toggle between the original photo and the edited version of the same picture. You can usually find this button next to the Enter or Return key on the right-hand side of your keyboard.

Click the YY button near the bottom-left of the preview window. You’ll see a side-by-side comparison of the original photo and your edit. The original is on the left-hand side, and the edited image is on the right.
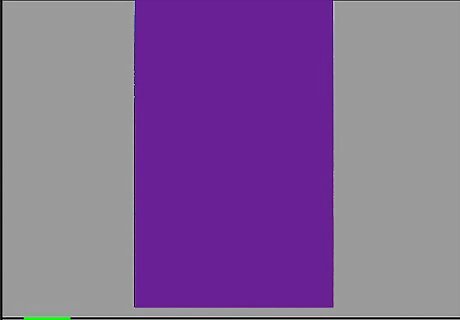
Click YY again to view a half-original and half-edited image. This will show you the original photo on the left-half, and the edit on the right-half.
Click YY again to view the original and the edit separately. This will show the original picture at the top, and the edit at the bottom.
Click YY again to view a horizontal half-and-half comparison. This will show the original photo on the top-half, and the edit on the bottom-half.


Comments
0 comment