
views
Planning the Basics

Brainstorm your video while listening to the song. Put on the song that your music video will be centered around. Jot down the main ideas you have regarding your music video, and what you think could work well for the finished product. Decide if the video will focus more on the vocalist’s performance, or if you’d rather tell a story through your video. See if you can combine these storytelling and performance elements together as you plan. For instance, a song about relaxing and enjoying life might mix shots of the vocalist performing, while also telling the story of a group of friends hanging out at the beach. A more somber song about heartbreak might include dynamic performance shots of the vocalist singing, along with isolated shots to tell a story of how the vocalist is struggling.
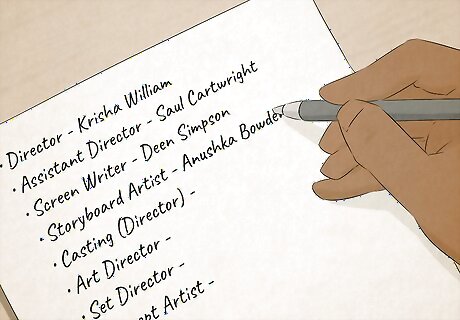
Draft lists of all the people and supplies you’ll need for the video. Reach out to friends or independent actors who you’d like to perform in your music video. Pick individuals who really fit the vision of your music video, and aren’t just mediocre. Similarly, reach out to any friends or professionals who can help you film and edit the video. To keep things organized, write a prop and costume list, which will include every object and outfit you’ll need in the video. If you’re planning a more extensive project, you may want to consider your lighting options as well, and if you’ll need to invest in power supplies for your video. Keep your budget in mind as you're figuring out all the pieces you're putting together for your video. Nail down as many details as possible during the pre-production phase of planning. That way, when you're actually filming, everything will move on schedule and as perfectly as possible.

Choose a location where you’ll be filming the video. Before you can write a script, you’ll need to have some idea of where the scenes will be taking place. Think about what options are available to you—if you don’t have a big budget for your video, you’ll probably have to shoot in a public area. If you do have some money in your budget, think about renting a studio or other private space for your video. For instance, if your video takes place in an office building, you probably won’t be able to film in an actual office. Instead, you’ll have to recreate the setting in a different location. Public parks, beaches, and other large, open areas are great locations to consider.
Creating a Basic Template
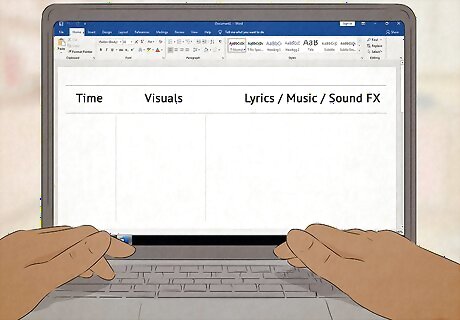
Divide your script into 3 columns for easy reference. Open up a digital document, formatting it so it has 3 columns. This is known as an A/V script, or audio/visual script, and will help give you and your production crew an idea of what’s happening when. Typically, the far left column is a lot thinner than the center and right columns.
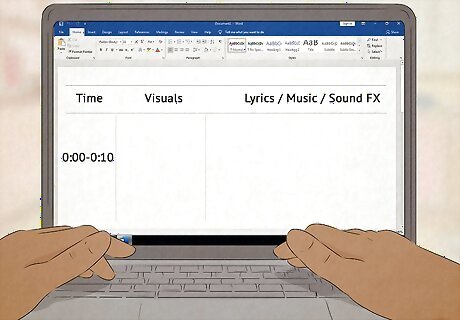
List the timestamp in the leftmost column. Pull up your song so you can play and pause it at specific time stamps. Use the left column to figure out how the video elements line up with the actual song. For instance, you can list a timestamp as “0:00-0:10,” which represents the first 10 seconds of the music video.
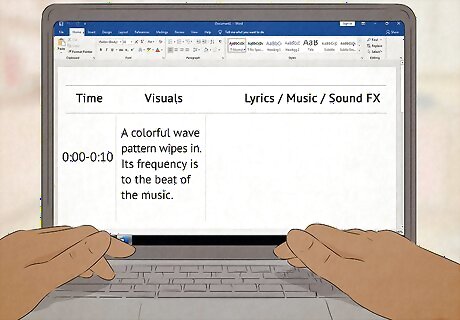
Put your visual notes in the central column. Write out the action that’s happening during this specific segment in the video. Include any graphics, visuals, or anything else that will be happening on screen. Additionally, list any specific camera motions and transitions that will be happening at this portion of the video. Capitalize the names of all cast members to make it easier to navigate.
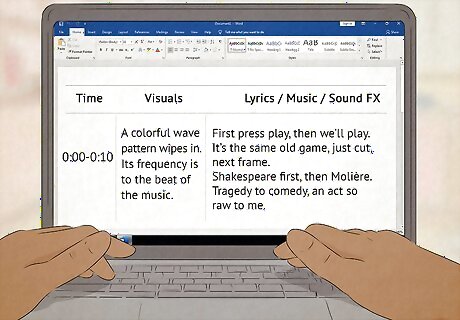
Write out the lyrics, music notes, and sound effects in the right column. List what’s happening in the song during that specific segment or time stamp, so you and the crew know exactly what’s happening. If there are any special sound effects, list those in this column. If you’re playing music that’s separate from the song in the music video, list the original artist under the lyrics.
Fleshing out the Script
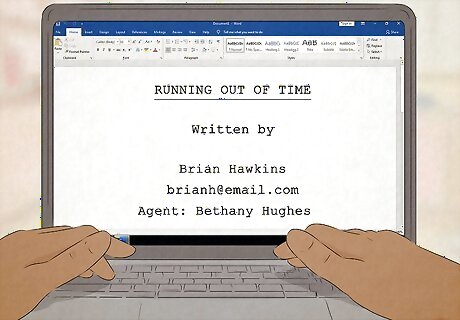
Create a separate, digital document to further outline your script. Open up a document on your computer, laptop, or tablet, which will help you fine-tune your current script into something more specific and useful for your cast and crew. This document will look more like a movie script, and will help you section your video into “scenes,” which will make your video easier to film and produce. You can use a regular word processor for this, or use a special screenwriting program, like Studio Binder, Final Draft 10, Highland, WriterDuet, Movie Magic Screenwriter, and Scrivener.
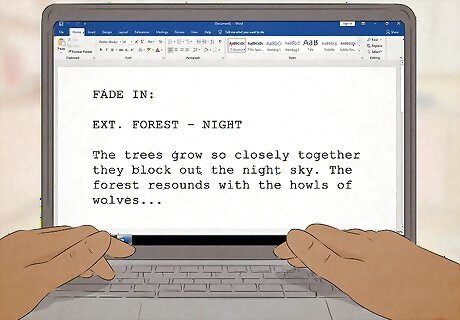
Break your script into different scenes. Reference your original outline, which will essentially be transferred and reformatted on this new document. Start by describing what’s going on in each individual scene for the music video, so the cast and staff know what’s going on. You can mark scenes by number in the top left corner of the document. Format your scene descriptions so they’re left-aligned within the document. If your music video is taking place in different locations, you’ll likely need to record these scenes separately and edit them together later.
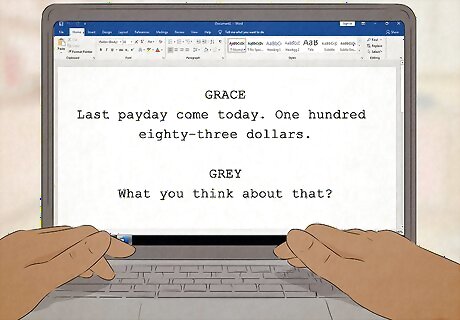
Center any dialogue or lyrics in the middle of your script. If you’re going for a story-centric music video, you may have dialogue for your actors to say, along with the lyrics that they’ll be singing along to. Label these lyrics and dialogue with the corresponding cast member, so everyone involved in the video understands what’s going on.
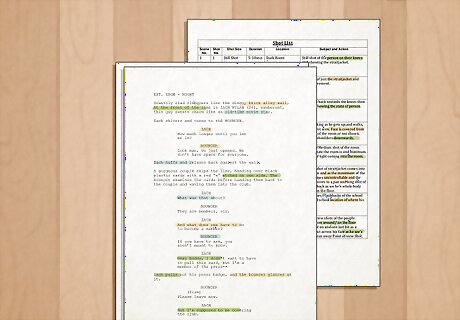
Color-code the elements in your script for easier organization. There are a lot of different aspects that make music videos engaging, like props, set designs, costumes, and bonus sound effects. Designate a specific color for each of these elements, so you know exactly what’s needed for each scene in the video. Go through your script and recolor any text that pertains to these categories, whether it’s props, set designs, or something else. For instance, orange can represent costume elements, while blue can represent set changes.
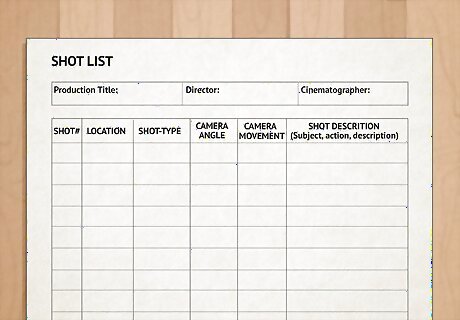
Create a template for your shot list. A shot list is essentially a big template that tells the cast and crew what’s going on in each scene. Design a document with different columns for scenes, shots, whether the scene is inside or outside, the type of shot you’ll be using, the camera angle, how the camera will be moving, the type of audio used, the subject of the scene, and a specific description of the shot. The scene refers to a specific section of the script. The shot refers to a specific portion of that scene. For instance, you could list “1” for the first scene, and “1” if it’s the first shot of that specific scene. You can use “interior” or “exterior” to describe if a scene is outdoors or indoors. Don’t stress too much about camera specifics. You can use terms like “WS” if you’re taking a wide shot, or “CU,” if you’re taking a close-up. Similarly, you can use terms like “eye-level” or “high angle” to describe where the camera will be. A lot of audio for a music video will be voice over, so you can fill that column with “VO.”
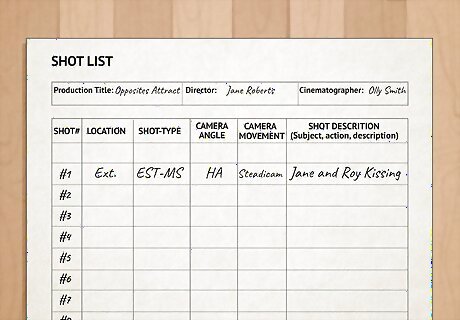
Fill out your shot list so the crew understands your vision. Specify how many shots will be in the music video, along with which shots connect to which scenes. If necessary, list the type of equipment that will be used for each shot, and if the shot will be indoors or outdoors. Complete the template to the best of your ability, so your crew understands how each shot will be recorded. Let’s say you’re filming a scene where the main character is walking down a sidewalk. You’d list the exact shot and scene, and mention that the scene is outdoors. For specifics, you can list that the shot is a “CU” or close-up, the camera is panning at eye level, and that the audio will be voiced over.
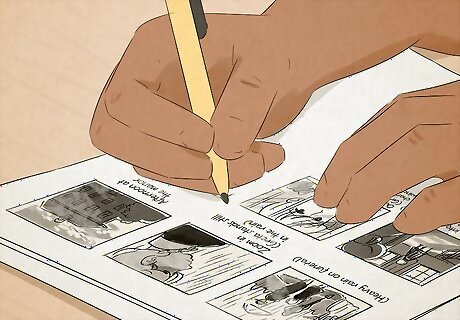
Draw out different elements of your video in a storyboard. Grab a pen and doodle a rough idea of what you’re envisioning for specific shots. List the exact scene and shot beneath the doodle, so your crew has an idea of what you’re looking for. Try to sketch out a picture for each shot, which will make your storyboard extra thorough.



Comments
0 comment