
- To set up your own contact poster, select your card in the Contacts app and tap "Contact Photo & Poster."
- You can delete or disable your contact poster via the same menu.
- Contact posters belonging to other users cannot be deleted or disabled.
What are contact posters in iOS 17?
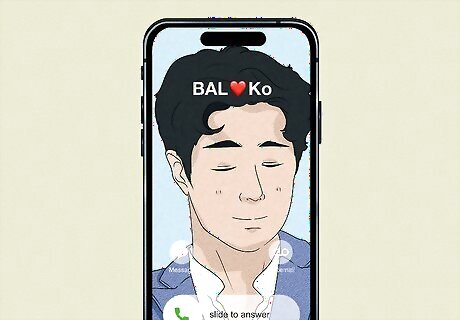
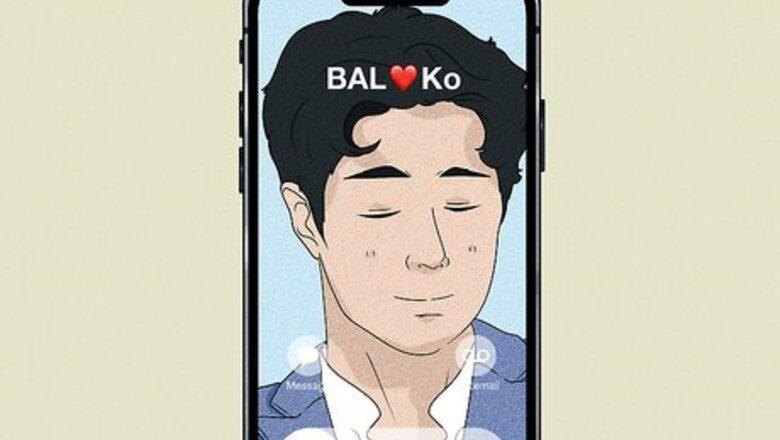
Contact posters are an update to iOS's contact card system. When you call someone in your contacts list who also has an iPhone, they will see your contact poster pop up on their screen instead. You can set up your own contact poster in iOS 17, but you cannot set up a contact poster for your contacts—each iPhone user is in control of their contact poster.
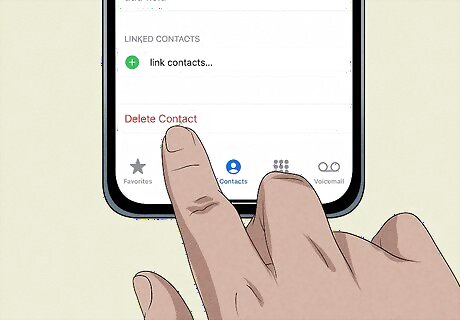
Contact posters cannot be officially disabled. While you can disable your own contact poster, you cannot disable the feature from your device entirely. However, there is a workaround to disabling another contact's contact poster: Navigate to the contact, save their phone number, then delete the contact (tap Edit > Delete Contact). Return to the main Contacts app and tap the plus sign in the upper-right corner to add a new contact. Re-add the contact you just deleted. Open your Photos app and navigate to a photo you want to add as your contact's photo. Tap the Share button in the bottom-left corner, then select Assign to Contact. Assign this photo to the contact you just added, and it will replace the contact poster with your selected photo. Note that this workaround is not intended behavior, as Apple has no official way to disable all contact posters, so this method may be fixed by a future iOS 17 patch.
Setting Up a Contact Poster

Open your Contacts app and tap your card at the top of the list. If you've never set up a contact card, the option will say "My Card" with a default gray profile image. If you have set up a card, the card option will have your name and selected profile picture.

Tap Contact Photo & Poster. It's the first option beneath your profile photo (or default gray profile picture, if you don't have a photo set).
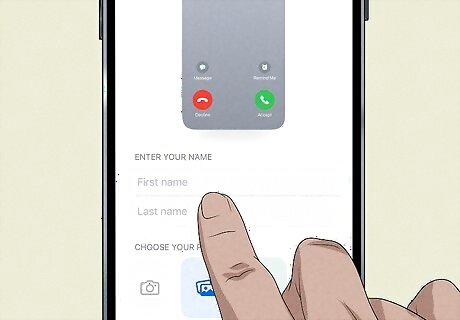
Tap Name to enter your name. While there is a spot for a first and last name, filling out both spots is not required. You can put any name you'd like, including a nickname or alias. Toggle on Name & Photo Sharing if you want to share your contact poster with your contacts who have an Apple device. You can change the dropdown from Contacts Only to Always Ask—which will prompt your device to ask if you want to share your contact poster when you communicate with another iOS user on your contacts list.
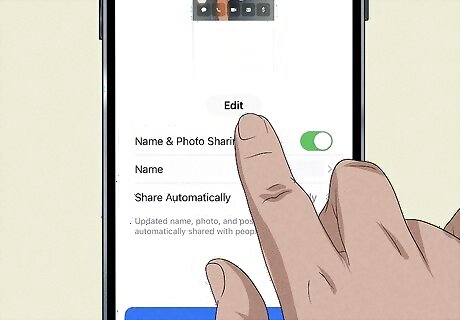
Tap the Edit button in the middle of the screen. This is where you will create or edit your contact poster.
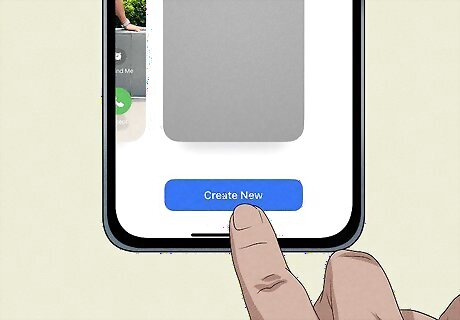
Scroll all the way to the right and select Create New. Alternatively, you can scroll to a contact poster you already have and select Customize. If you've never made a contact poster, you will have a default, plain white contact poster. You can either opt to customize this poster or delete it by swiping up on the poster and selecting the trash can button.

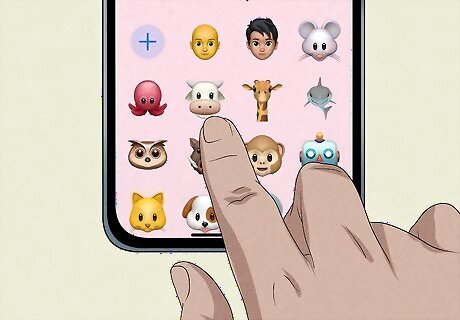
Select a contact poster type. There are four image options you can select from when making a poster: camera, photos, Memoji, or monogram. Camera: This option will open the camera so you can take a photo of yourself (or whatever you'd like to put on your contact poster). Photos: This option allows you to pick a picture you've already taken from your Camera Roll or a photo album. Memoji: This option will allow you to create or edit a Memoji to display on your card. Memojis are virtual 3D avatars you can create that you can use in various apps and services on your Apple device. Monogram: This option will place your initials on the contact poster instead of an image.
Select your contact poster image, Memoji, or monogram. Each method differs slightly, so read below for the type of contact poster you've selected: Camera or Photos: Take (if you picked camera) or select (if you picked photos) an image. Tap your name to change the font family, thickness, and color. Swipe on the background to change the filter, and tap the color bubble in the bottom-right corner to change the color for the Duotone and Color Wash filters. Pinch your background to zoom in or out. Lastly, you can tap the three-dot button in the bottom-right to toggle on or off Depth Effect (if your image works for the Depth Effect option) or Extend Poster (if your image is zoomed all the way out). Memoji: Select a Memoji; you can either use one you've created or you can use a pre-made Memoji from the bottom bar. Tap the three-dot button by the Memoji's head and select Edit to change what your Memoji looks like. Then select a pose or expression from the list and tap Next. (To edit your Memoji once you've placed it, tap the head icon in the lower-right corner). Tap your name to change the font family, thickness, and color. Tap the color bubble in the lower-left corner to change your background color. Lastly, tap the layers button in the lower-right corner to turn Depth Effect on or off. Monogram: Tap your name to change the font family, thickness, and color. Your monogram's font family and thickness will change along with your name. Tap the color bubble in the lower-left corner to change your background color. Your monogram's color will change with the background color. Tap your initials in the bottom-right corner to change them (note that your monogram can have a maximum of two characters).

Tap Done in the upper-right corner when you've finished. You'll be shown a preview of what your poster will look like to your contacts when you call them.

Tap Continue. If you want to make changes, don't hit the Back button. None of your changes will be saved, and you'll have to start with a blank poster. It's better to confirm the poster and edit it after it's completed.
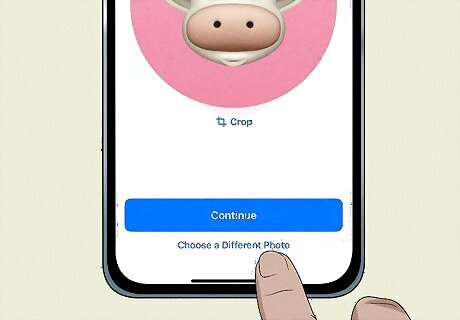
Choose a contact photo. The photo or Memoji you used for your contact poster will be applied by default, but you can edit it by selecting Choose a Different Photo. You can also change the crop of your contact photo by tapping Crop.
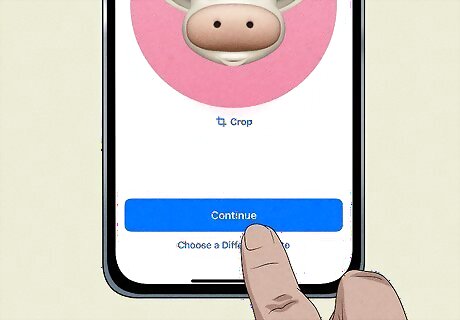
Tap Continue. If you don't want to add a contact photo, tap Skip in the upper-right corner instead. To edit your contact poster or to create another one, tap the Edit button. Then, follow the steps in this section again to edit or create a poster.
Removing Your Own Contact Poster

Disable "Name & Photo Sharing" to turn your contact poster off. Note that this will also delete all of the contact posters you have created. Open your Contacts app and select your card at the top of the list. Tap Contact Photo & Poster, then toggle off Name & Photo Sharing. Your contact posters won't be deleted, but they won't be shared with anyone until you re-enable name and photo sharing. If you tap the Back button to go back to your contact card, the Contact Photo & Poster button should say "Disabled."
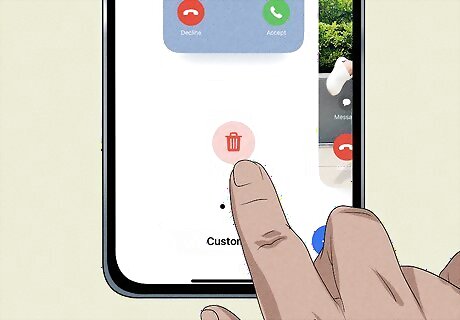
You can delete individual contact posters from your contact poster list. Start by opening your Contacts app and selecting your card at the top of the list. Tap Contact Photo & Poster, then tap the Edit button in the middle of the screen. Scroll to the poster you want to delete, then swipe up on the poster. Tap the red trash can button to delete the poster.


Comments
0 comment