views
Erase From Lockout Screen (iPadOS 15.2 & Later)
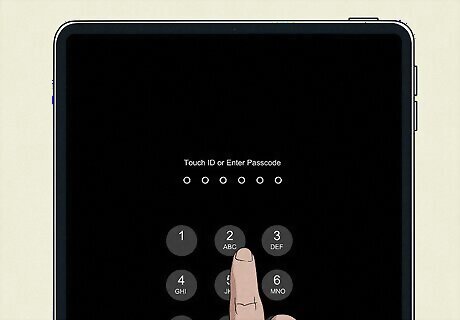
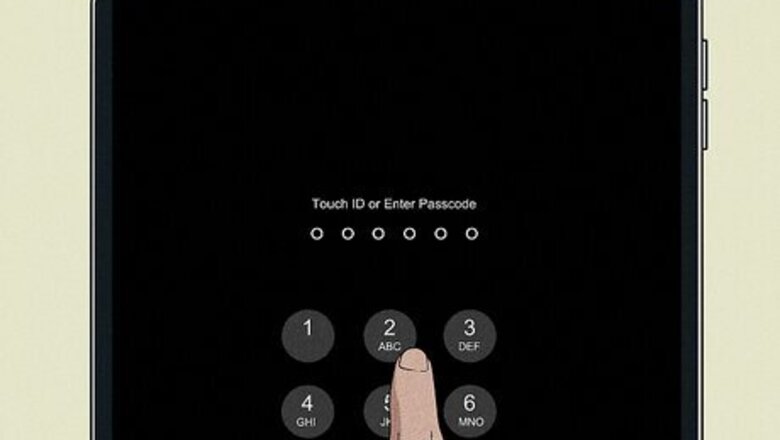
Enter your password until you get an "iPad Unavailable" screen. You will see two options at the bottom, one for emergency calls and one that says Forgot Passcode?. You will need your Apple ID password for this method. You must also have an active Wi-Fi or cellular connection to complete this method, so don't restart your iPad once you get to the iPad Unavailable screen or you won't be able to erase your device from the lockout screen.
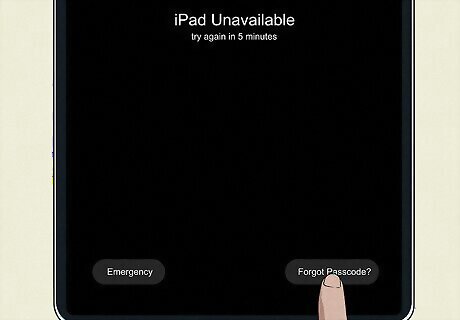
Tap Forgot Passcode?. If you have an iPad with cellular service and are on iPadOS 16 or earlier, make sure to contact your carrier before doing this method to get a QR code for setting up your eSIM. If you're on iPadOS 17 or later, you'll have the option to keep your eSIM and erase your data, so you don't need to contact your carrier unless you also want to delete your eSIM.
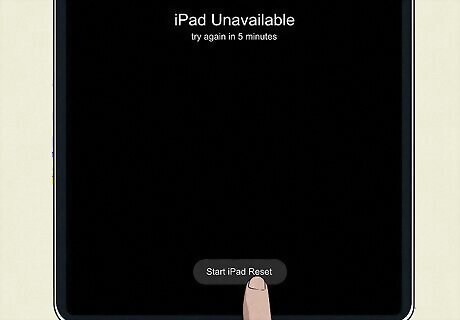
Tap Start iPad Reset on the Security Lockout screen. This will confirm that you want to reset your iPad.
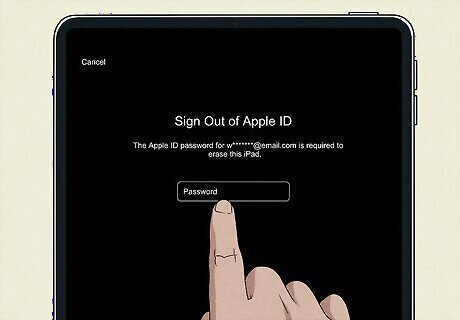
Enter your Apple ID password. This will sign you out of your Apple ID to prepare your device for erasure.
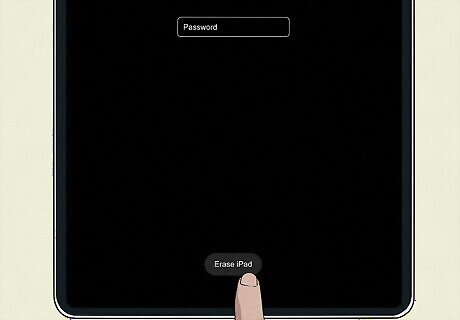
Tap Erase iPad to start the reset process. Once your iPad restarts, follow the on-screen instructions to get it set up. If you have a recent iCloud backup, you can restore your iPad from that backup without needing a computer, otherwise you can connect your iPad to a computer with iTunes to restore your settings from an iTunes backup. If you don't want to restore your device from a backup or you don't have one available, you can simply opt to skip this step in the setup process. Your iPad will still be reset and functional, but you won't have any of your old data and settings.
Erase with iTunes (iPadOS 15.1 and earlier)

Turn off your iPad. If you're on an earlier version of iPadOS and you can't restore your iPad directly from the device, you can instead restore it from iTunes. If your iPad is connected to a computer, unplug it before turning it off. Before you begin, make sure you have iTunes installed on your Mac or PC.

Put your iPad into recovery mode while plugging it into your computer. Press and hold one of the buttons below while plugging your iPad into your computer, and don't let go of the button until you see the recovery mode screen. iPads without a Home button: Top button iPads with a Home button: Home button

Open iTunes and click the device button in the upper-left corner. You should see a button that has an iPad icon on it.
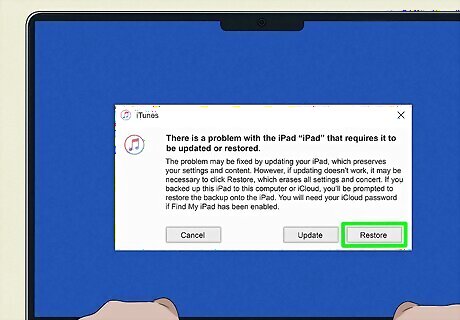
Click Restore in the pop-up window. Follow the on-screen instructions to restore your iPad. During this process, iTunes will download necessary software for your iPad. If this takes too long and your iPad turns off, let iTunes finish downloading the software, then turn your iPad off and put it back into recovery mode using the steps above.
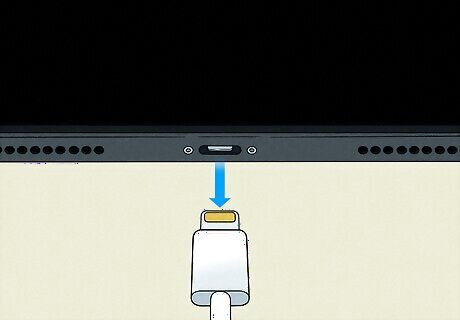
Disconnect your iPad from your computer to set it up. During the setup process, your iPad will ask if you want to restore your device from a backup. If you have an iTunes backup, you can plug your device back in when prompted to restore your data. If you don't have a backup, your iPad will still work but you won't have any of your old data or settings.
iCloud Website
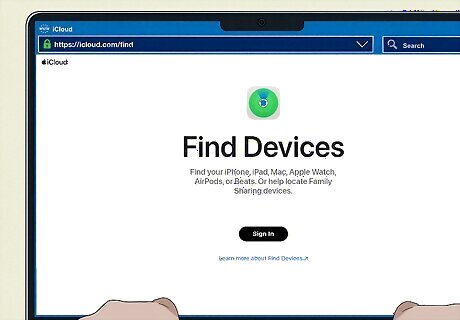
Go to the iCloud website. Visit iCloud's Find Devices page to get started. Note that you must have "Find My" turned on for your iPad for this method to work.
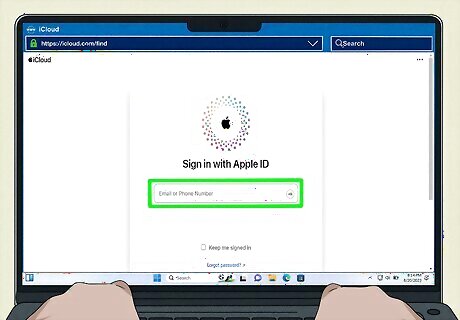
Sign in with your Apple ID. Make sure to use the Apple ID associated with the iPad that you're trying to erase.
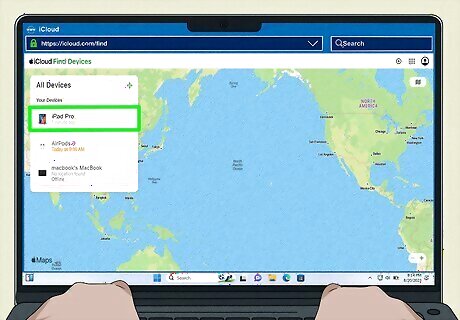
Select your device in the "All Devices" list. It will be to the left side of the page.
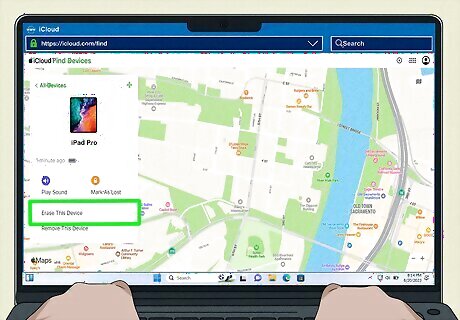
Select Erase This Device. This will begin the erasure of your iPad as long as it is turned on. If it's turned off, you must turn it on for the reset to begin.
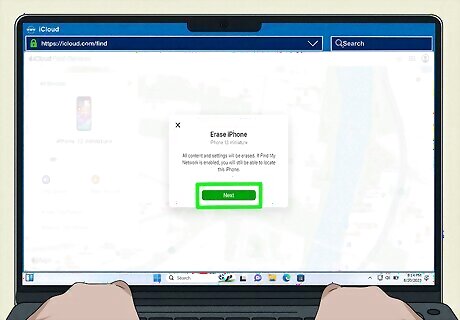
Follow the on-screen instructions. Follow any additional instructions from the iCloud website and allow the erasure process to finish. Once your iPad turns back on, you can set it back up again.
Find My App on Another Device
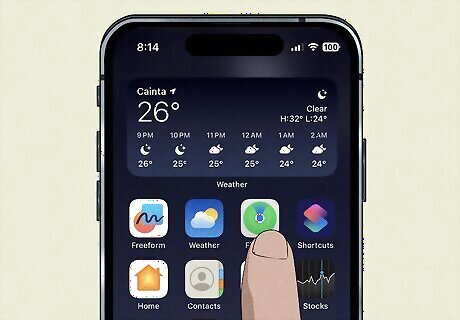
Open the Find My app on another Apple device. You must have Find My enabled on your device for this to work.
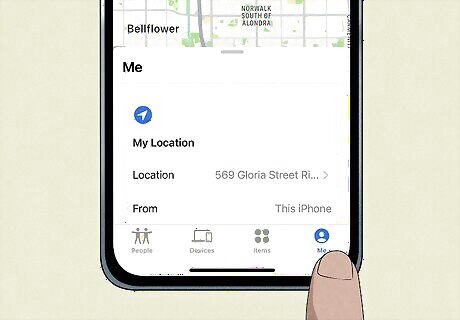
Tap the Me tab and scroll up. This will display some additional options.
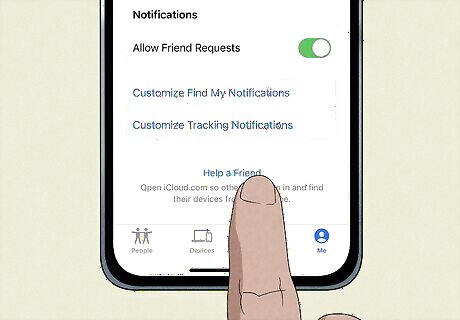
Select Help a Friend. This will allow you to log in to your Apple ID without needing to completely log out of your friend's Apple ID.
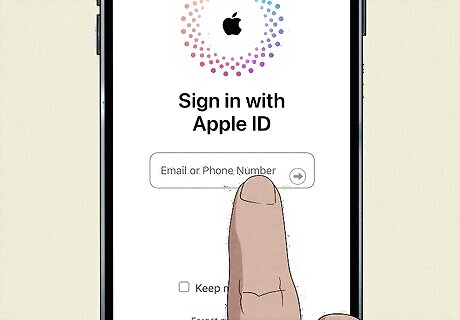
Log in to iCloud in the popup window. Use your Apple ID associated with the iPad that is locked.
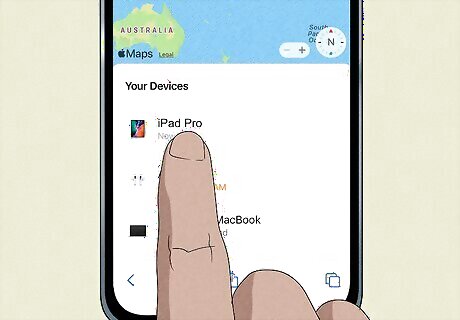
Tap your iPad under "My Devices." If the device doesn't show up, Find My is not enabled on your iPad and you won't be able to complete the erasure this way.
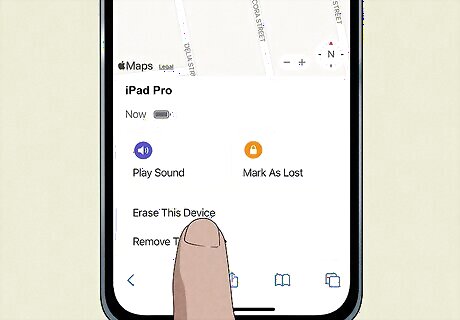
Tap Erase This Device. Press through the buttons on the screen to confirm that you want to erase the device.
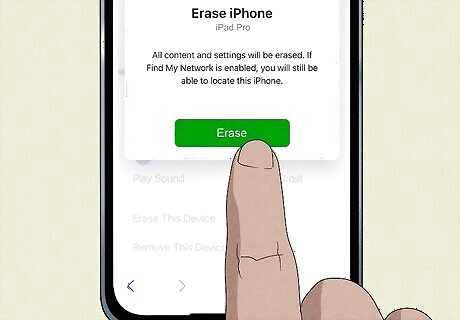
Enter your Apple ID password and select Erase. This will begin the erasure of your iPad as long as it is turned on. If it's turned off, you must turn it on for the reset to begin.
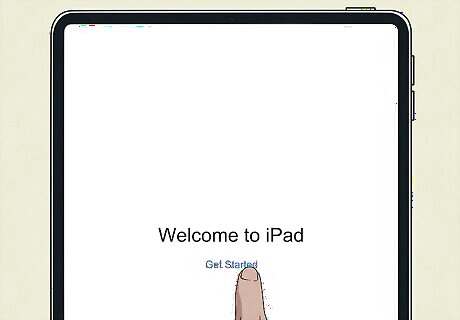
Wait for the process to finish. Once it's done, you can set your iPad up again.
Finder on a Mac
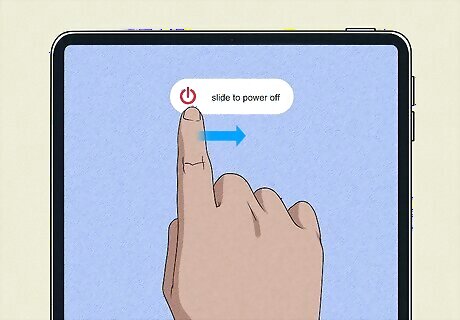
Turn off your iPad. If you don't have a computer with iTunes available but you do have a Mac, you can restore your iPad with Finder. If your iPad is connected to a computer, unplug it.
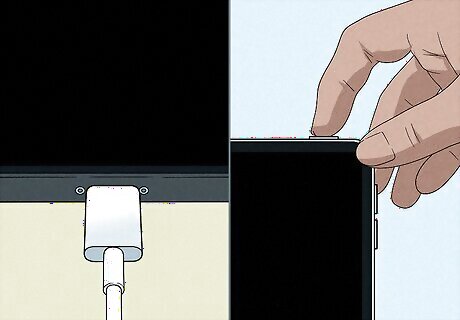
Enter recovery mode while plugging your iPad into your Mac. Keep holding the recovery mode button while you plug your iPad into the computer, and don't let go until you see the recovery mode screen on your device. The button to press is: iPads without a Home button: Top button iPads with a Home button: Home button

Open Finder on your Mac. The Finder is in the dock by default and has an icon with a blue and white background with a smiley face.
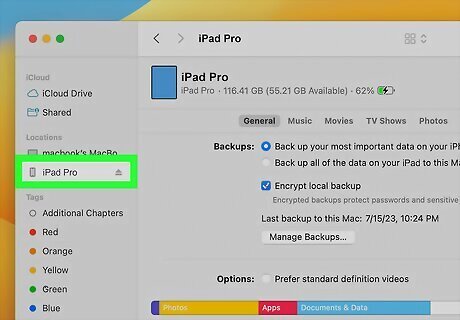
Click your iPad in the sidebar. It will be under the Locations heading.
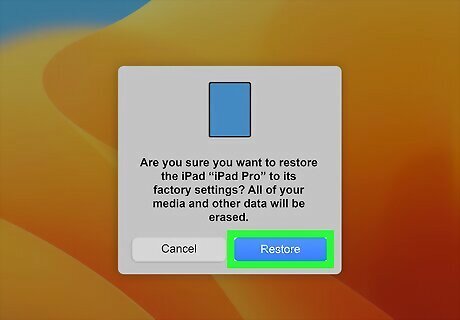
Select Restore when prompted. The computer will be able to tell that the iPad is in recovery mode, and will prompt you to restore or update it. You should select restore to completely wipe the device and start over.

Wait for the process to finish. Once it's done, you can set up your iPad again. This method will completely erase your data and settings from your iPad.


Comments
0 comment